How to Download and Use Microsoft Loop
Learn how to properly navigate and use the new Microsoft Loop app
- Now that Microsoft Loop is out on preview let's see how we can make the most of its features.
- This new software will help you create, manage, and share projects with colleagues.
- This quick guide will allow you to become more fluent and experienced in using Loop as a tool.

Microsoft is ready to allow users to access the first preview of the Loop project. Now, let’s learn where to get it from, how to install it, and how to make the most of it.
Want to find out how to utilize this software across Office apps and manage tasks? You are in the right place.
What is Microsoft Loop?
How should we put this? You can compare Loop to a project board. Here, you can see a list of all Loop components and Loop pages and who is currently working on them.
Think of it as a modern File Explorer, where everything is live and collaborative. Loop pages are individual canvases where people can share and collaborate on Loop components.
Also, Loop components are constantly updated and editable for whoever they’re shared with, which is a pretty nice fight.
You can drop the content as a Loop component into a Teams message or Outlook email. Also, any edits to the table will be reflected wherever it’s embedded or shared.

Microsoft said that Loop would use the Fluid Framework open-source platform. Thus, it will allow Microsoft 365 users to collaborate and share content in real-time.
This great idea is that users can see everything on their project in just one workspace. There will be three parts to Loop, according to its official website.
- Workspaces: Group all-important project elements in Loop workspaces to see what everyone’s working on and track progress toward shared goals.
- Pages: Organize your Loop components and essential elements in your project. Links, files, and data, in Loop pages, can grow to match the size of your ideas.
- Components: Collaborate in the flow of work with Loop components. Work together on lists, tables, notes, or even a customer sales opportunity from Dynamics 365. Do it on a Loop page or in a chat, email, meeting, or document.
And, once shared, you can view your co-workers’ tasks and see when they check off each of those items. This tool can be a helpful functionality to keep the team intact.
Your organization might not support Loop yet. If that’s the case, ask your IT admin to turn this feature on.
How do I get Microsoft Loop?
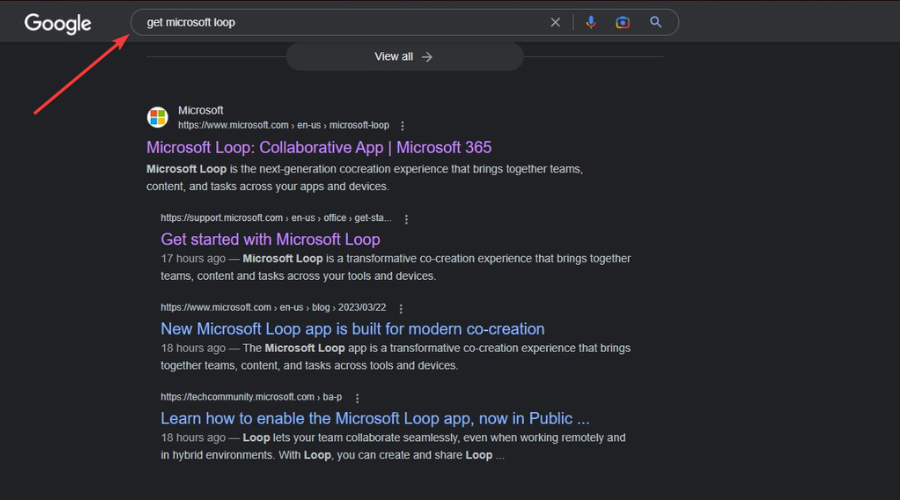
- Type Get Microsoft Loop in your favorite search engine.
- Be sure to only select the official source from the results.
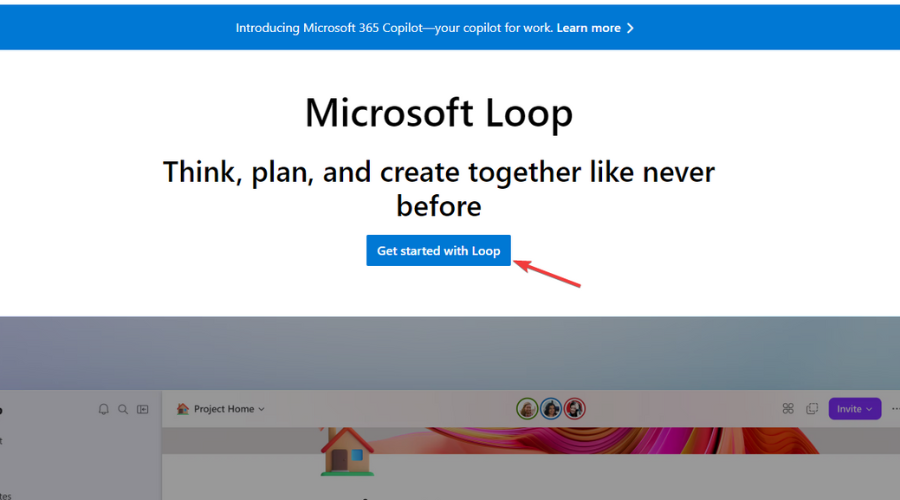
- Click on the Get started with Loop button.
- Select Get started – It’s free.
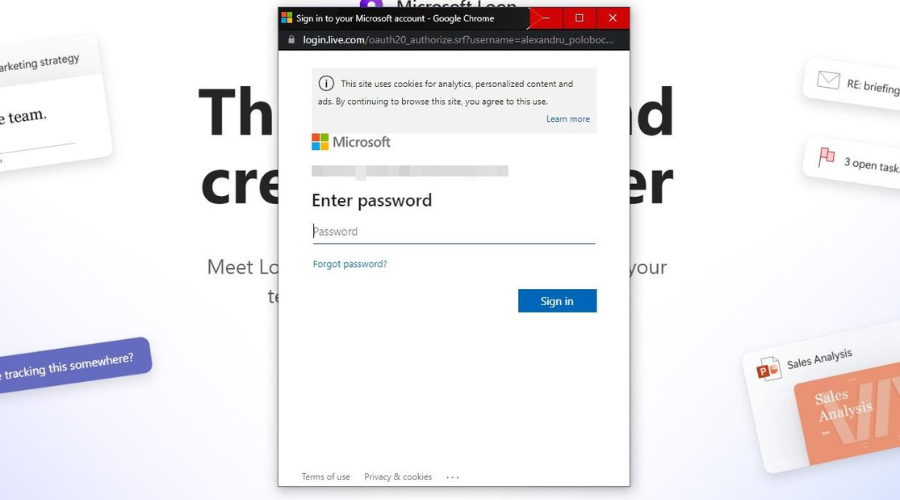
- You will be prompted to sign in with your Microsoft account.
- Now, you can start using Microsoft Loop.
You can download Microsoft Loop from Microsoft Store
If you want to download it as a separate application on your desktop, you can now download Microsoft Loop from Microsoft Store. Microsoft made it available for you to install Loop on its own, without resorting to a Web browser.
The Loop app is also available for mobile. This will help you keep up with whatever you do while on the road.
Remember that Loop elements can be used with Teams and many other Microsoft 365 apps.
How do I start using Microsoft Loop?
Expert tip:
SPONSORED
Some PC issues are hard to tackle, especially when it comes to missing or corrupted system files and repositories of your Windows.
Be sure to use a dedicated tool, such as Fortect, which will scan and replace your broken files with their fresh versions from its repository.
First of all, you are going to want to use the sidebar to navigate the Loop app. Everything you need has been simplified and neatly put into a few categories.
When you log in for the first time, Loop will provide you with some essential guidance. The Getting Started section will help us not feel completely overwhelmed.
Now that you’ve become a bit more familiar with the Loop app, we can move on to your projects.
It’s time to look at projects. You can switch between the Getting Started screen and Workspaces by clicking this small button.

Moving on, let’s look at how to create a new Workspace. We’ll also see how to manage the ones you already have on your Loop app.
We’re also going to take a look at creating Loop components. Let’s see how to share them on whatever platform you need to share them on.
How can I create a new Workspace in Loop?
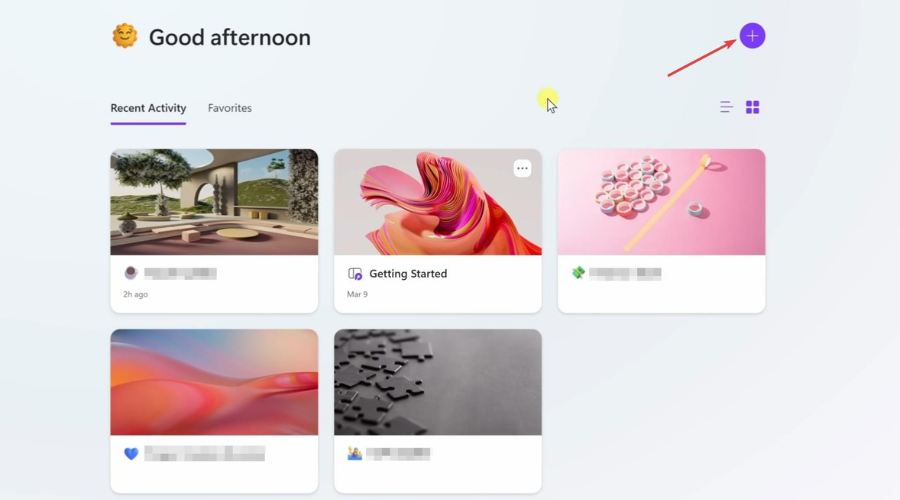
- Once on the Workspaces page, click on the Plus button.
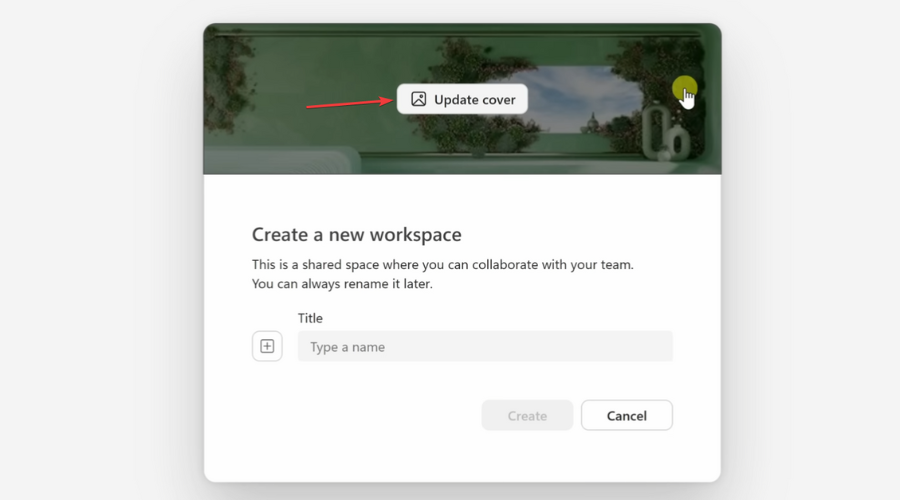
- Click the Update cover button to select a photo cover for your Workspace.
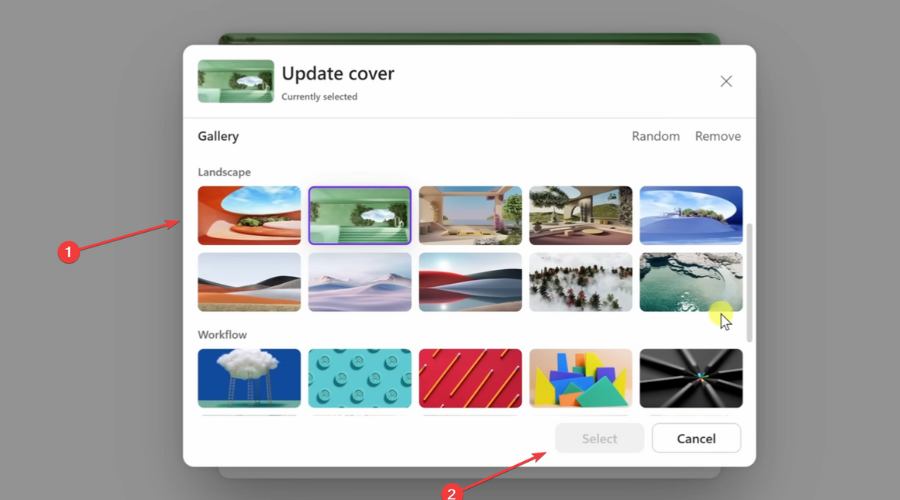
- Choose the picture you want, then click on the Select button.
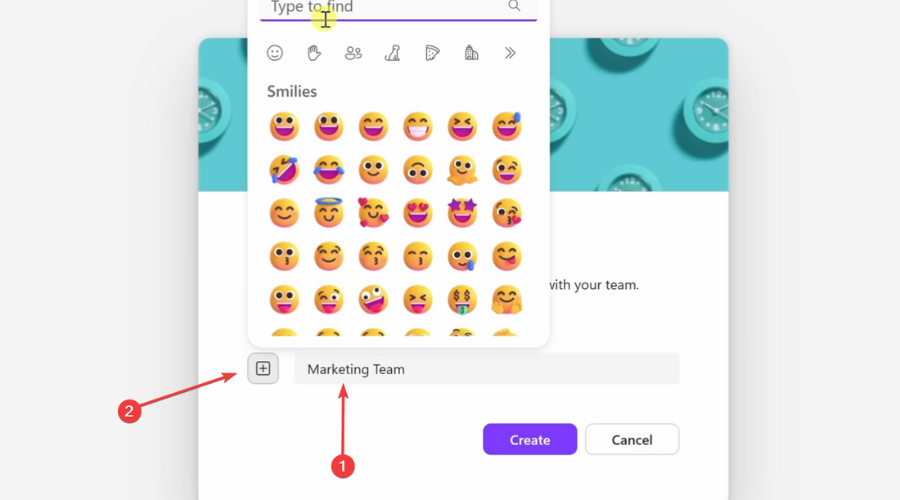
- Please select a name for your Workspace, then click on the plus sign next to it and select an emoji.
You’ve successfully created a new Workspace. You will find it and be able to interact with it on the Workspaces page.
Know that you can also edit these Workspaces after creating them. So, don’t worry if it isn’t what you envisioned just yet.
By clicking on the three dots on each Workspace icon, you can set it as a favorite, edit it, or rename it. You can also change the cover or emoji, add or remove members, and even delete it.
How can I create a Loop component?
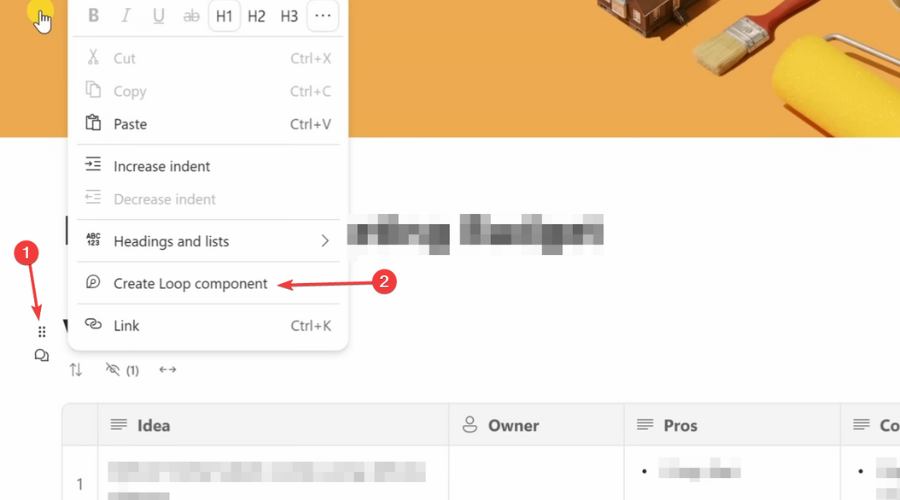
- After creating your project in the new Workspace, click on the dots icon next to it and select Create Loop component.
- Now your Workspace has a Loop component that you can share.
How do I share Loop components?
- Click on the Copy Loop component button.
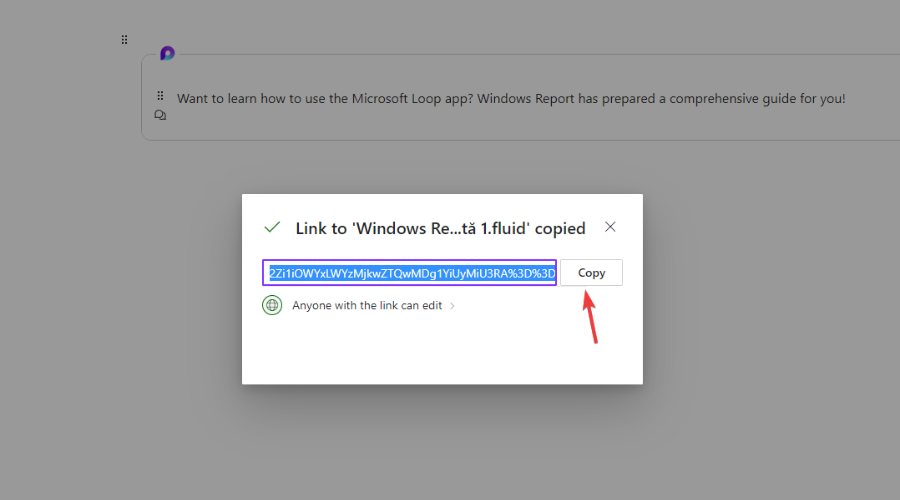
- A link to your Loop component will be generated, so click the Copy button.
- Paste the link where you want your colleagues to see and interact with it.
This is all you must do in order to create, manage, and share your Loop Workspace components with colleagues via mail or Teams.
Now that Microsoft is opening Loop to public preview, businesses and consumers can access an early version of the software.
Suppose you have a Microsoft Account or Azure Active Directory account. In that case, you can access the web app, and iOS and Android versions will also be available to businesses today and consumers soon.
Excited about the new release? Be sure to share your thoughts, ideas, and opinions with us in the comments section below.
Still experiencing issues?
SPONSORED
If the above suggestions have not solved your problem, your computer may experience more severe Windows troubles. We suggest choosing an all-in-one solution like Fortect to fix problems efficiently. After installation, just click the View&Fix button and then press Start Repair.
