amdacpbus.sys: How to Fix This Blue Screen Error
Fix your AMD drivers quickly so you can get back to gaming
- amdacpbus.sys is an important system driver for computers running on AMD hardware and software.
- Without this file or if it gets corrupted, you may experience some Blue Screens of Death.
- Fixing it will require you to uninstall the drive and then reinstall it.
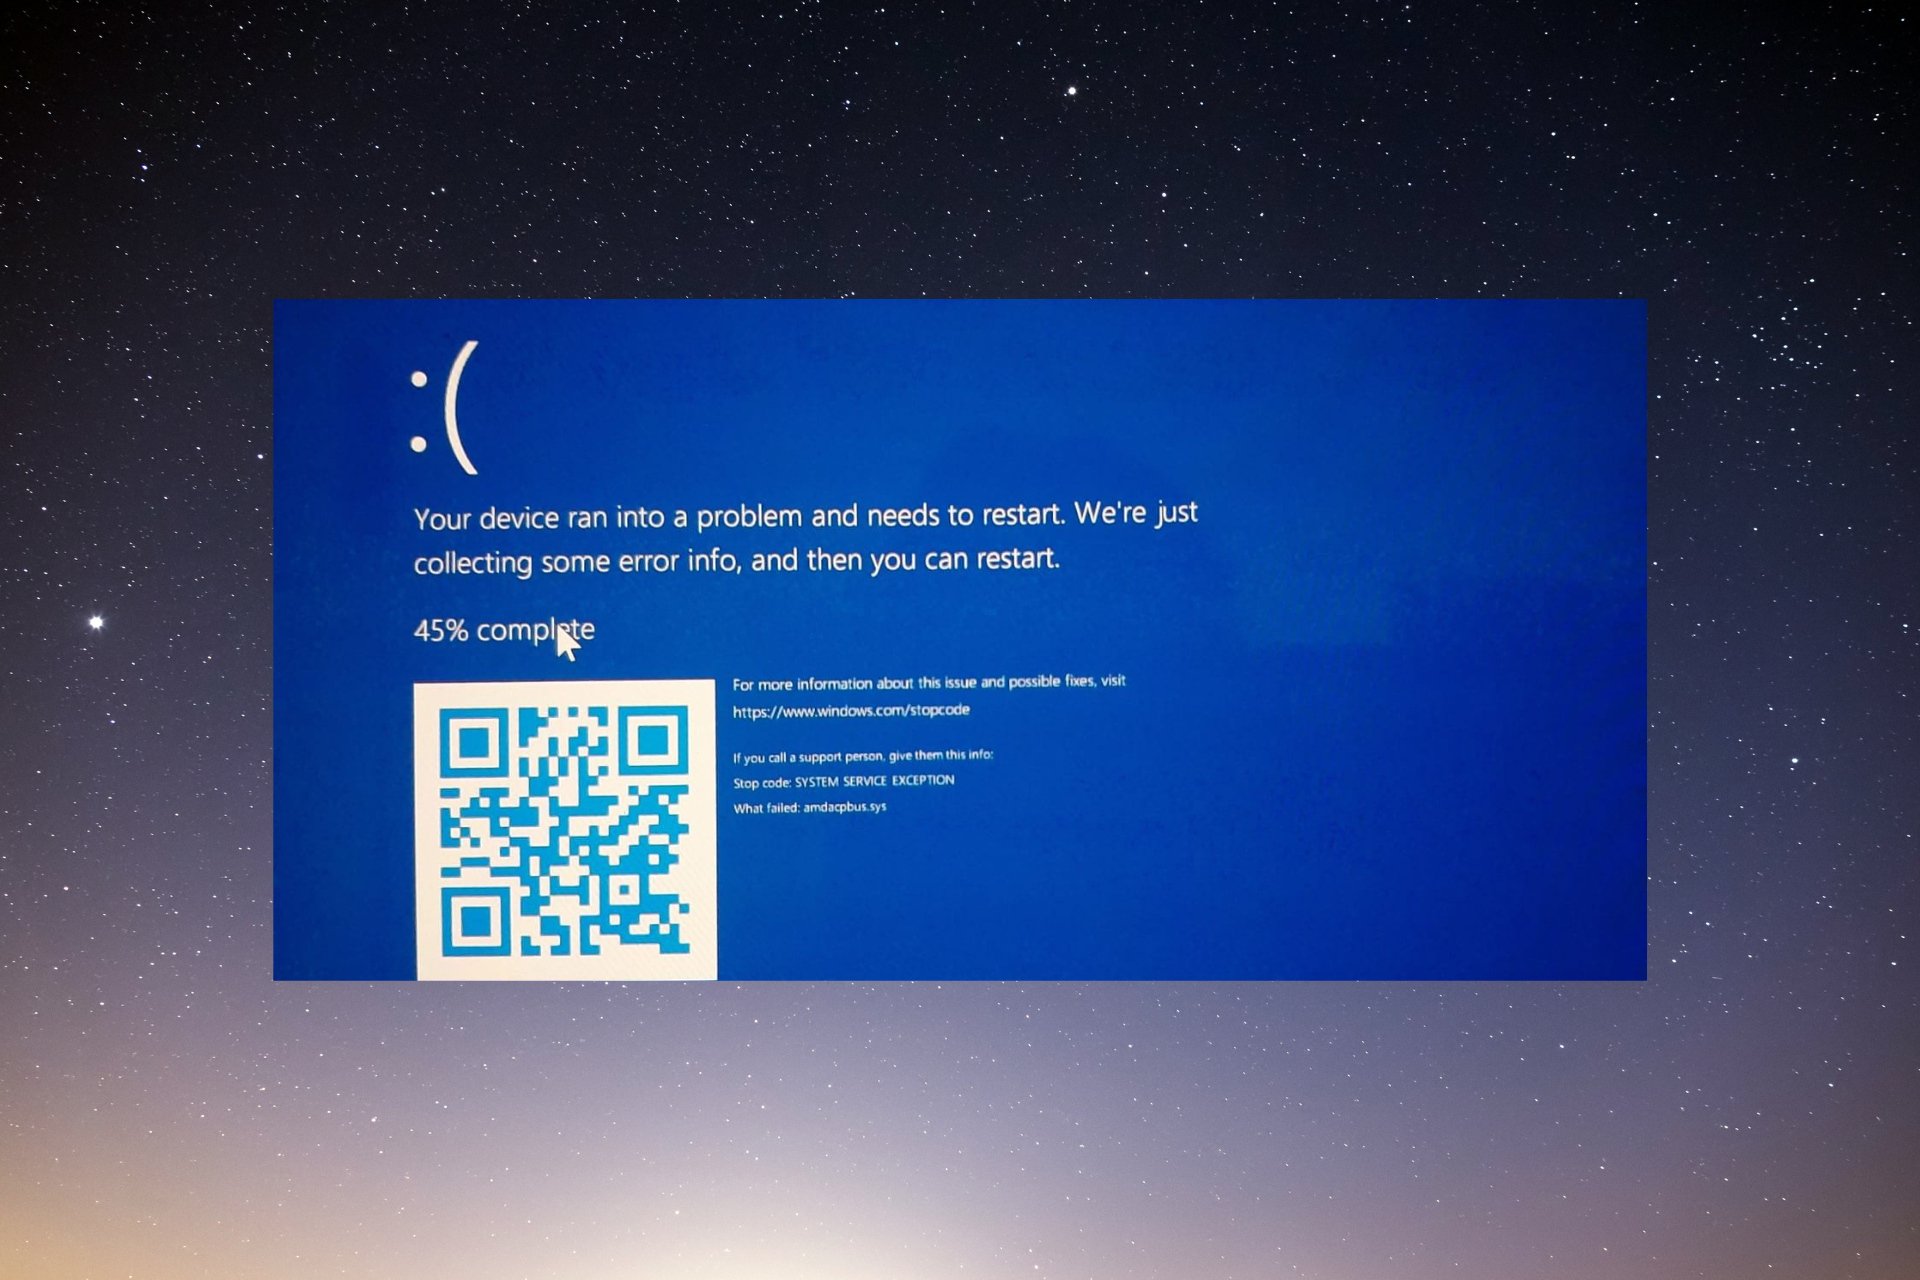
amdacpbbus.sys is a system file that appears on Windows computers running AMD hardware and software. But it’s also sometimes the source of the Blue Screen of Death or BSoD.
As you can imagine, having a faulty AMD driver can put a hamper on gaming. Imagine your system crashing in the middle of an online match. Fortunately, there are ways to fix this problem.
What causes the amdacpbus.sys error?
Let’s go over what causes the error in the first place before going into solutions because the culprits can be seemingly benign things. And if it does happen to you, you’ll know how to fix it.
- Something is wrong with your computer’s drivers – There could be an incompatibility issue. You’ll need to roll back the driver update to address this.
- Your computer lacks important system updates – Conversely, the problem could be that your drivers are out of date. Be sure to download the latest Windows Updates.
- Malware has infected your computer – File corruption can be caused by malware and faulty drivers. Be sure to install some antivirus software to clean it up.
How can I fix the amdacpbus.sys error?
Now let’s go into fixing the amdacpbus.sys error, which there are many different ways to do so. If one doesn’t work out, you can try out another method:
- Reinstall your audio and motherboard drivers from your computer’s manufacturer. amdacbus.sys affects audio drivers, so something may be corrupt on your system.
- Use the System Restore to revert Windows 11 to an earlier state before the errors started to occur. If you don’t know how to make a restore point, read our guide on creating one.
- Update your system using the Windows 11 Media Creation Tool. It’s a great and free way to install a bunch of updates to your computer simultaneously.
- And if all else fails, we recommend contacting your computer’s manufacturer, especially if your machine runs on AMD hardware.
1. Run SFC and DISM scan
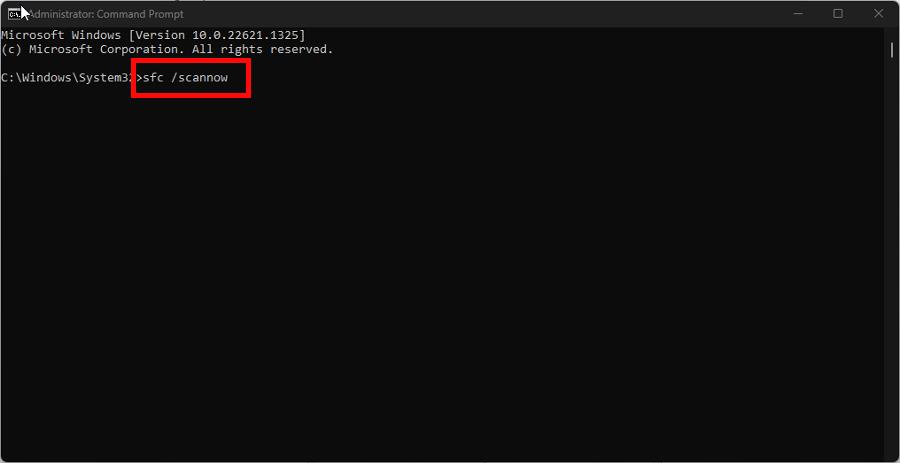
- Bring up Windows Command Prompt on your computer’s search bar and select Run as administrator.
- Enter the following command into the prompt and run it:
sfc /scannow - Give your computer ample time to finish the process.
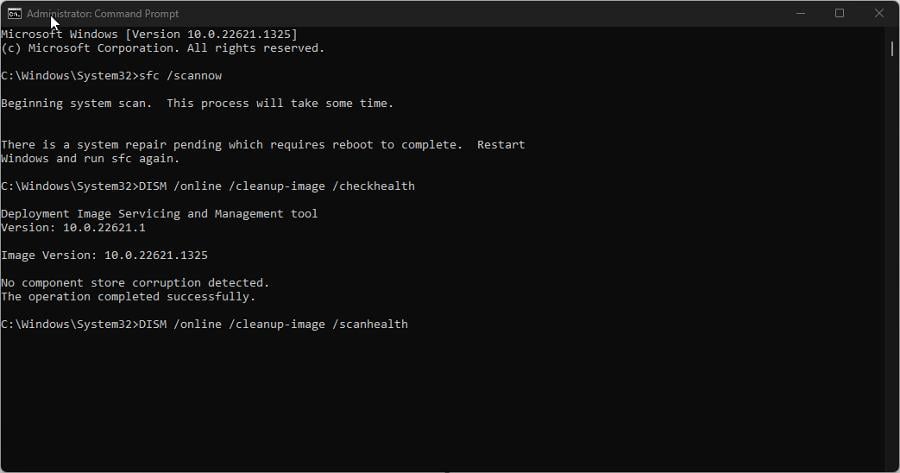
- Once done, type in these commands and press Enter on your keyboard one after the other:
DISM /online /cleanup-image /checkhealthDISM /online /cleanup-image /scanhealthDISM /online /cleanup-image /restorehealth - Restart your computer and see if the problem has been solved.
2. Uninstall drivers through AMD Clean Uninstall Utility
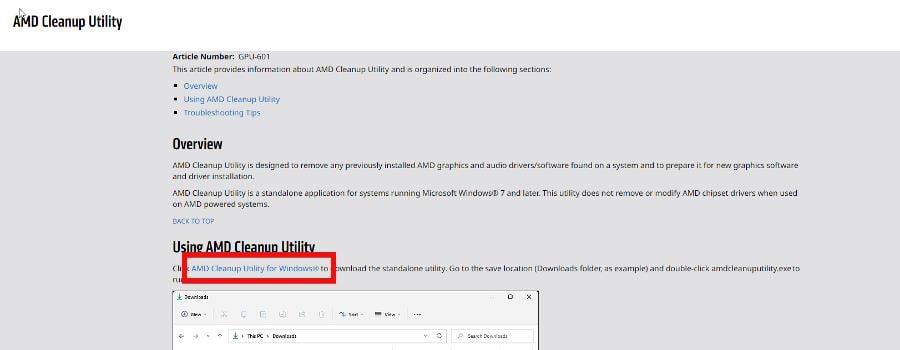
- Go to the AMD Cleanup Utility webpage and download the app from there.
- Go to where the file’s location and double-click it to run it.
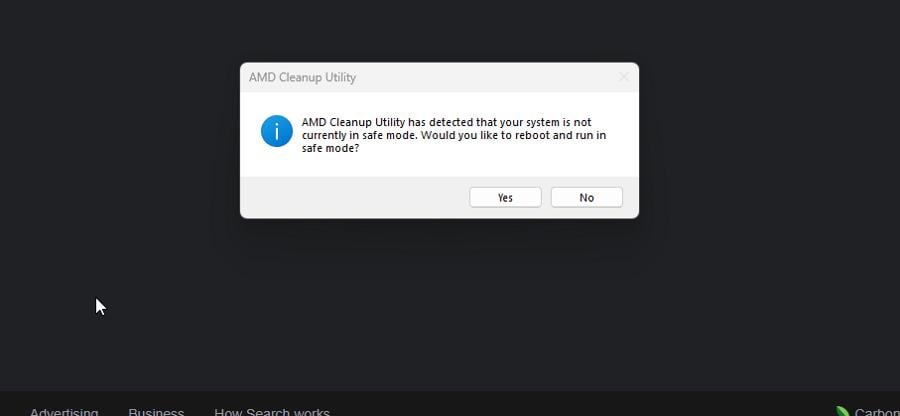
- A new prompt will appear asking if you want to restart your computer in safe mode. For this guide, we’re going to select No although it is recommended you chose Yes for the best results.
- Select OK on the following window.
- A banner will appear as the cleanup is working. Don’t worry if the banner goes blank a few times.
- Once done, a new prompt will appear telling you the software has finished. Click Finish.
- On the next window, you have an opportunity to restart your computer to finish up the changes. You can do so now or later.
3. Update via AMD Driver Autodetect
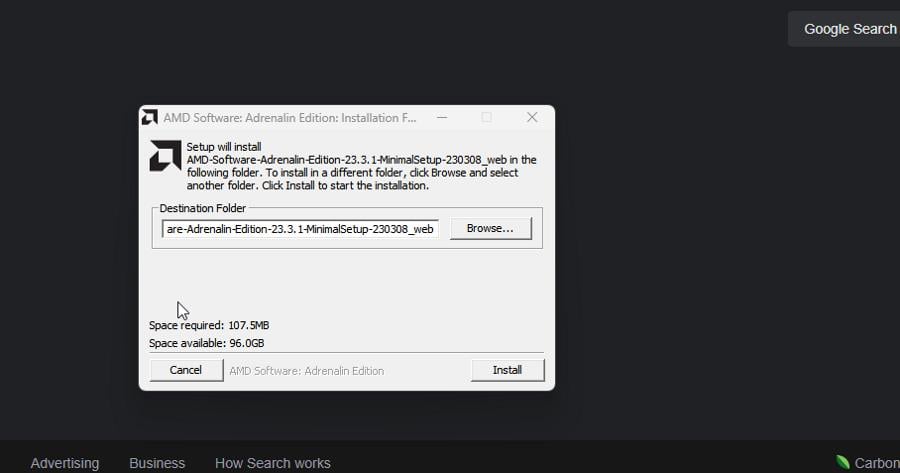
- If you don’t want to install AMD drivers manually, you can do so via the AMD Driver Autodetect app. Go to the software’s webpage and download it.
- Run the file you just downloaded and go through its installation wizard.
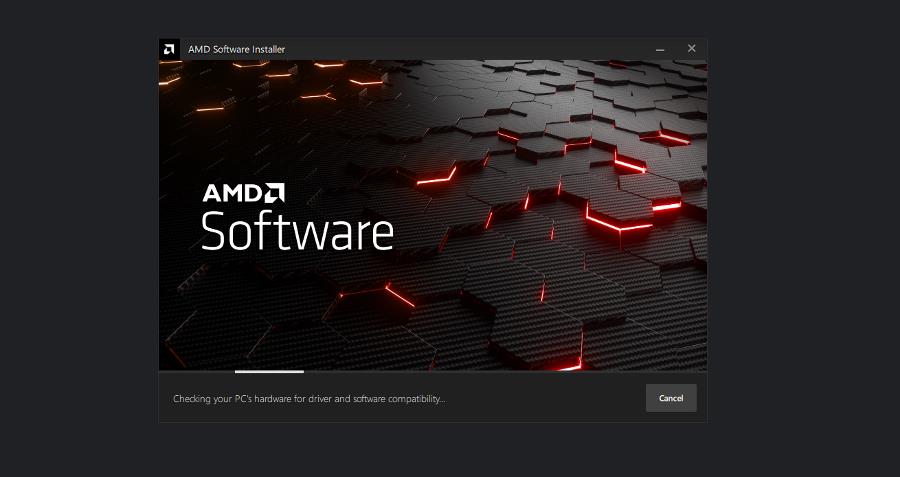
- Next, AMD Driver Autodetect will launch automatically and proceed to install drivers for your supported GPU.
4. Perform a clean boot
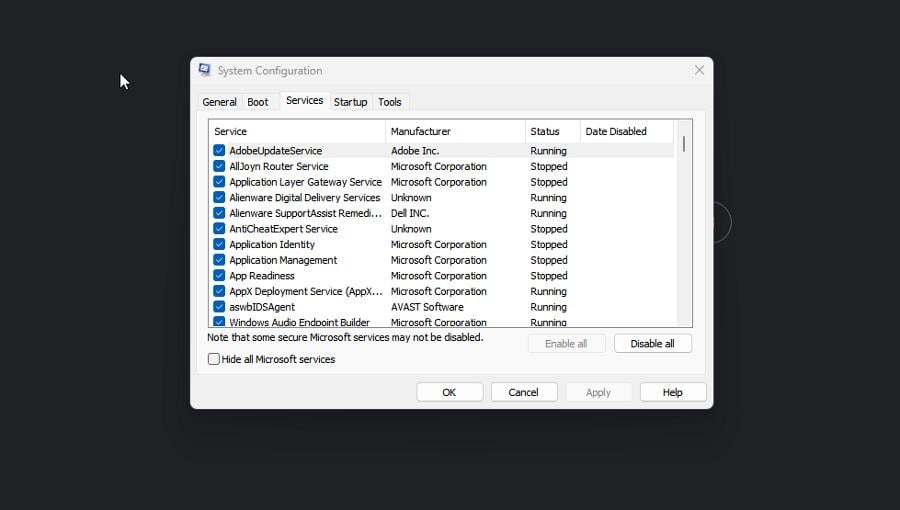
- Launch the System Configuration app from the Windows Search bar. Once open, go to the Services tab.
- First, enable Hide all Microsoft services, then select the Disable all button. Afterward, click Apply.
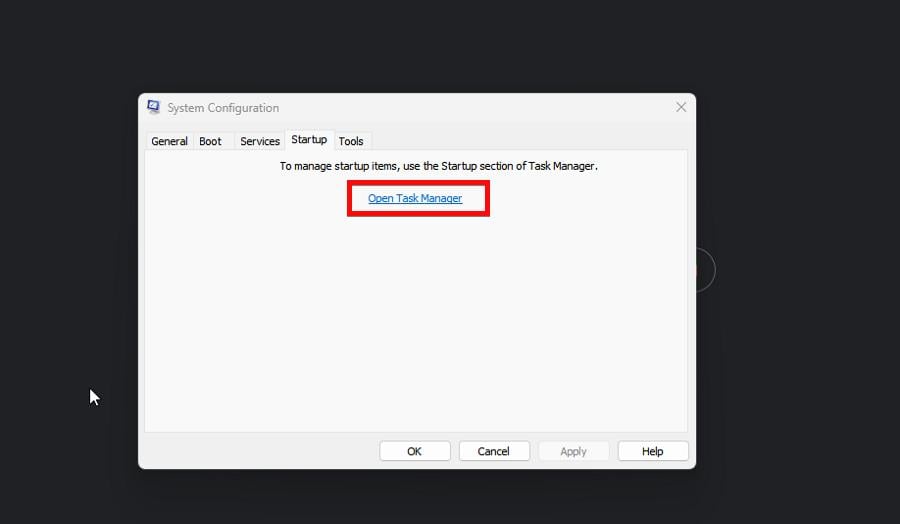
- Next, go to the Startup tab and select Open Task Manager.
- One by one, disable each enabled item. Make sure you keep track of each one you disabled.
- Close Task Manager, return to the Startup tab of System Configuration, and click OK. This will restart your computer in Clean Boot mode.
- While in Clean Boot mode, re-enable the apps from earlier and see if they work properly. If one doesn’t, that’s the problematic app causing the BSoD. Uninstall it.
What can I do if AMDPPM.sys cause the BSoD?
Expert tip:
SPONSORED
Some PC issues are hard to tackle, especially when it comes to missing or corrupted system files and repositories of your Windows.
Be sure to use a dedicated tool, such as Fortect, which will scan and replace your broken files with their fresh versions from its repository.
AMDPPM.sys (AMD Primary Processor Module) is a driver to enable internal and external AMD hardware. If the file is corrupted, it can cause systemic problems like the Blue Screen of Death.
There are a couple of things you can do to fix a faulty AMDPPM.sys file, like running an SFC scan (as shown earlier) and resetting your computer’s BIOS.
While we have you, be sure to check out how to fix BSoD Error 777, which is an operating system failure caused by unwarranted changes made to the registry editor.
It’s recommended that you perform an automatic repair to address this issue. Just ensure you have a bootable USB drive for Windows 11 before performing it.
Still experiencing issues?
SPONSORED
If the above suggestions have not solved your problem, your computer may experience more severe Windows troubles. We suggest choosing an all-in-one solution like Fortect to fix problems efficiently. After installation, just click the View&Fix button and then press Start Repair.
