How to Sort Photos by Favorites on Windows 10 & 11
Organize your favorite photos into an album for quick access
- When you mark a photo as a favorite, it's added to a list of favorites you can view in the Photos app.
- By default, all your favorite photos in Windows will be displayed as a separate album in the Photos app.
- This is extremely helpful, especially if you have a significant number of photos and don’t want to spend hours on end scrolling looking for a picture.
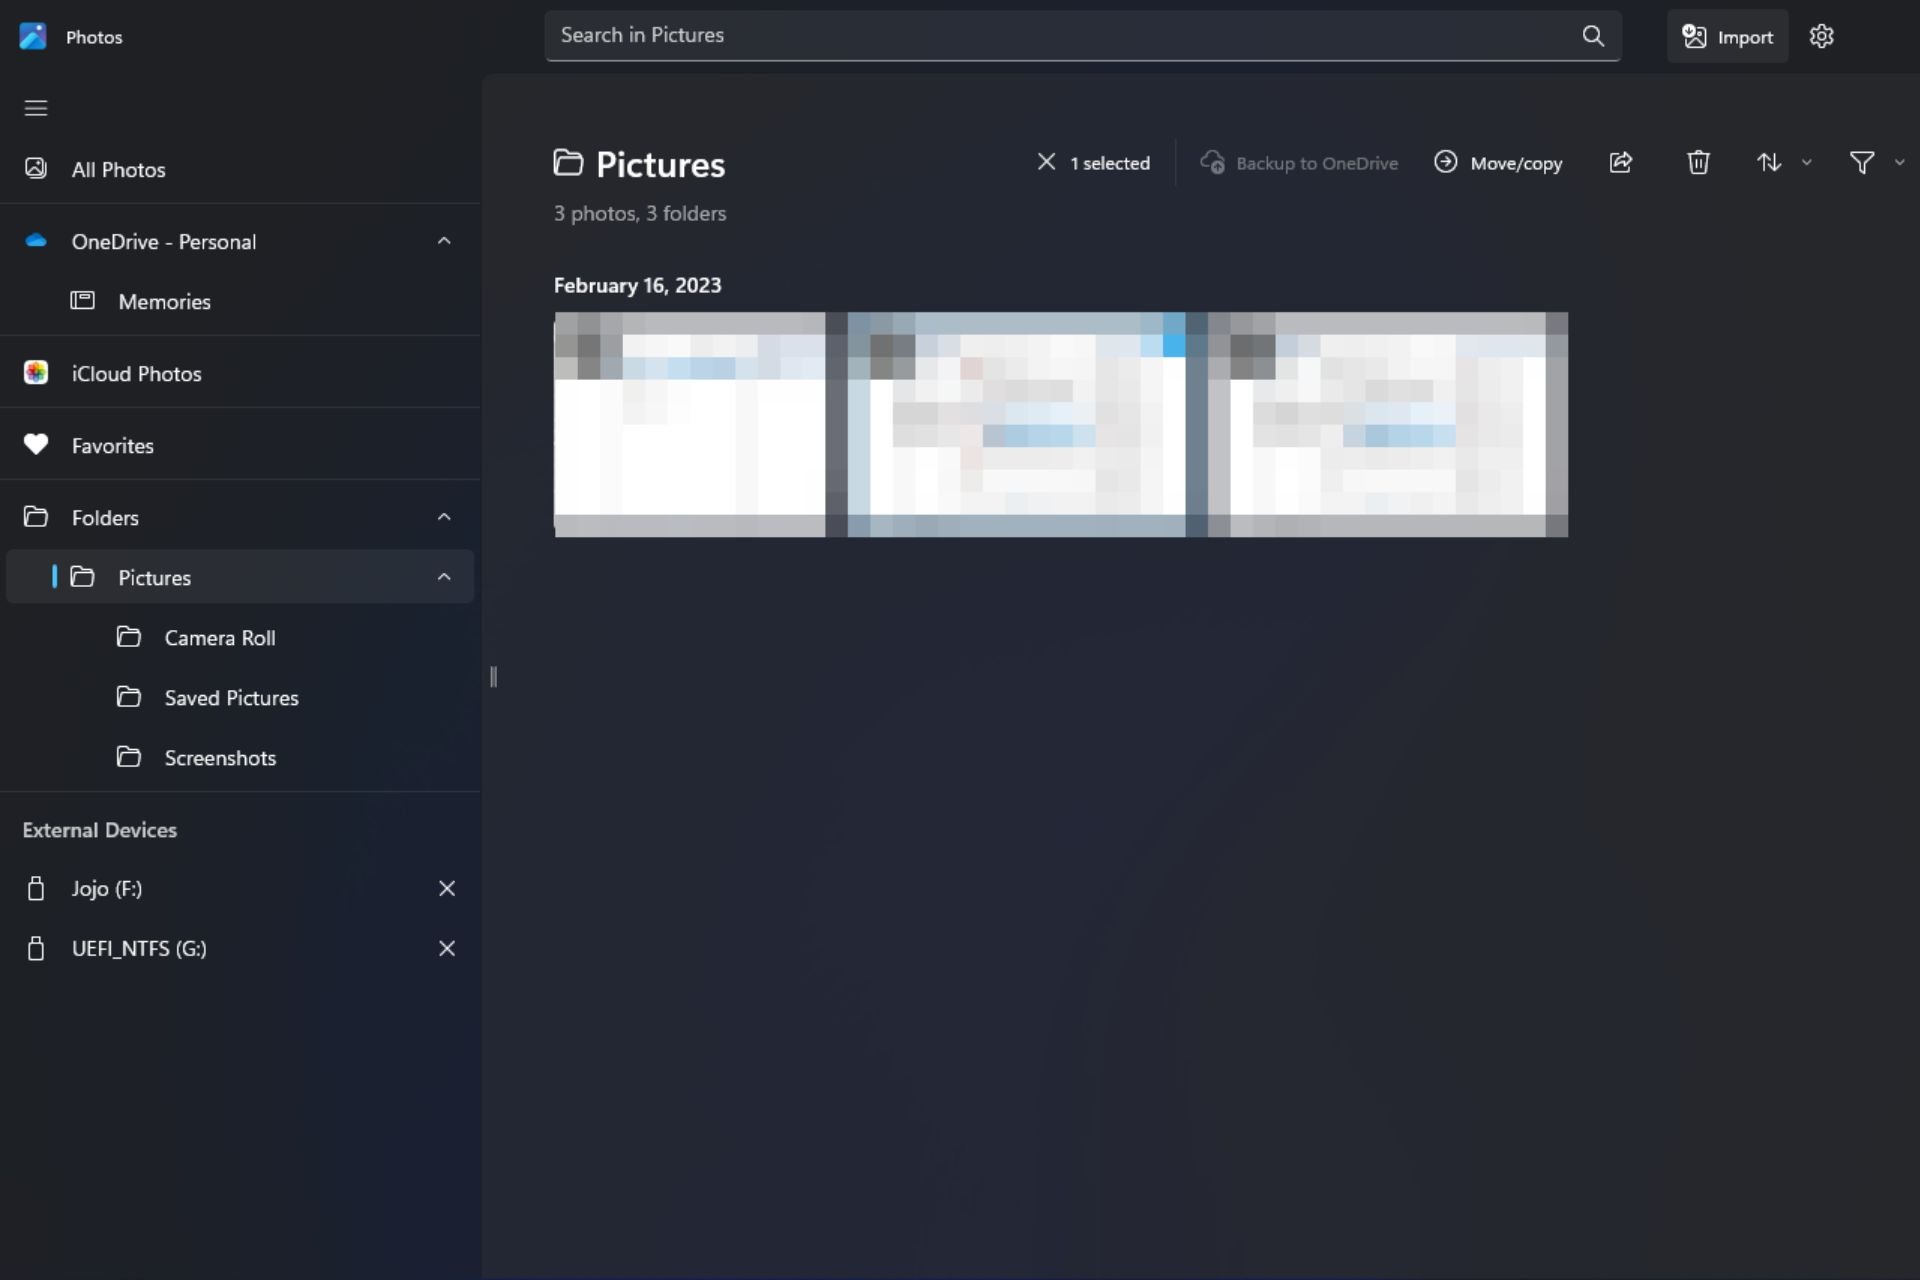
Windows Photos got an overhaul in Windows 11, so you’ll enjoy new and improved features. One of them is to sort photos by favorites. Windows has a special folder for photos that you’ve marked as favorites.
The Favorites list is useful if you have many photos in an album or folder because it makes it easy to find just the ones you want to display on your screen. If you didn’t know about this feature or how to add photos to your favorites folder, we show you how.
How do I sort my favorites photos in Windows?
Windows 11
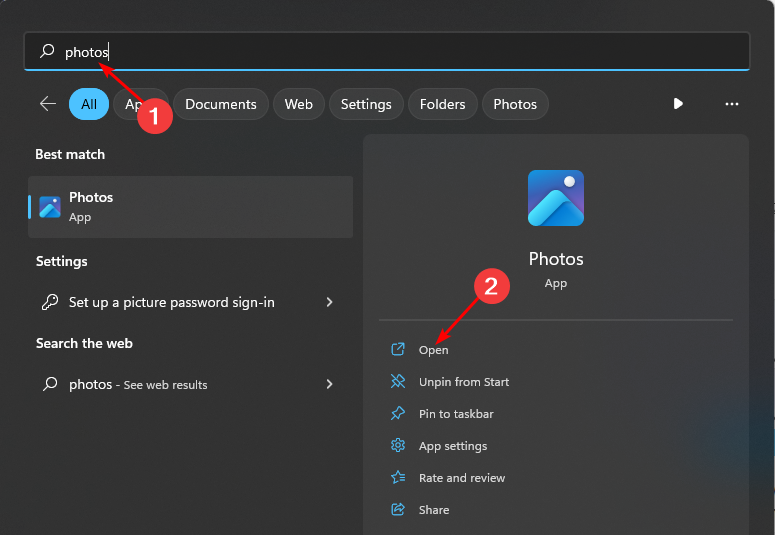
- Launch the Photos app by clicking on the Windows key, type Photos in the search bar, and click Open.
- All photos on your PC will appear starting from the most recent. Double-click on a photo to open it in full view.
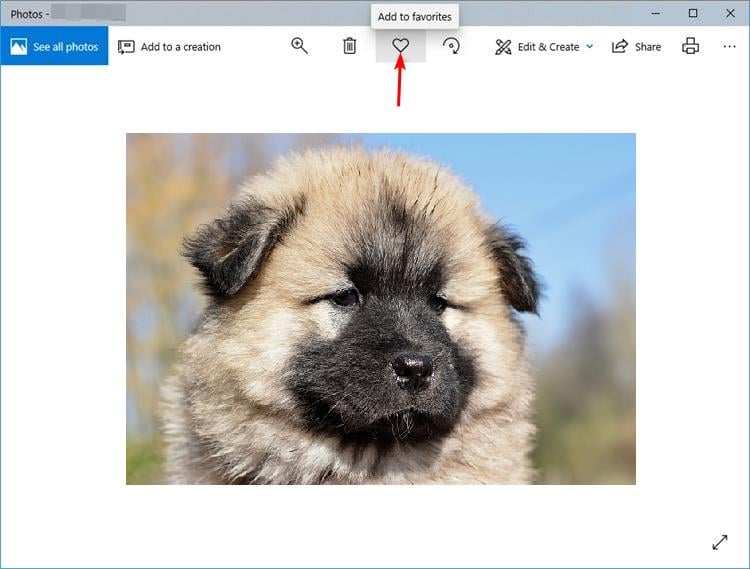
- Click on the heart icon at the top to add it to the Favorites folder.
- You can repeat this process until you have made a collection of all your favorite photos.
- Once your collection of favorites is complete, you can click on that folder to view all of them.
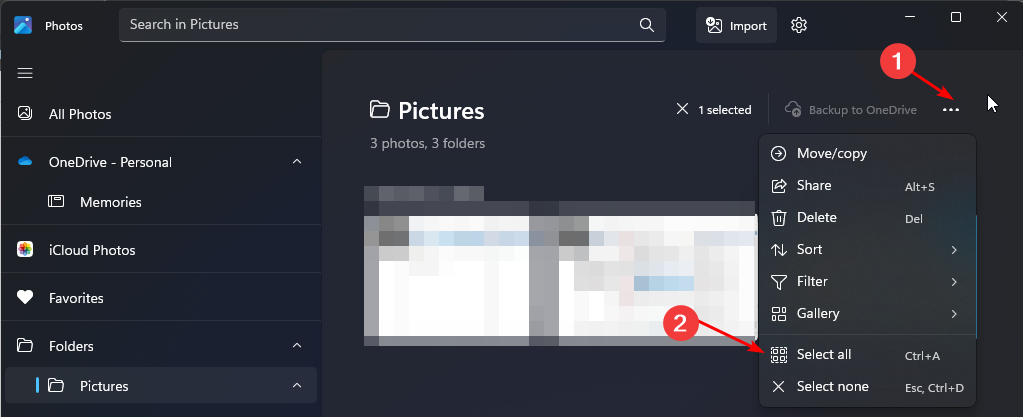
- If you’d like to sort them out, click on the three horizontal ellipses at the top and Select all. Alternatively, you can hit CTRL + A to also select all.
- Click again on the three ellipses and select Sort. Choose your preferred option to sort either by date or name.
In the unfortunate chance that your Windows Photo Viewer is not working, check out our detailed guide on how to fix it.
Windows 10
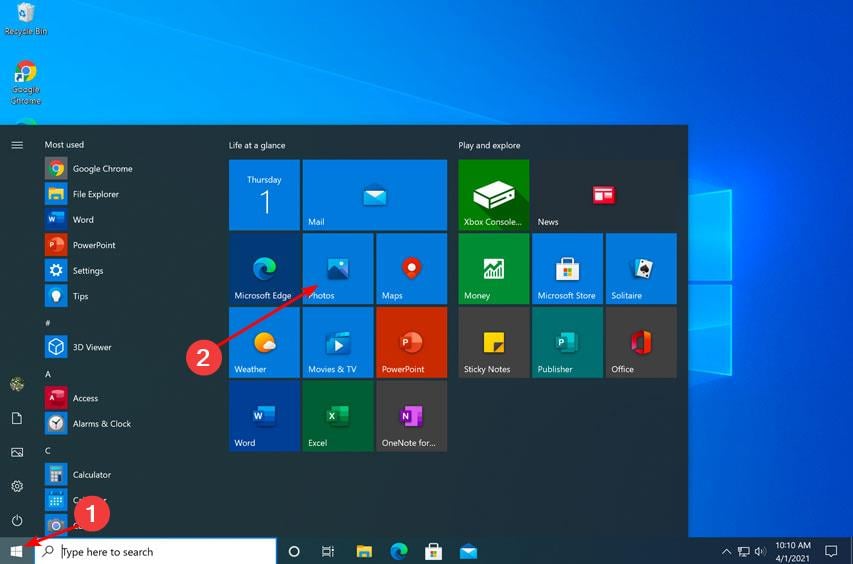
- Click on the Start Menu icon and click on Photos. It’s usually among the pinned apps but if not, do a quick search and click on it to open.
- Select an image and click on it to open.
- Hit the heart icon to favorite or right-click on the image and select Add to favorites.
- Repeat this process until you have all your favorite images in the favorites folder.
If you’d like to remove a photo from the favorites album, all you have to do is click again on the heart icon, and the picture will be restored to its original folder.
How do I filter my favorite photos in Windows 10?
Once you’ve created your favorites folder, you probably wonder: Where are my favorite photos stored? Your favorite photos are saved to the Favorites album in the Photos app.
The Favorites album is automatically created when you add a photo to your favorites. You can also create another album to save your favorite photos and then drag them to that album.
Further, if your Favorites album is getting too crowded, having stored too many items, you can also filter for quick access.
To do this:
- Open your Photos app.
- Navigate to the Favorites folder.
- Click on the Filter icon and choose either Videos or Photos.
Favoriting a picture is a great way to keep your files organized. You probably have hundreds of photos saved on your computer. As time goes by, it becomes increasingly difficult to find the photo you’re looking for among all those pictures in the Photos app.
Hopefully, this article has helped organize your albums and made your favorite pictures more accessible.
We also have a great list of the best photo viewers for your Windows device, so be sure to check that out too.
While sorting photos by favorites may work for some people, the more advanced users prefer to use specialized photo culling software that offers more than the basics.
Let us know of any other tips you use for photo management using the Photos app in Windows down in the comment section.
Still experiencing issues?
SPONSORED
If the above suggestions have not solved your problem, your computer may experience more severe Windows troubles. We suggest choosing an all-in-one solution like Fortect to fix problems efficiently. After installation, just click the View&Fix button and then press Start Repair.
