AVG Antivirus Not Compatible with Windows 10: 5 Fixes to Use
Fix AVG compatibility issues by removing the software entirely
- When AVG antivirus is not compatible with Windows 10, you might have to uninstall it.
- Some users might be able to resolve this issue by removing leftover AVG files.
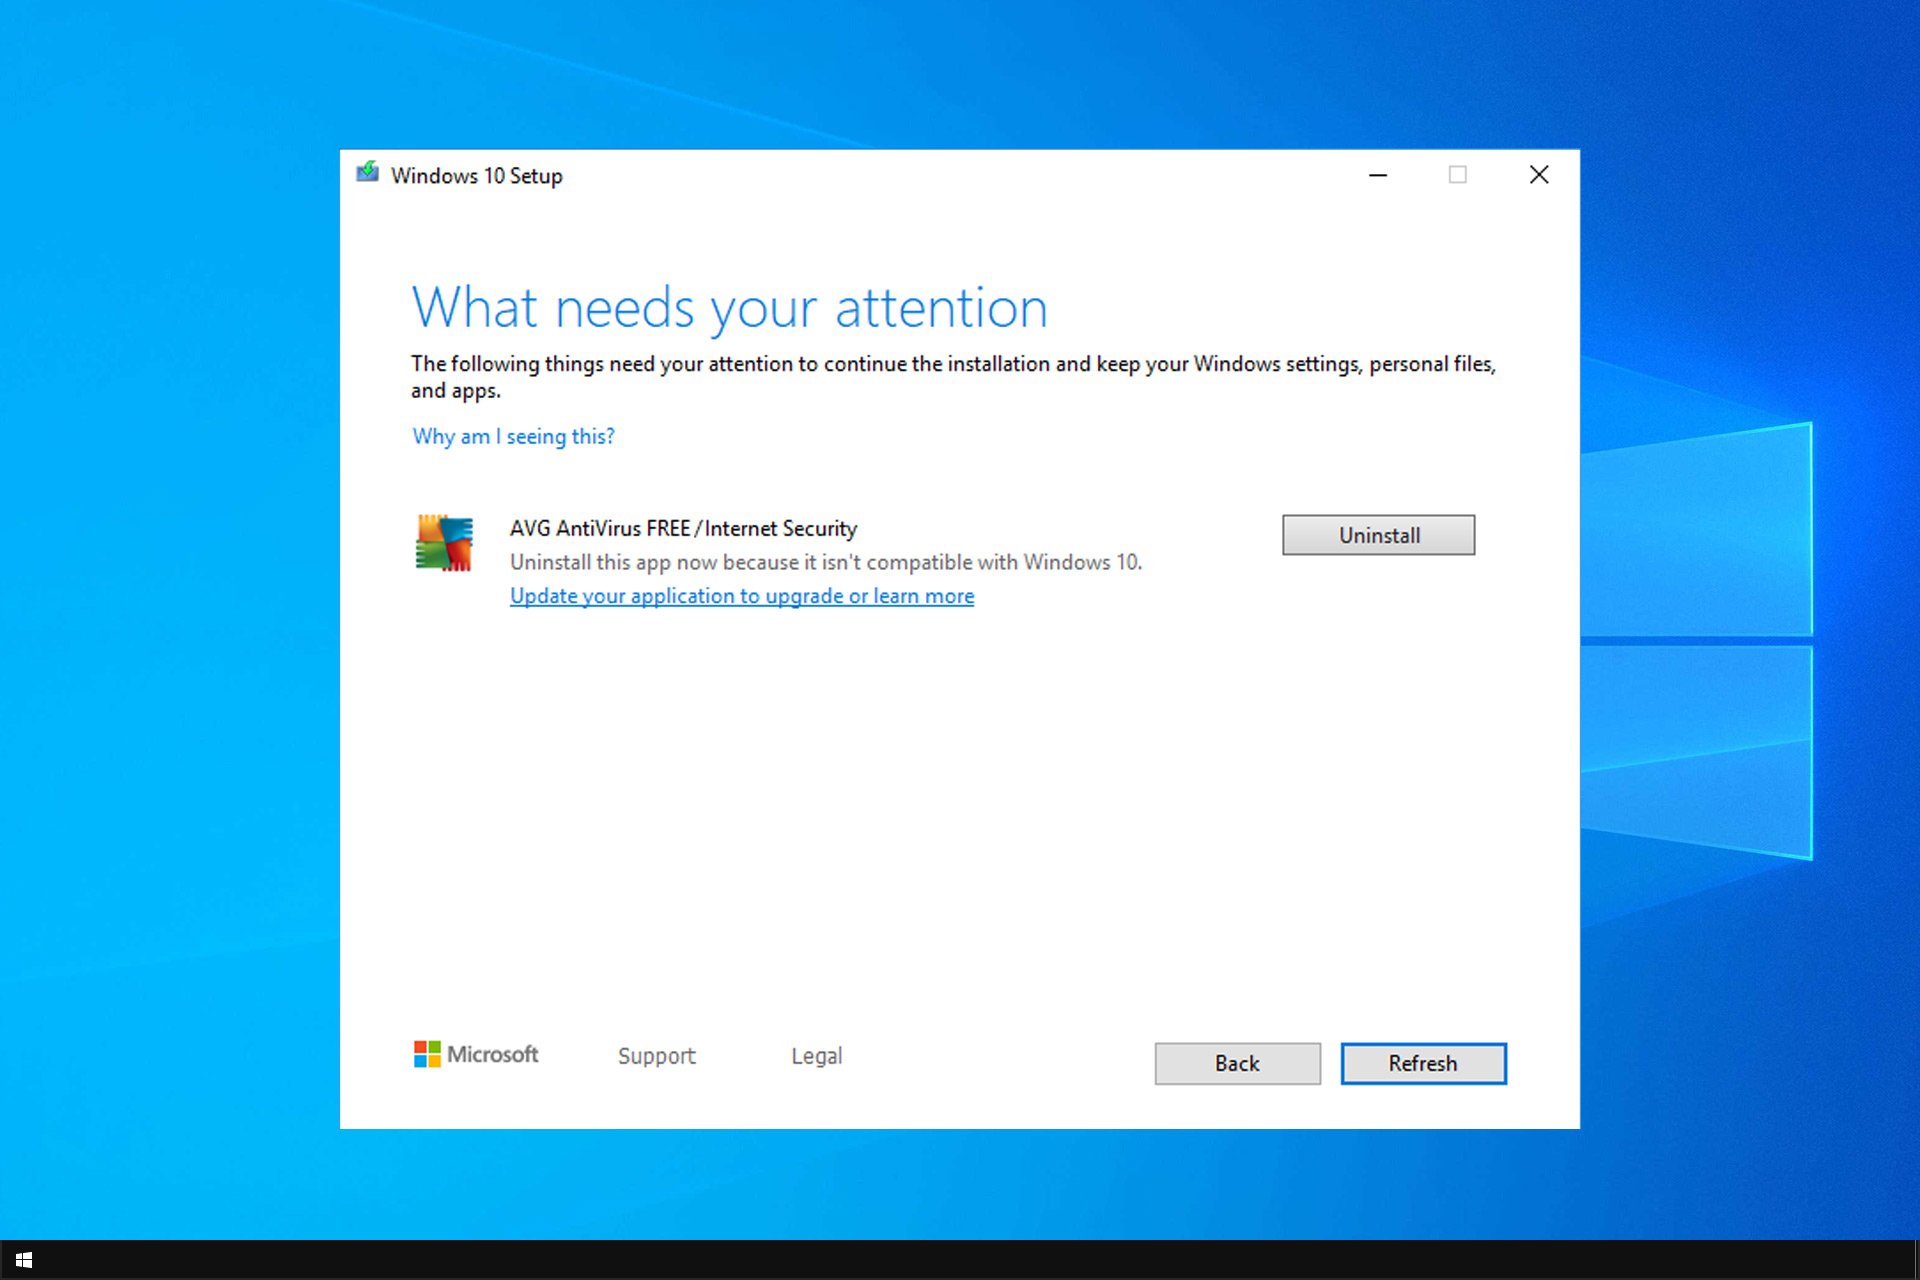
AVG Antivirus is among the most popular antivirus software, but many reported that AVG Antivirus is not compatible with Windows 10.
Those incompatibility issues prompted Microsoft to block Windows 10 build updates for PCs with old AVG Antivirus versions installed, and today we’ll show you how to fix that.
Is AVG compatible with Windows 10?
Yes, AVG is compatible with Windows 10, but if you encounter issues the likely cause is the following:
- Outdated version – AVG antivirus 19.5 and older aren’t compatible with Windows 10. If you try to use that version AVG won’t install at all.
- Leftover files – If you have any AVG files on your PC, that can cause this issue to appear. To fix it, you need to remove software leftovers from your PC.
How can I fix AVG Antivirus Windows 10 incompatibility?
1. Uninstall AVG Antivirus
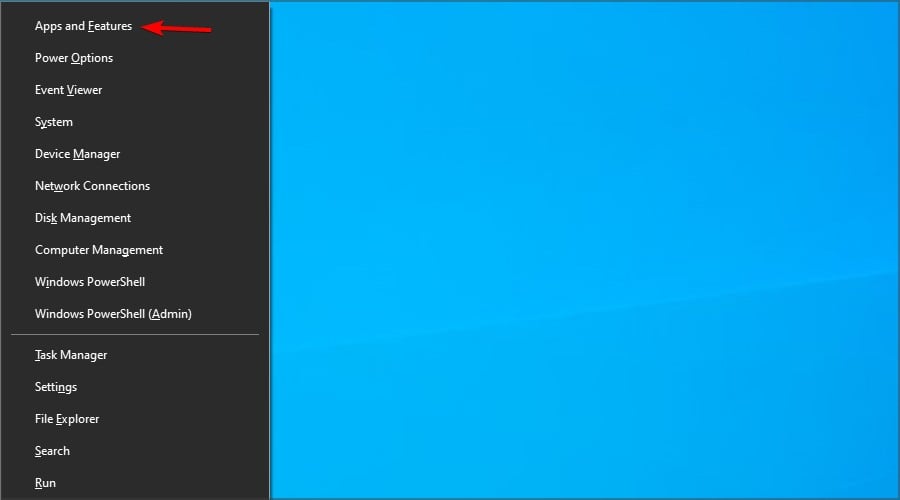
- Press the Windows key + X and choose Apps and Features.
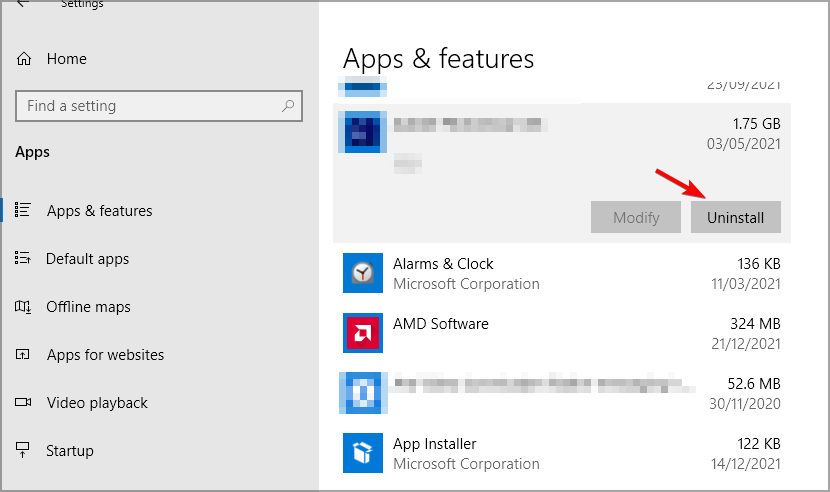
- Next, select Avast on the list of applications and click Uninstall.
- Follow the instructions on the screen to remove it.
If your current version of AVG Antivirus is not compatible with Windows 10, your only option is to remove it.
2. Run AVG’s uninstaller utility
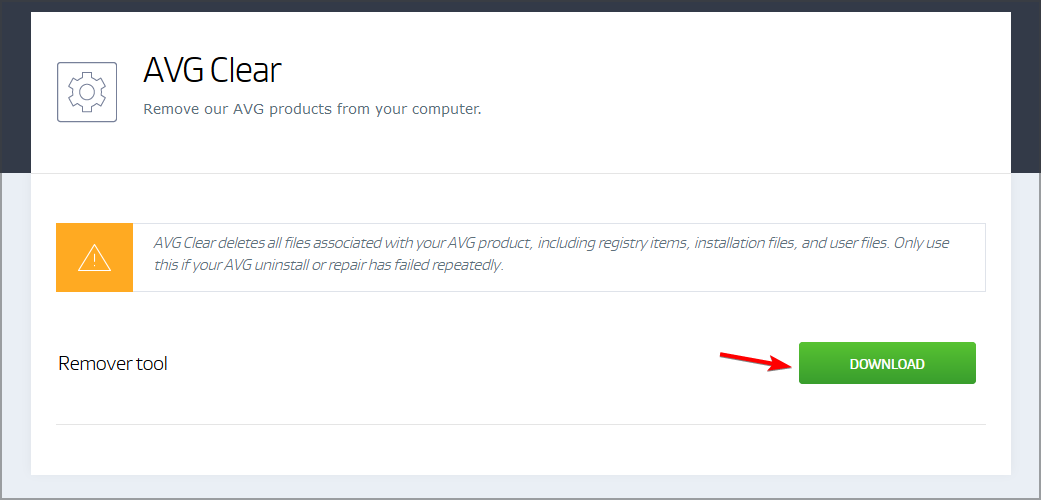
- Visit the AVG Remover page and download the software.
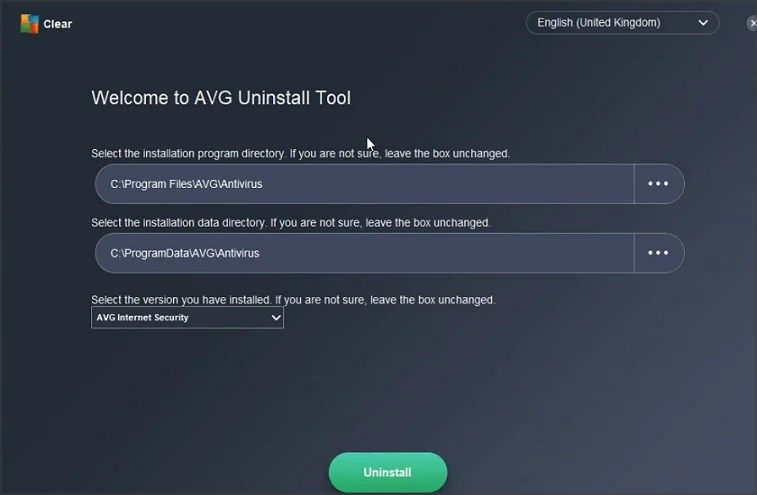
- Once the application is downloaded, start it.
- Follow the instructions on the screen to complete the process.
3. Search for and delete all copies of avgui.exe
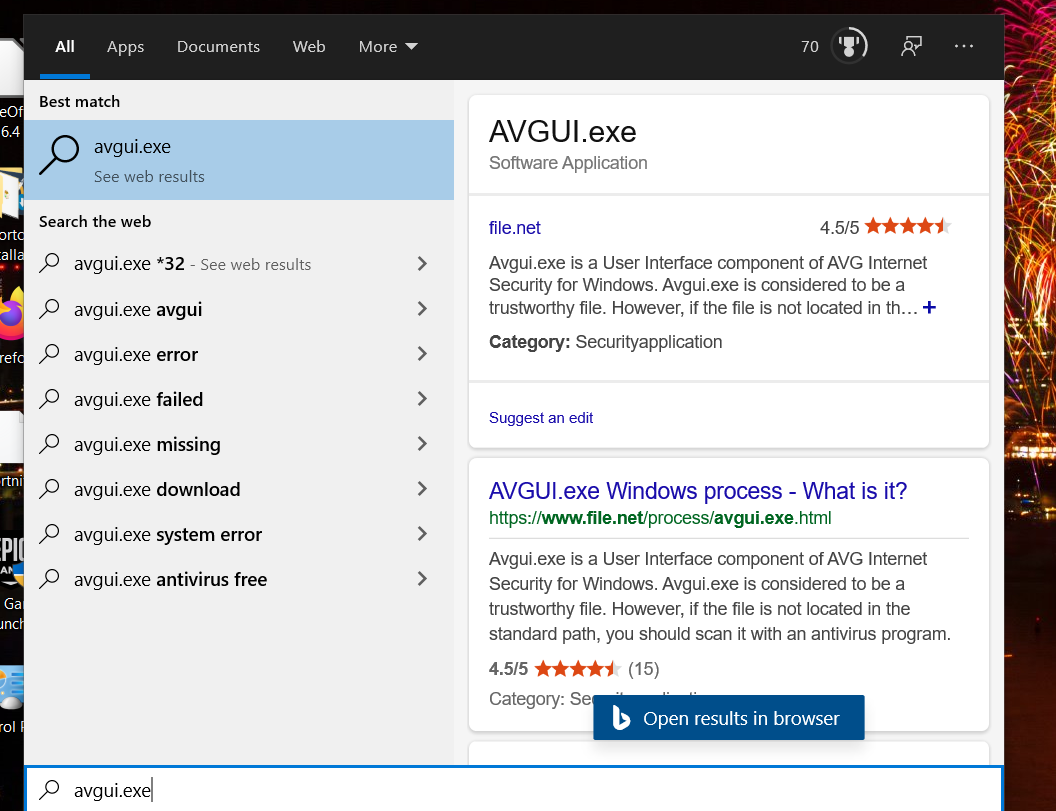
- To bring up the search tool, press the Windows key and S simultaneously.
- Input avgui.exe within the search box.
- Right-click any avgui.exe file found in search results and select Open file location.
- Then right-click avgui.exe files in File Explorer and select Delete to erase them.
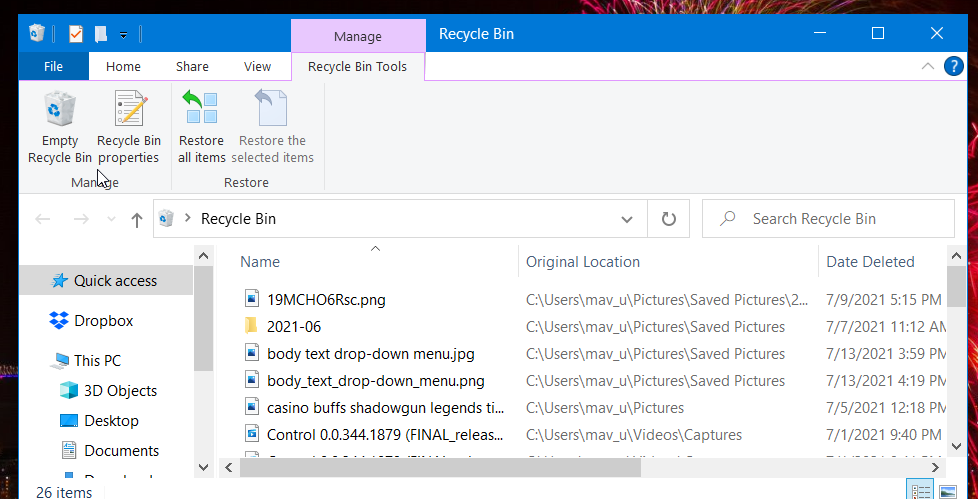
- Click the Recycle Bin desktop shortcut.
- Select the Empty Recycle Bin option.
 NOTE
NOTE
4. Delete leftover AVG folders
- First, press the Windows and E keys simultaneously to bring up File Explorer.
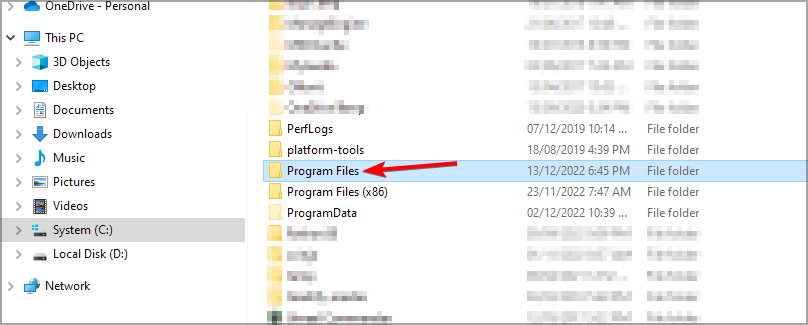
- Next, open this folder path:
C:\Program Files (x86) - If you can find an AVG folder there, right-click it and select Delete.
- Open this folder in File Explorer:
C:\Program Files - Select any AVG folder you find there, and click the Delete button on the Home tab.
- Thereafter, open the Recycle Bin.
- Click Empty Recycle Bin to clear it.
In case AVG Antivirus is not compatible with Windows 10, you might have to manually remove all its files.
5. Clean the registry
 NOTE
NOTE
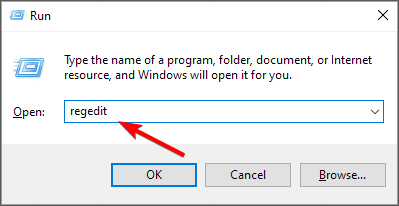
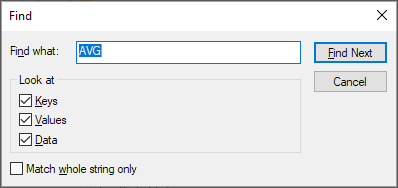
- Press Windows key + R and type regedit. Press Enter.
- Now press Ctrl key + F and type AVG.
- Once you find the desired keys or DWORD, delete it.
- Repeat steps 2 and 3 until all entries are removed.
There are plenty of third-party registry cleaners available that can make this task a lot easier. CCleaner is a highly-rated registry utility that’s recommended with additional hard drive cleaner and uninstall tools.
If AVG Antivirus is not compatible with Windows 10, then these steps should surely help you with the problem.
In case you have further issues, our AVG Antivirus won’t update or uninstall guide will surely help you fix that.
What method did you use to fix this problem? Let us know in the comments below.
Still experiencing issues?
SPONSORED
If the above suggestions have not solved your problem, your computer may experience more severe Windows troubles. We suggest choosing an all-in-one solution like Fortect to fix problems efficiently. After installation, just click the View&Fix button and then press Start Repair.
