Fix: Windows Couldn’t Automatically Bind the IP Protocol
Disable or uninstall the VPN completely
- This error could occur due to outdated network adapter drivers or conflicting network configurations or settings.
- To fix it, you need to update the network adapter, re-enable the network adapter or reset the network configuration.
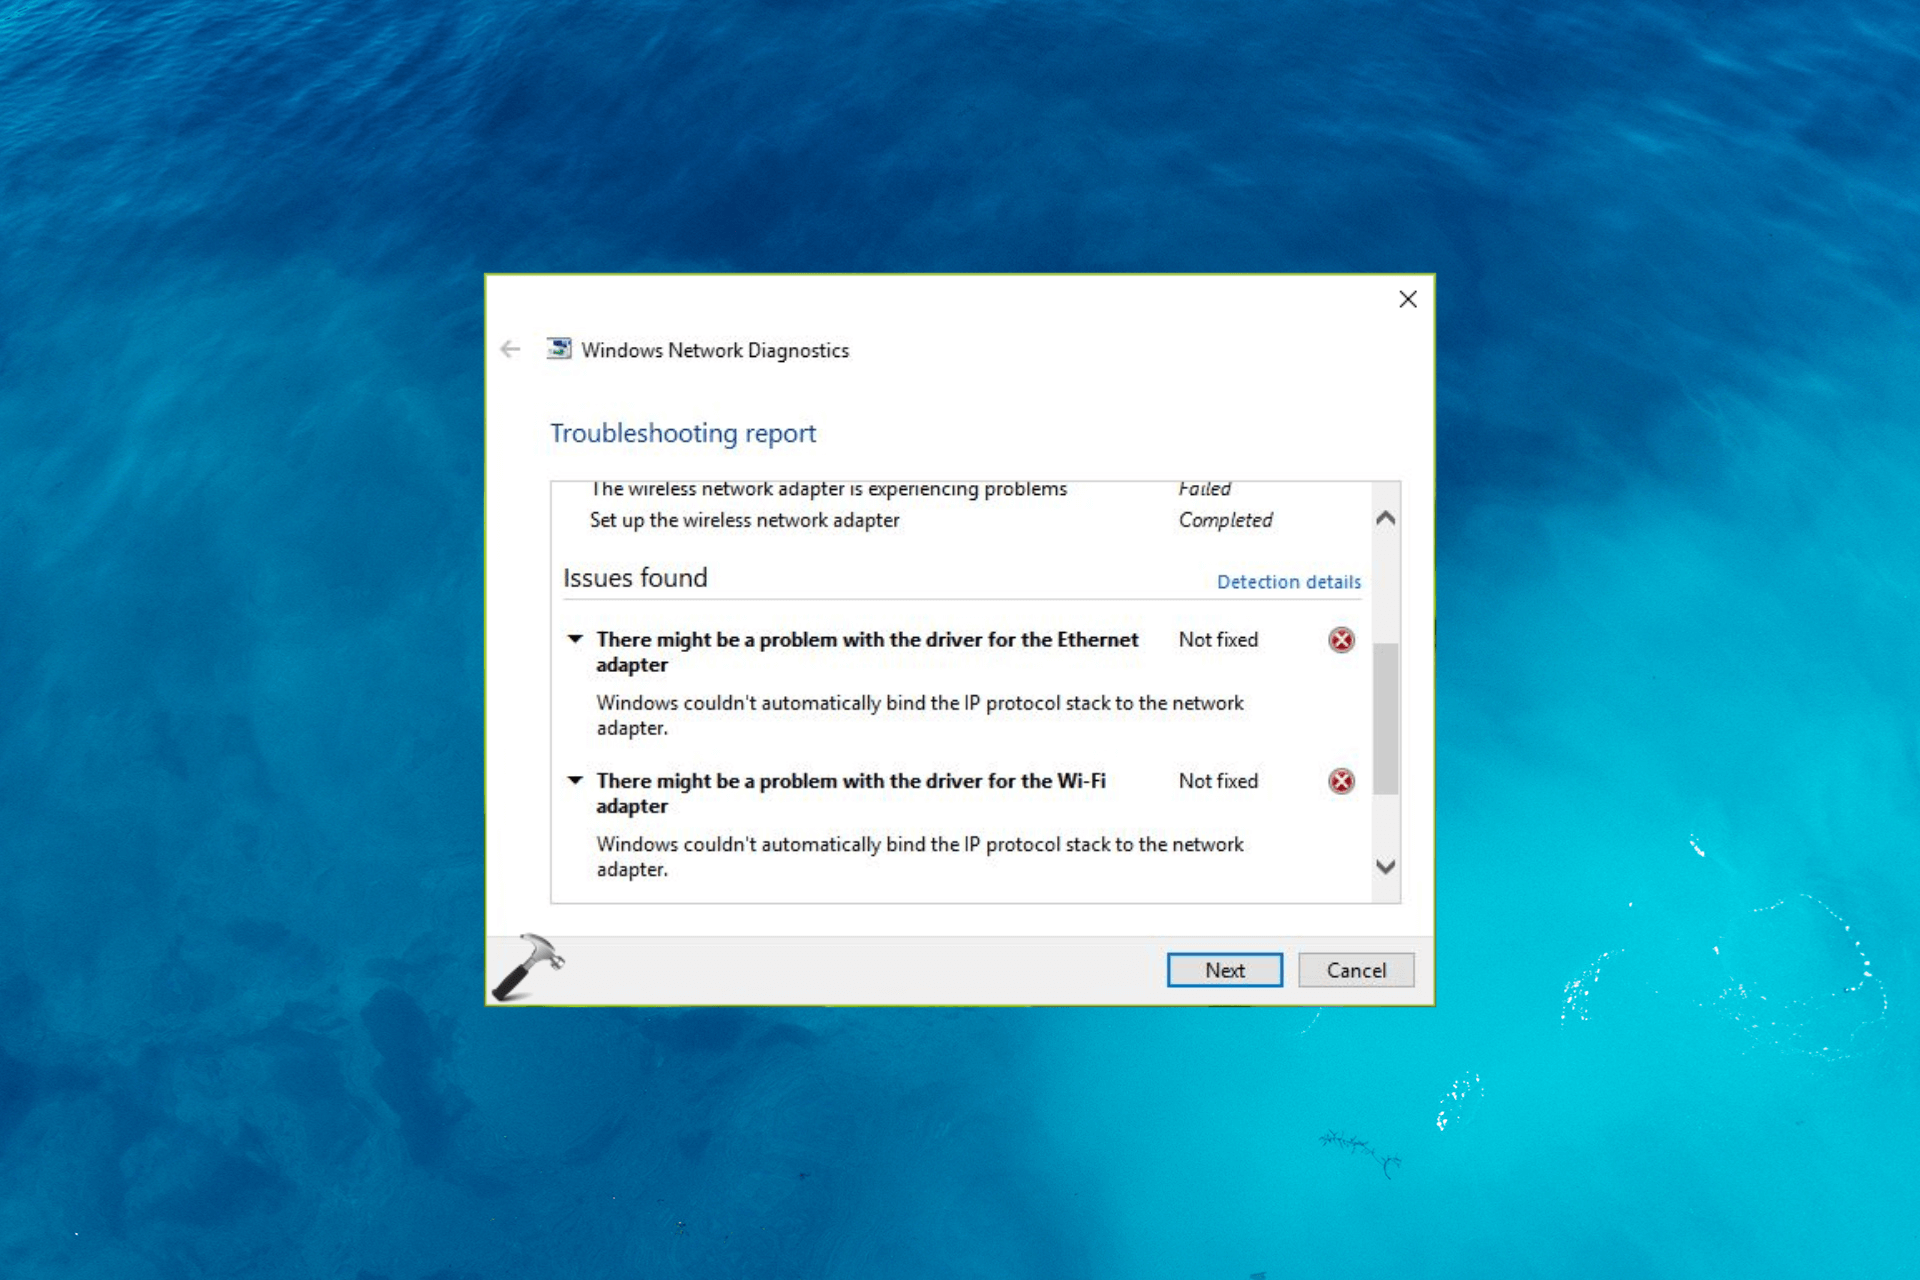
If you are facing issues with your network and, upon running the Network troubleshooter, you encountered the Windows couldn’t automatically bind the IP protocol stack to the network error, this guide can help!
Why can’t Windows bind the IP protocol stack?
There could be various reasons for this error; some of the common ones are mentioned here:
- Obsolete network adapter drivers – You might face internet issues if the network adapter drivers are incompatible or outdated. Try updating them to the latest version.
- Conflicting network configurations or settings – If the network settings are conflicting or corrupted, you may face this problem. Try resetting the network configuration.
- Not able to fetch IP address using DHCP – Check the network adapter for malfunction if it is damaged; it could cause issues while connecting to the internet.
- Unsupported VPN software – If the VPN software is incompatible or uninstalled but has leftover files, it might hinder the process. Try uninstalling VPN software completely.
- WLAN AutoConfig service is disabled -This issue could appear if the service is stopped or not working due to a bad Windows update or some third-party app.
So, these are the causes for this internet connectivity issue; let us check out the solutions.
What do I do if Windows can’t bind the IP protocol stack?
Before engaging in advanced troubleshooting steps, you should consider performing the following checks:
- Restart your computer and router.
- Disable or uninstall VPN if applicable.
- Ensure Windows is up to date.
If these fixes don’t work for you, move to the steps mentioned below.
1. Revert to the default Network Adapter Properties settings
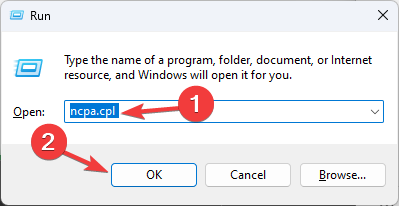
- Press Windows + R to open the Run dialog box.
- Type ncpa.cpl and click OK to open the Network Connections window.
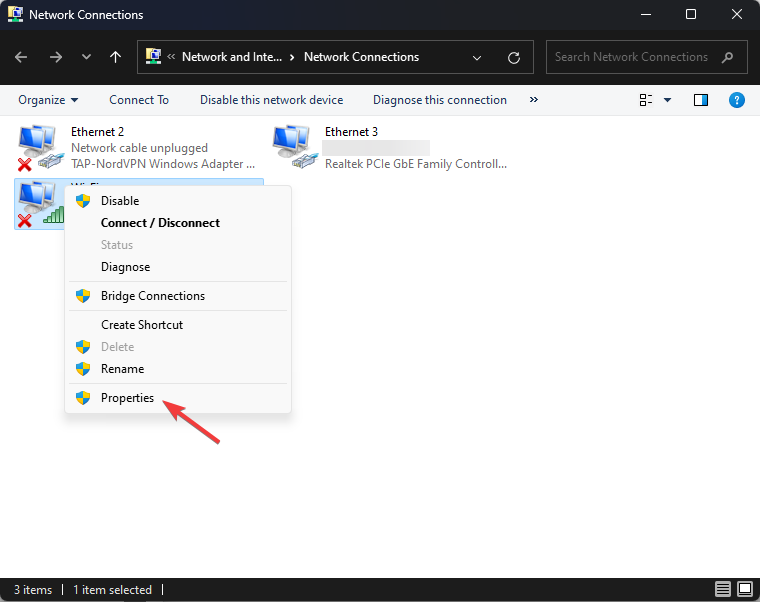
- Locate & right-click Wi-Fi and choose Properties.
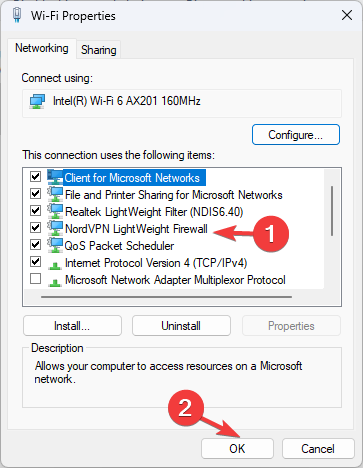
- Go to the Networking tab and take a screenshot of the current configuration.
- Check out this list of items below, and if you see any other items in the list checked in the Network Connections window, remove the checkmark:
- Click OK to save the changes.
2. Modify a registry entry
 NOTE
NOTE
- Press Windows + R to open the Run console.
- Type regedit and click OK to open the Registry Editor.
- Navigate to this path:
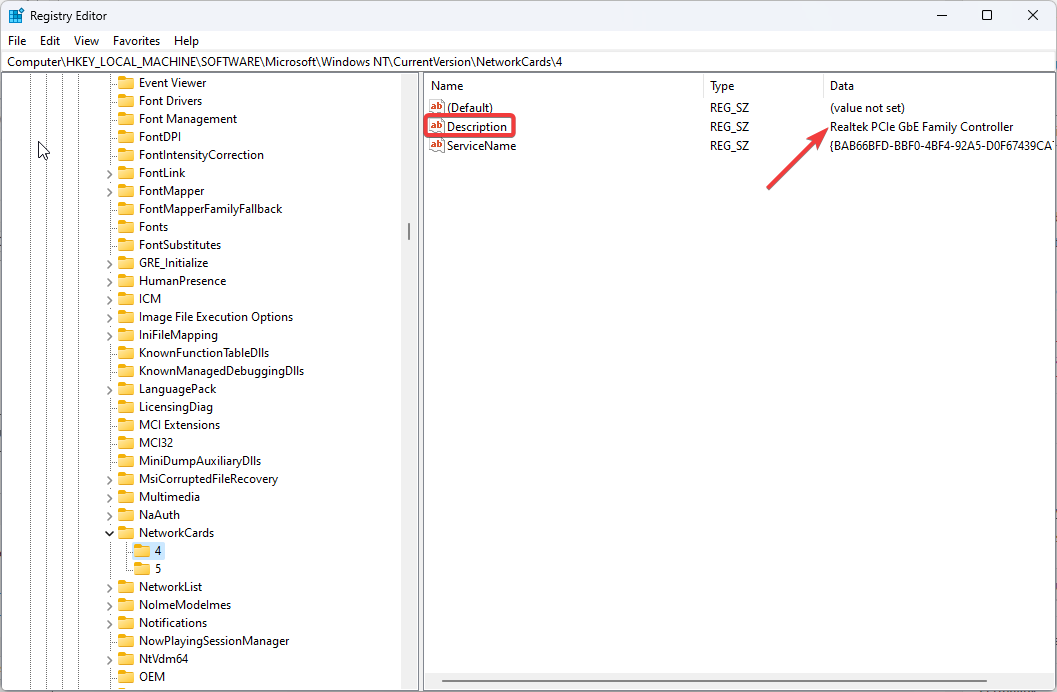
Computer\HKEY_LOCAL_MACHINE\SOFTWARE\Microsoft\Windows NT\CurrentVersion\NetworkCards - You will see two or three sub-keys related to the network adapters under NetworkCards, click on each sub-key one by one, and on the right-side pane, check the Description entry to locate the Network adapter causing the problem.
- Select the affected one, double-click ServiceName, copy the Value data from the next window, and paste it somewhere.
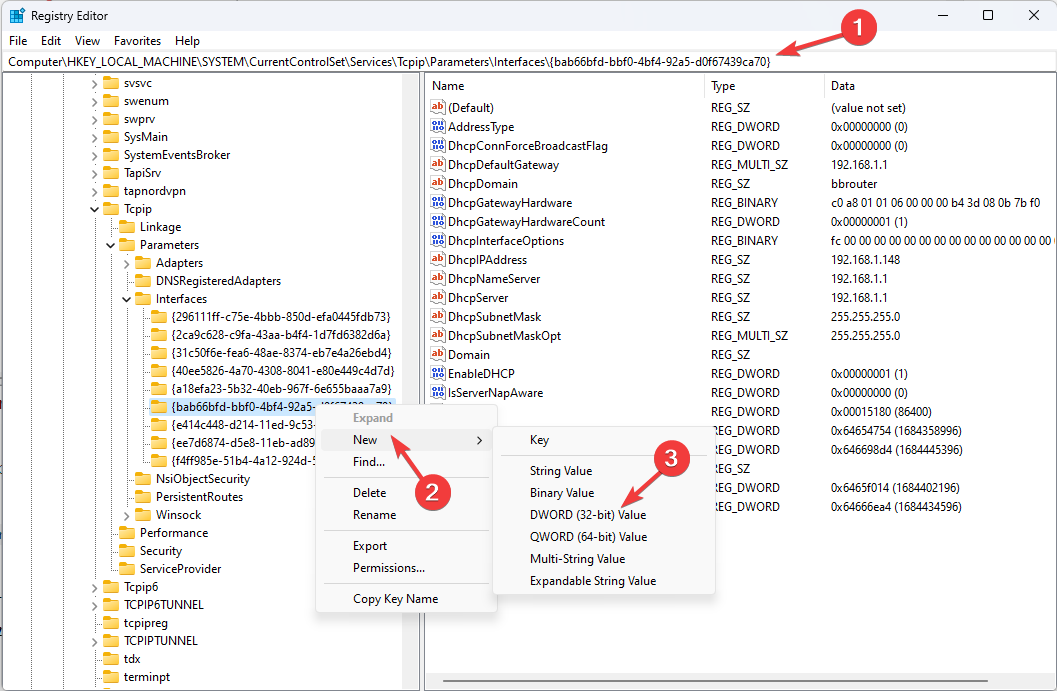
- Copy and paste the path mentioned in the Registry Editor’s address bar and replace ServiceName_string_Value with the value you copied in Step 5:
Computer\HKEY_LOCAL_MACHINE\SYSTEM\CurrentControlSet\Services\Tcpip\Parameters\Interfaces\ServiceName_string_Value - Right-click ServiceName Value, select New, and click DWORD (32-bit) value.
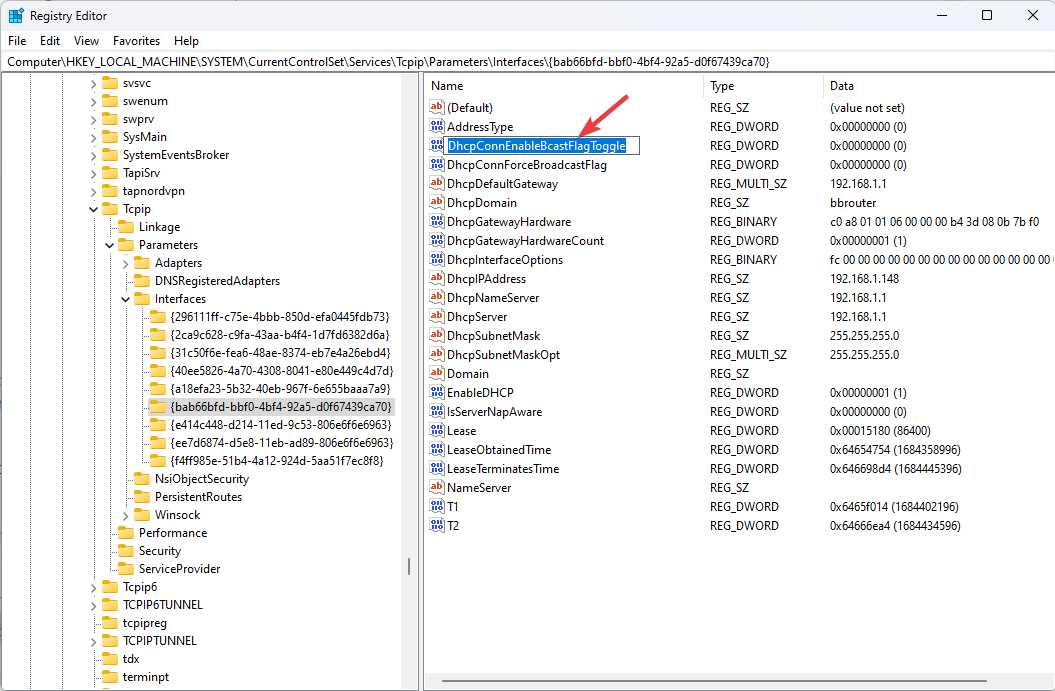
- Right-click the freshly created entry, select Rename and name it DhcpConnEnableBcastFlagToggle.
- Double-click it, set the Value data as 1, and click OK.
- Close Registry Editor and restart your computer.
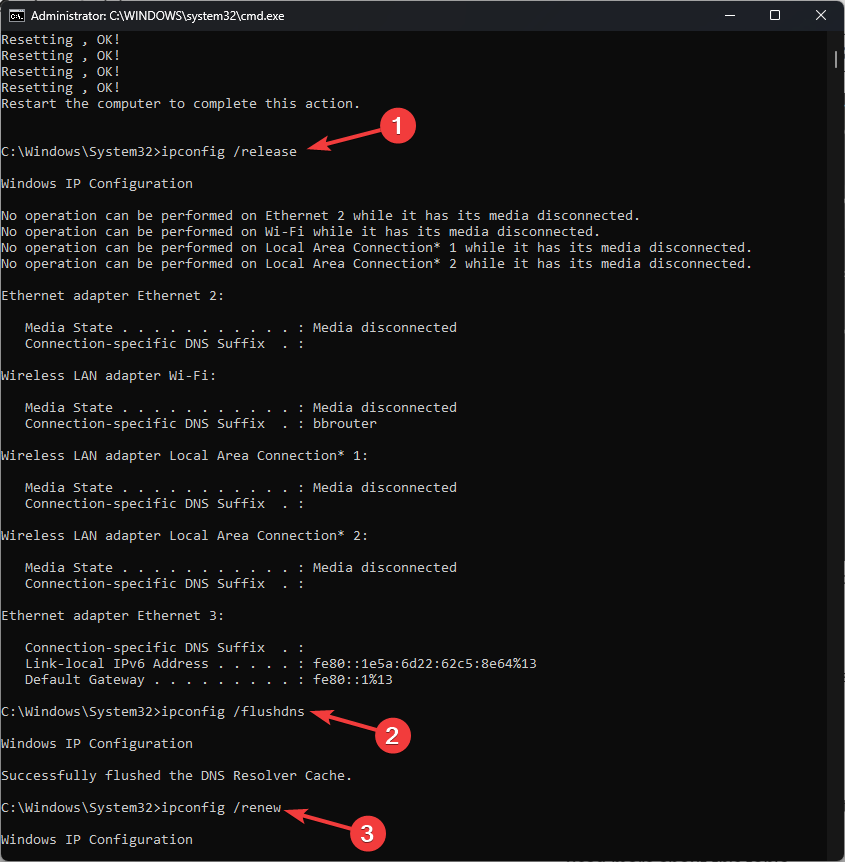
3. Reset the IP and clear the DNS cache
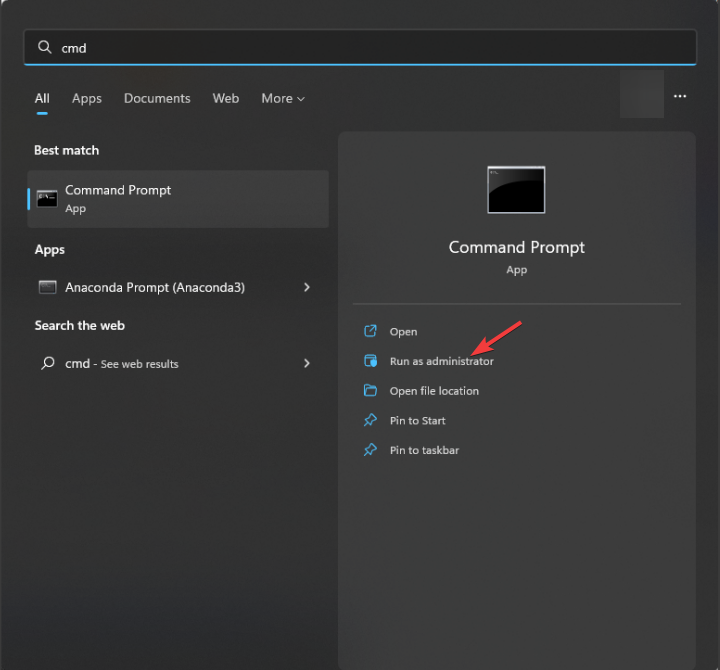
- Press the Windows key, type cmd, and click Run as administrator.
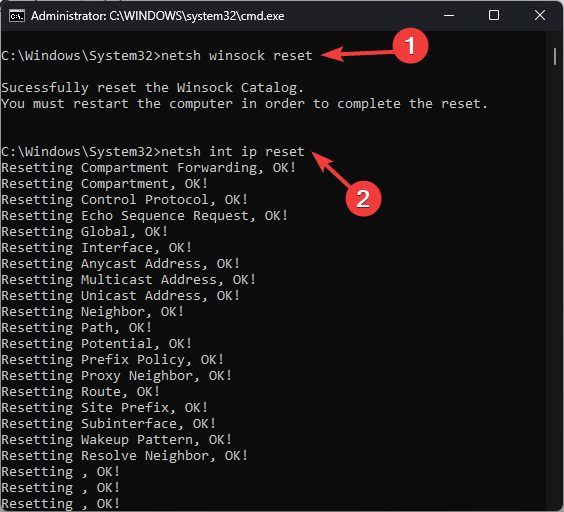
- Copy & paste the following commands one by one and press Enter after every command:
- Type the following commands one by one and press Enter after each command:
- Reboot your computer to let the changes take effect.
4. Update the network drivers
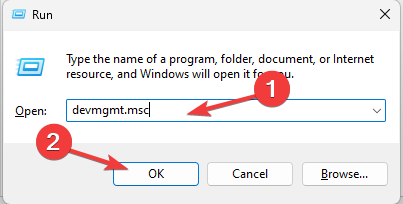
- Press Windows + R to open the Run console.
- Type devmgmt.msc and click OK to open the Device Manager app.
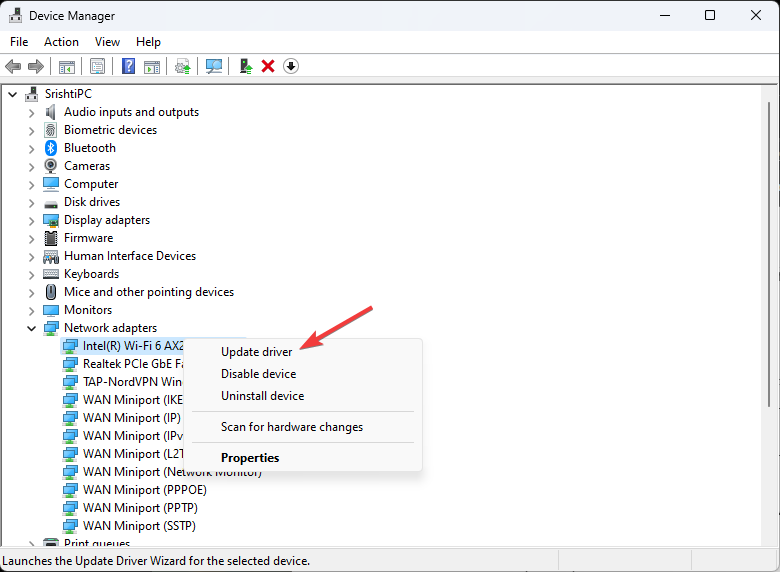
- Locate and expand Network adapters, right-click the affected entry, and select Update driver.
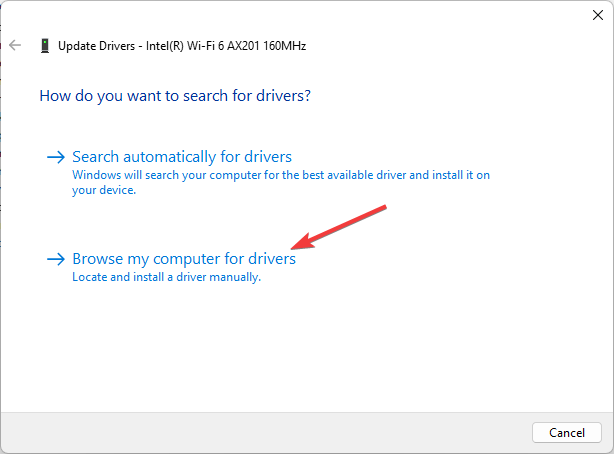
- Select Browse my computer for drivers.
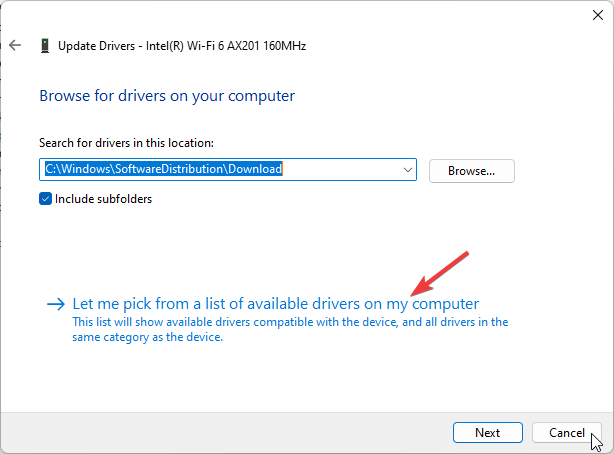
- Next, click Let me pick from a list of available drivers on my computer.
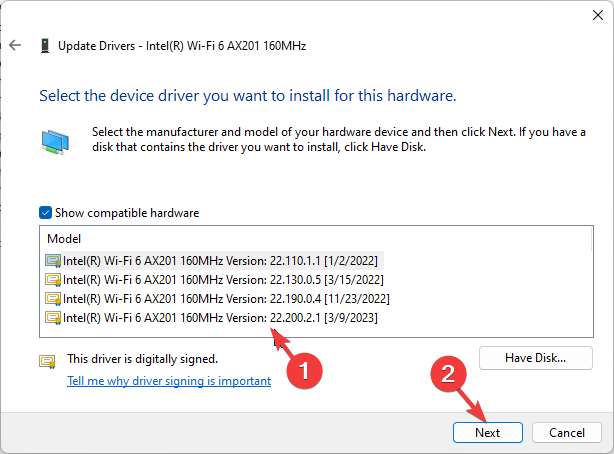
- Select the suitable one from the list and click Next.
- Follow the onscreen instructions to complete the process.
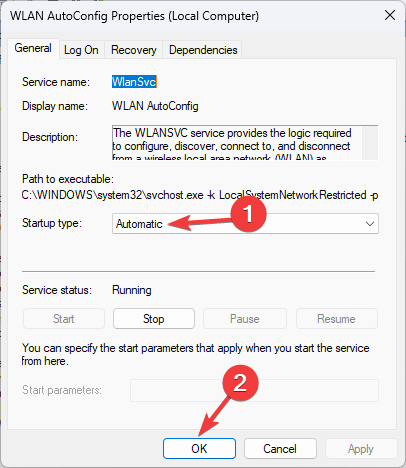
5. Modify the WLAN AutoConfig service properties
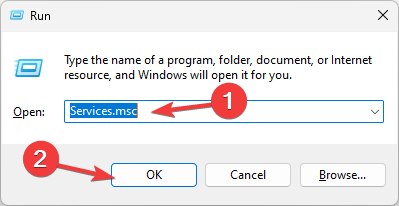
- Press Windows + R to open the Run dialog box.
- Type Services.msc and click OK to open the Services app.
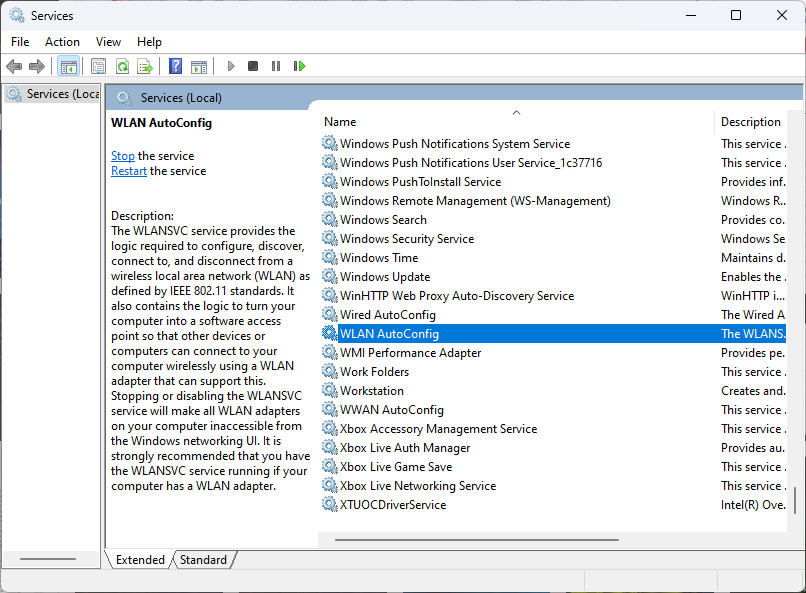
- Locate and double-click WLAN AutoConfig to open its Properties.
- Set the Startup type as Automatic.
- Click OK to save the changes.
If none of the solutions worked, you can always perform a System Restore to revert the OS to a previous healthy state.
Windows will restart and restore your machine to the selected state. If System Restore didn’t successfully complete, we recommend you read this guide to know the solutions.
So, these are methods you can use to fix the Windows couldn’t automatically bind the IP protocol stack to the network error. If you have any questions or suggestions, feel free to mention them in the comments section below.
Still experiencing troubles? Fix them with this tool:
SPONSORED
Some driver-related issues can be solved faster by using a tailored driver solution. If you're still having problems with your drivers, simply install OutByte Driver Updater and get it up and running immediately. Thus, let it update all drivers and fix other PC issues in no time!
