Error 1327 Invalid Drive When Installing: 4 Fixes to Use
Creating a new user works as a last resort
- Invalid Drive errors usually appear when trying to install some software. This could happen because the drive is unavailable or a system setting is wrongly configured.
- Error 1327 can be fixed by reconnecting the missing drive if possible. Otherwise, check one of the solutions presented and follow the instructions.

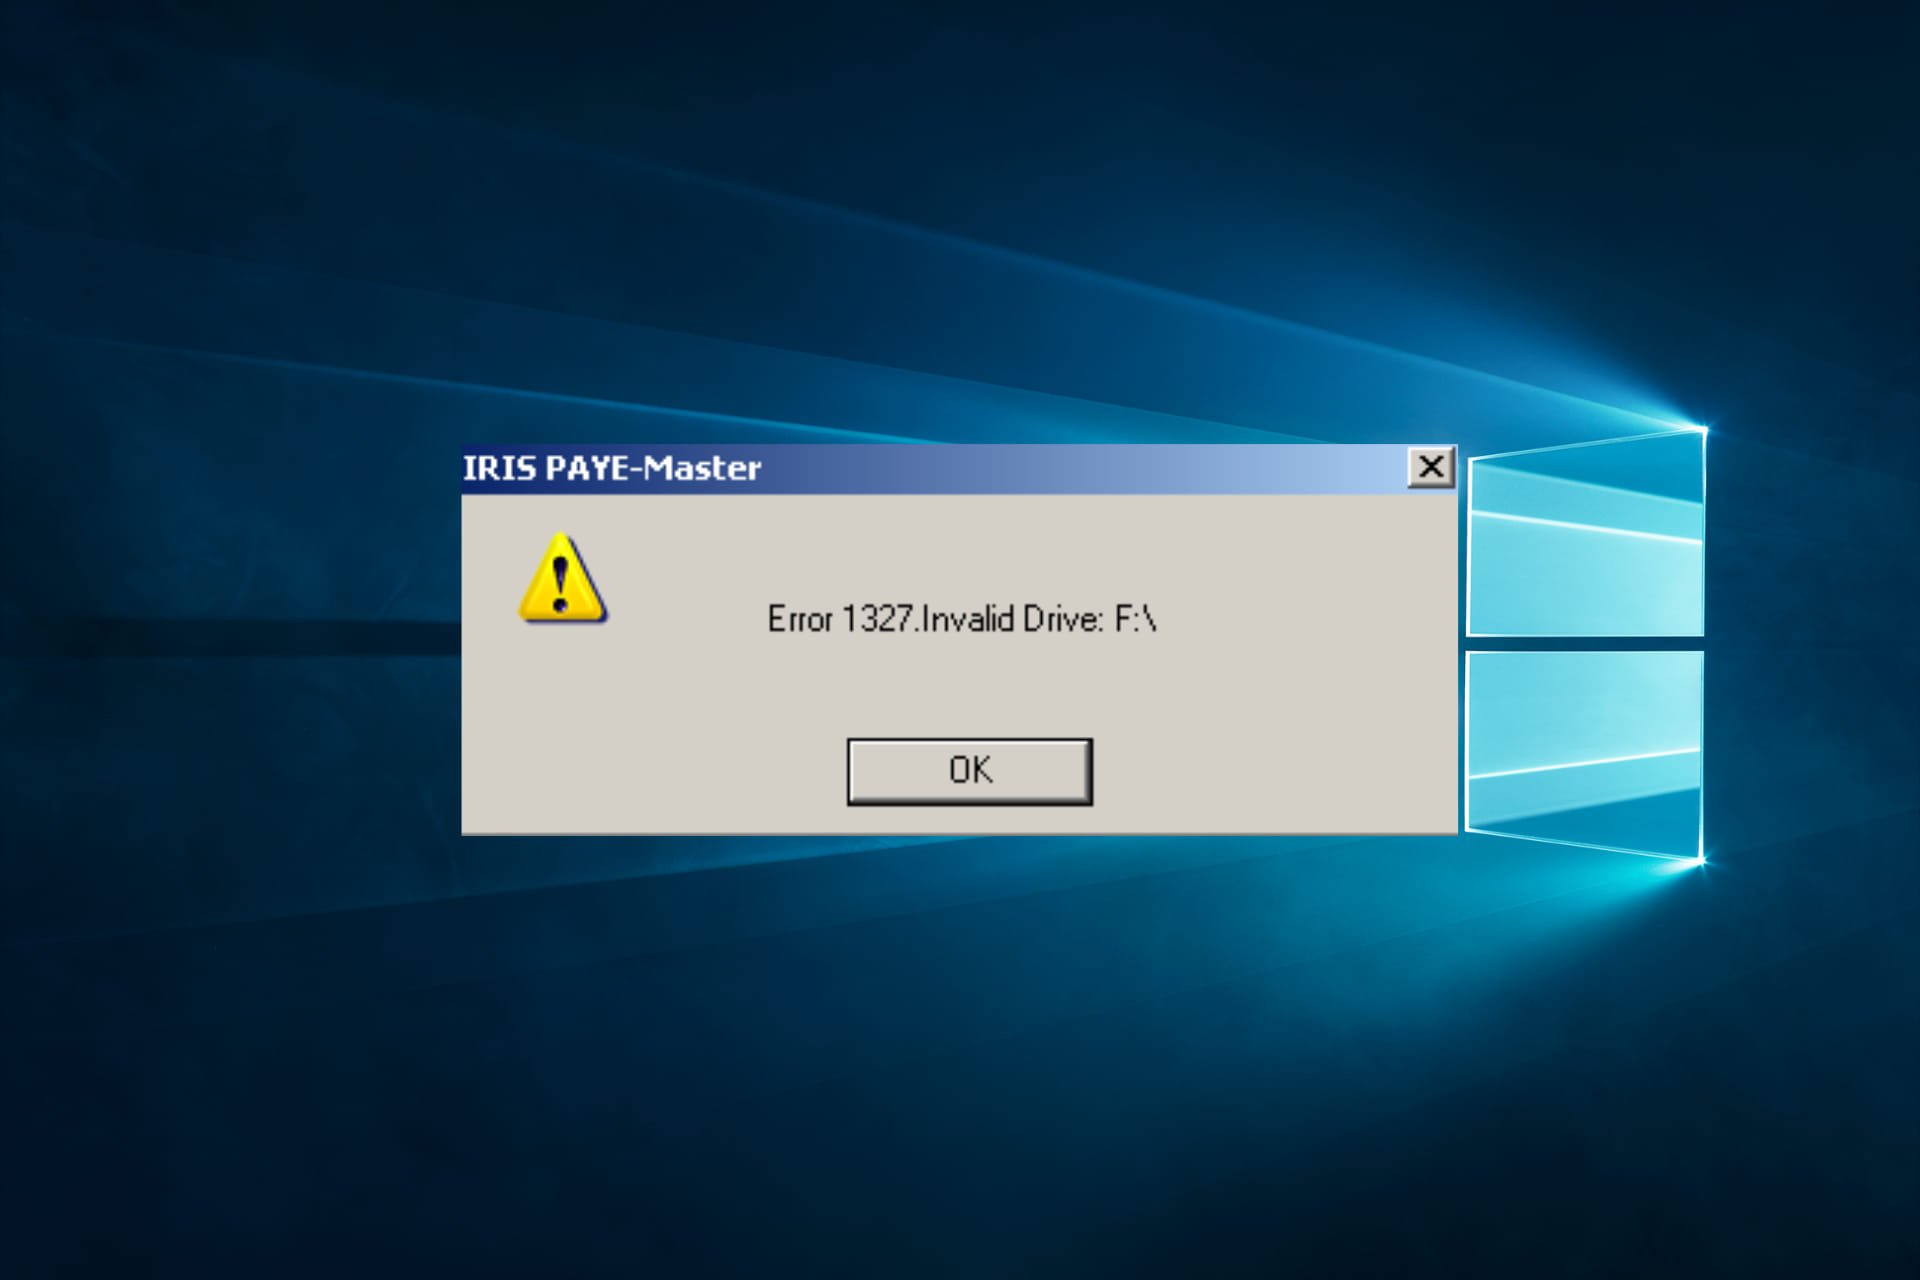
When installing software on your computer, you may encounter an error message that reads Error 1327 invalid drive.
This error indicates that the installer cannot access a particular drive on your system, which can prevent the installation process from proceeding.
This article will explore some of the most common solutions for the error.
What is invalid drive error 1327 Windows 10?
Error 1327 invalid drive is a Windows 10 error during software installation when the installer cannot access a particular drive on your system.
The causes of the error in Windows 10 can include any of the following:
- Incorrect drive letter – If the installer tries to access a drive letter that doesn’t exist on your system, it will trigger this error.
- Corrupted or outdated registry settings – Issues with your system’s registry can cause this error, mainly if the registry contains outdated or incorrect information about your system’s drives.
- Missing or disconnected network drive – If the installer is trying to access a network drive that is no longer available or has been disconnected, it will trigger this error.
- User profile issues – Problems with your user profile, such as a corrupted profile or incorrect permissions, can cause this error.
Some variants of this error include trying to install WiFi dongle error 1327 invalid drive F, error 1327 invalid drive on Quickbooks, and invalid drive G.
You should be able to fix the problem using the suggested solutions below.
How can I fix Error 1327 invalid drive?
- Remove the drive letter with Command Prompt
- Reinstall the program
- Disconnect network drive
- Reassociate the drive letter with a temporary location
1. Remove the drive letter with Command Prompt
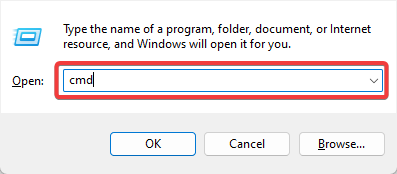
- Press Windows + R, type cmd, and hit Ctrl + Shift + Enter.
- In the Command Prompt, type the following line and press Enter (Substitute your drive letter for P):
subst /P - Close Command Prompt and try to install your program.
Your command will allow you to connect and disconnect the drive letter to a virtual location. Disconnecting a letter should allow your program to install without generating an error message.
2. Reinstall the program
If this error occurs when you are trying to install previously removed software, then some of the leftovers of the old program might create a conflict.
You should clean the system from old or unused software thoroughly. There are specialized tools to scan every part and detect and remove leftovers.
We recommend you use one of the best uninstaller software as they can remove every file related to the app you want to delete, thus allowing you to reinstall with no issues.
3. Disconnect the network drive
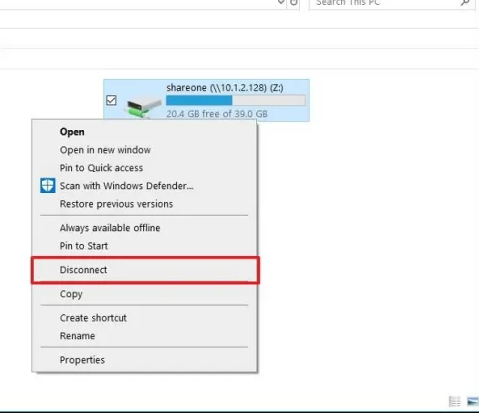
- Press Windows + E to open File Explorer.
- Find the Network drive.
- Right-click it and select Disconnect.
- Try to install your program again.
This solution will work only if a network drive appears in the File Explorer; otherwise, stick with the previous solution.
4. Reassociate the drive letter with a temporary location
- Press Windows + R, type cmd, and hit Ctrl + Shift + Enter.
- Type the script below and hit Enter (replace Drive Letter with your actual drive letter).
subst [Driver Letter]: C:temp - Close Command Prompt and reinstall the software.
- Again press Windows + R, type cmd, and hit Ctrl + Shift + Enter.
- Type the command below and hit Enter to remove the software’s association with the temporary path:
subst /D [Driver Letter]
This method lets you link a drive letter to a virtual drive location. In this manner, the installer will locate the respective temporary path and use it to install the problematic software.
Note: If the temporary path doesn’t exist, you must create it.
These solutions should suffice. However, in some extreme situations, you must create another user to correct the problem. You can also try signing in to another user account to see if the error still occurs.
Did some of these fixes work for you? Tell us more about your experience with this issue in the comments. We want to learn more about it and maybe provide you with some additional solutions if the methods mentioned above aren’t enough.


