How to Reset The TCP/IP Stack on Windows 10
TCP/IP establish communication between network devices
- The TCP/IP, also known as (Transmission Control Protocol/Internet Protocol) on Windows 10, is responsible for the communication process between network devices on the internet.
- When you Reset the TCP/IP Stack on your PC, it allows it to rewrite the registry and resets its Internet Protocol to default without posing any threats to your system.
- Users can reset the TCP/IP Stack on Windows 10 by running some commands on the Command Prompt and PowerShell.
Many of our readers encounter issues with their computer’s network connection and find it hard to resolve. A misconfiguration or faulty TCP/IP protocols most likely cause network issues. Hence, it is only reasonable to learn how to reset TCP/IP Stack on Windows 10 as it helps restore it to default settings.
Why do I need to reset the TCP/IP Stack on Windows 10?
All TCP/IP protocols on your PC are stored in a repository known as Stack, allowing the network to run on all protocols. The TCP/IP Stack processes data through layers and organizes the connections between the device and other internet network components.
However, resetting TCP/IP Stack will help with the following:
- Improve the interconnection between network devices – Resetting TCP/IP Stack on your PC aids the interconnection between your system and network devices.
- Reset TCP/IP Stack to fix network issues – Resetting TCP/IP Stack helps restore the network configuration on your computer and fix connection issues.
- Remove faulty IP (Internet Protocol) – When you reset TCP/IP Stack on your computer, it restores Internet Protocol to default, removing faulty protocols and resolving network issues on Windows 10.
Since we have outlined the reasons, let us explore how to reset TCP/IP Stack below.
How can I reset TCP/IP Stack on Windows 10?
1. Through Windows PowerShell
- Left-click the Start button, type powershell, and click Run as administrator.
- Click Yes on the User Account Control (UAC) prompt.
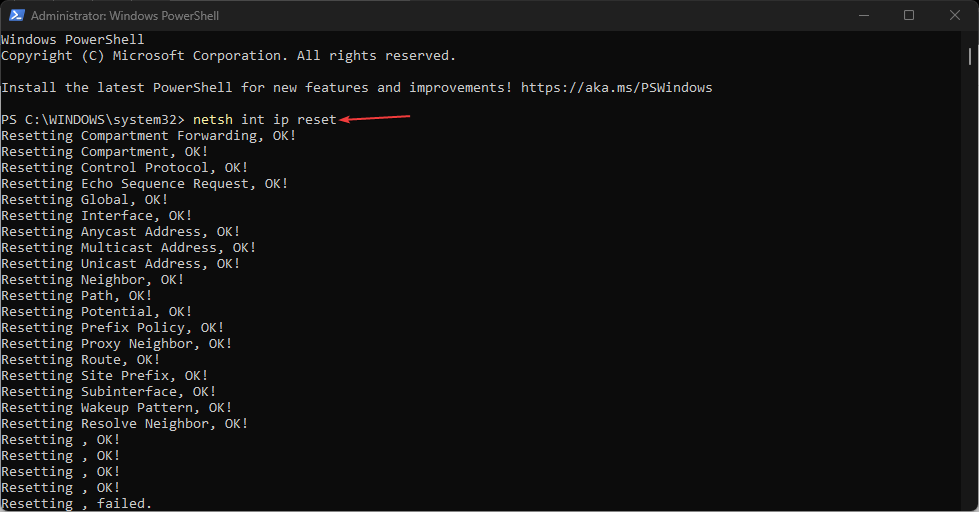
- Copy and paste the following lines of commands and press Enter to initiate them:
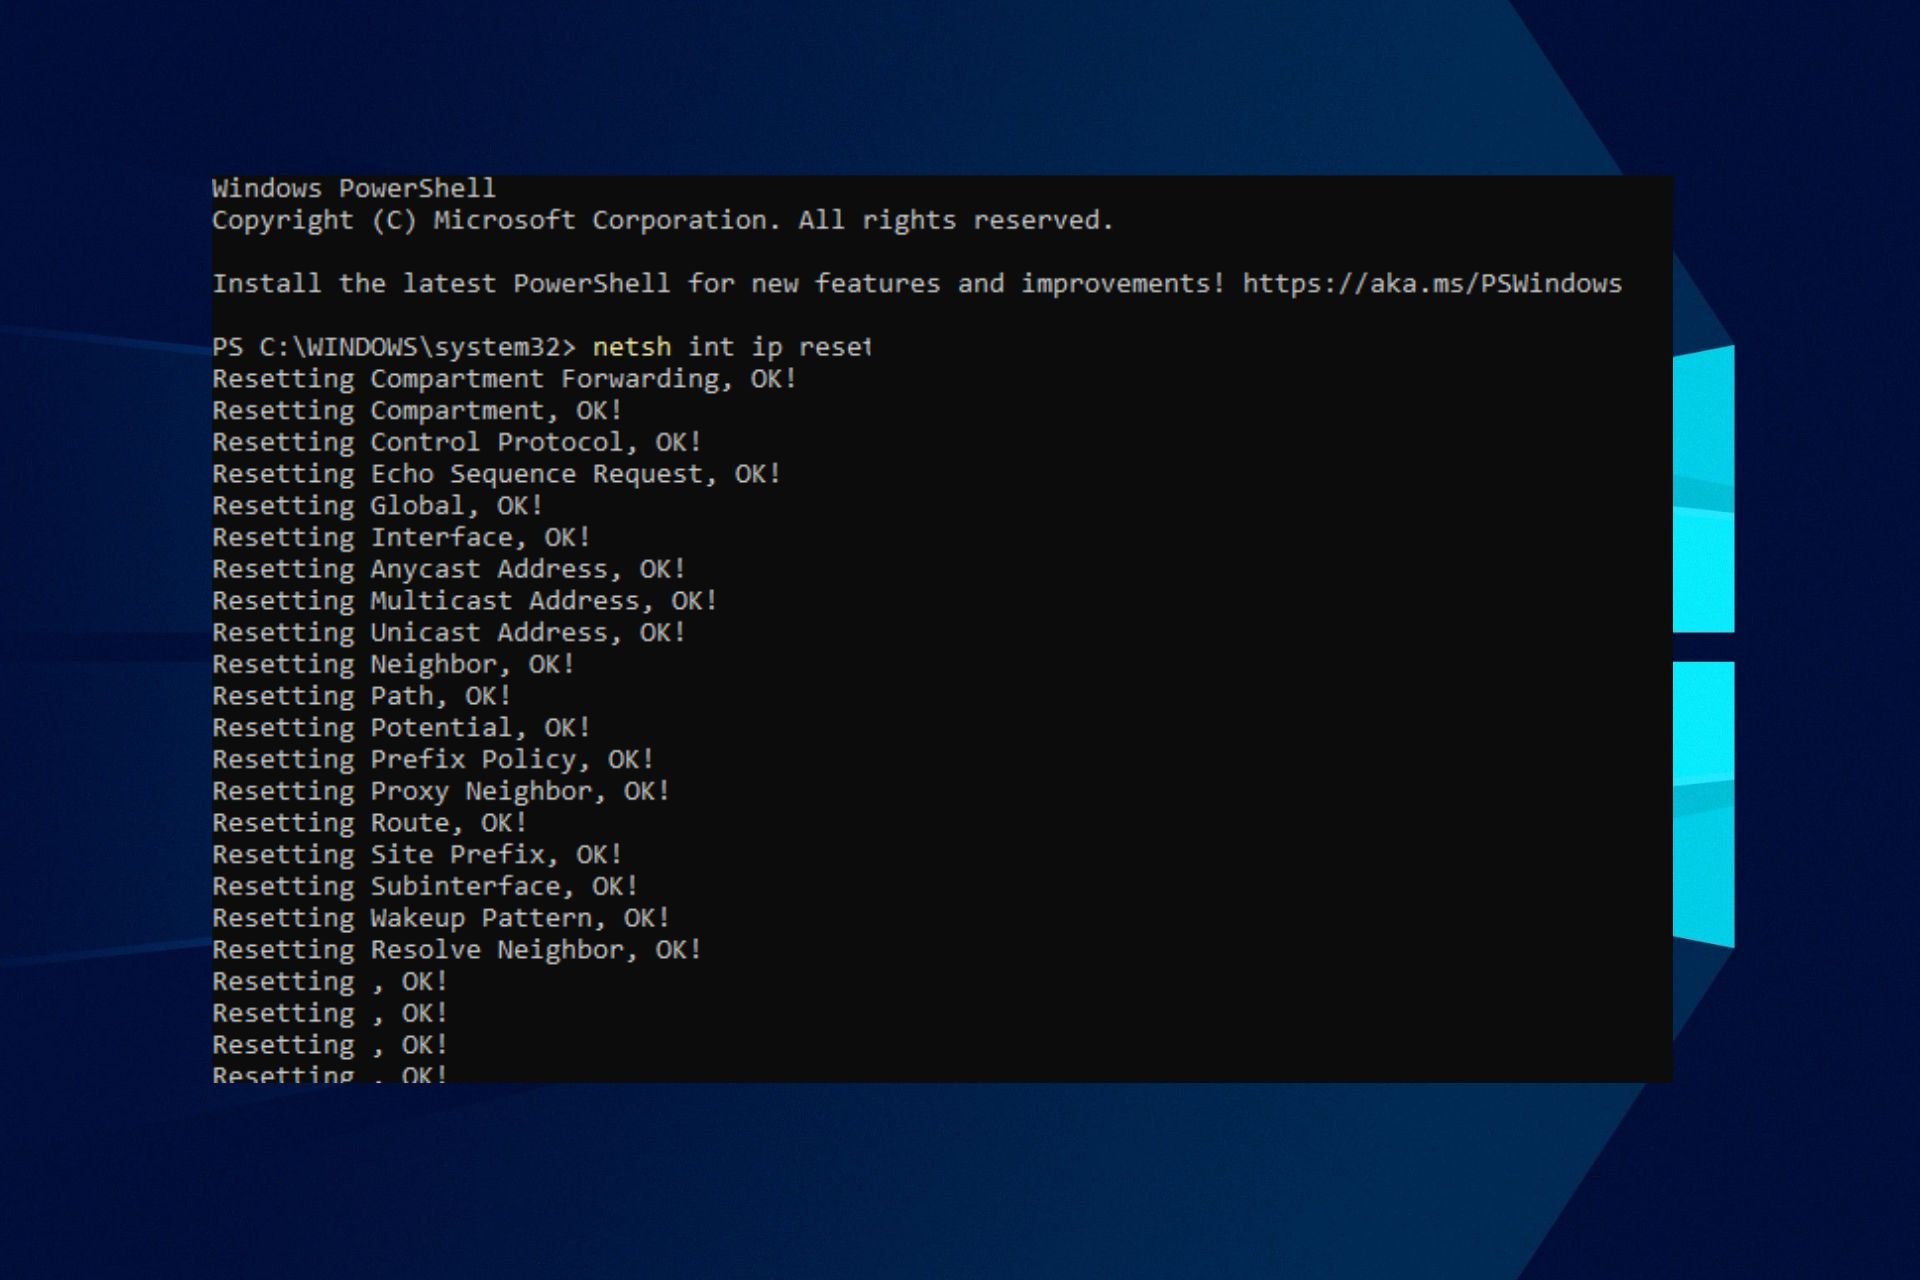
netsh int ip reset - For users running IPv4, copy and paste the following command and press the Enter key:
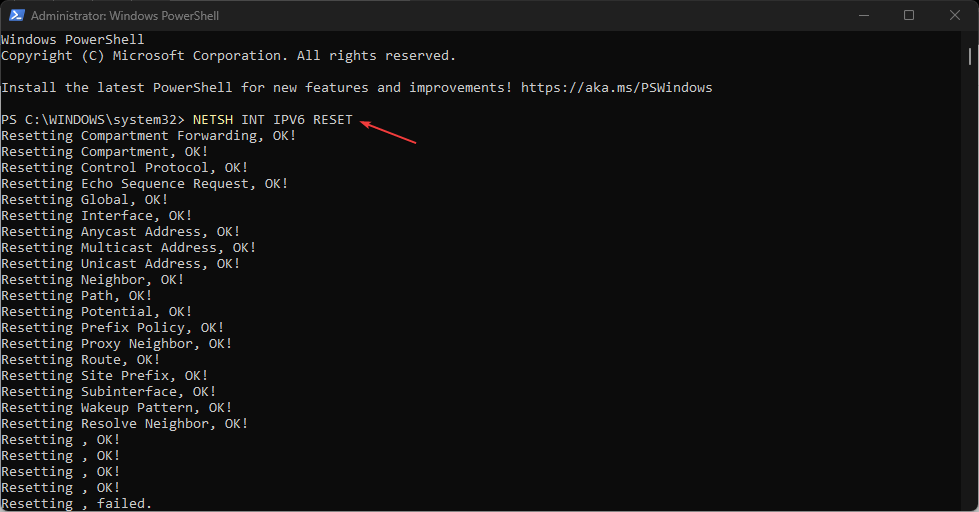
NETSH INT IPV4 RESET - If you are running IPv6, type this command and press the Enter key:
NETSH INT IPV6 RESET - If the command executes successfully, you will see a repeated result on your screen saying Resetting, OK!
- Restart your computer to complete the reset process with your network settings.
Running the above commands resets the TCP/IP Stacks on Windows 10 and fixes network problems.
2. Via Command Prompt
- Left-click the Start button, type command prompt, and click the Run as administrator option.
- Click Yes on the User Account Control prompt.
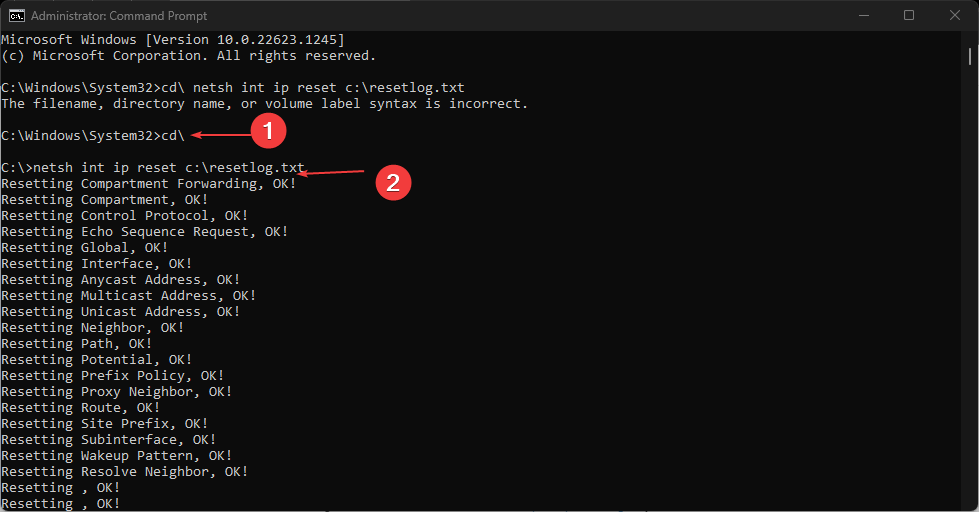
- Then, type the following commands and press Enter:
cd\netsh int ip reset c:\resetlog.txt - If you’re using IPv4, type the following command and press the Enter key:
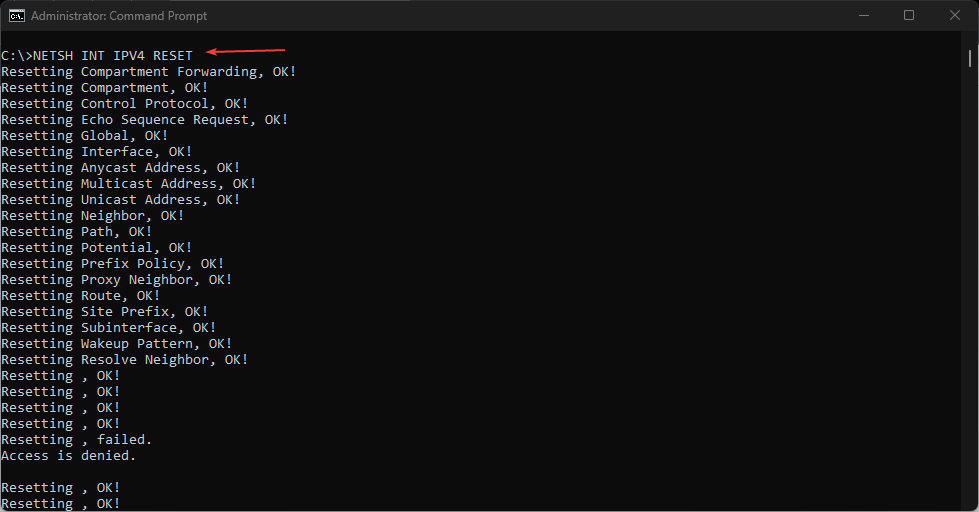
NETSH INT IPV4 RESET - IPv6 users, type this command and press the Enter key:
NETSH INT IPV6 RESET - Close the Command Prompt and restart your PC.
Read our guide on what to do if Command Prompt keeps crashing on your PC.
Alternatively, you can check our detailed guide about slow internet on one computer but fast on another and how to fix it.
In addition, our readers may be interested in what to do if they cannot Ping computers on the same Network on Windows 10.
Also, you can check the methods to change the IP address of a domain controller on Windows 10.
With this guide, you should easily reset TCP/IP Stack on Windows 10. However, if you have further questions, use the comments section below.
Still experiencing issues?
SPONSORED
If the above suggestions have not solved your problem, your computer may experience more severe Windows troubles. We suggest choosing an all-in-one solution like Fortect to fix problems efficiently. After installation, just click the View&Fix button and then press Start Repair.
