How to Cleanup the Windows Installer Folder [Full Guide]
Learn how to clear up storage immediately
- Your PC creates and stores a few files for every program that is installed using the Windows Installer.
- If left untouched, these can take up significant storage space over time.
- There are a few ways you can cleanup the Windows Installer folder, both manually and using a dedicated tool.
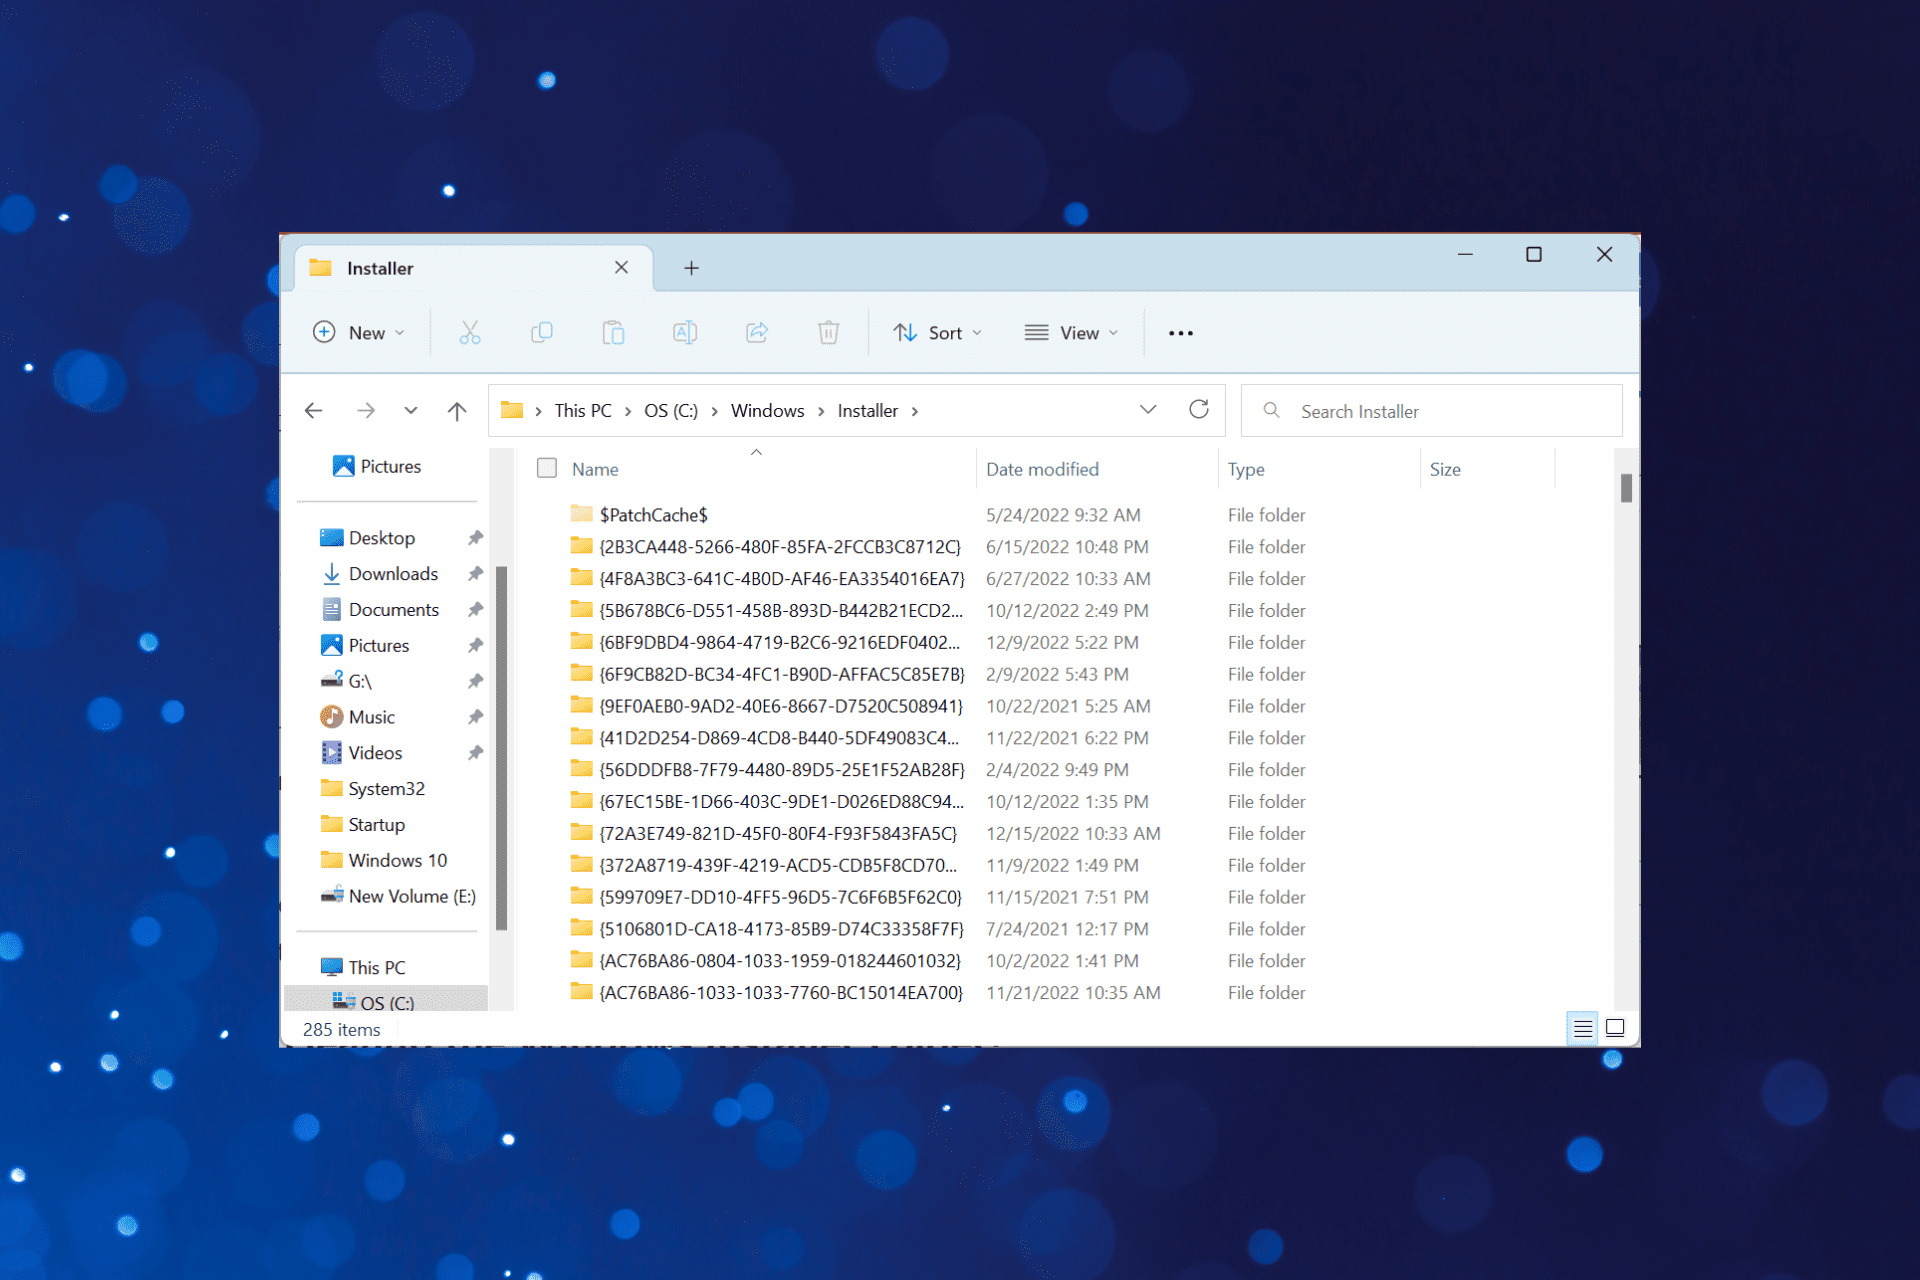
We install many apps on Windows, and each of these gets updated every few months. Here, the OS stores the change in system information in a file to aid recovery in the Windows Installer folder, which might need a cleanup.
The OS stores these files to ensure that you can revert the changes. But, as many reported, the Windows Installation Folder takes up a lot of space, close to 30-50 GB for some users, and cleanup becomes imperative.
Can I clean up the Windows Installer folder?
The files are stored whenever an application is installed using the Windows Installer, and their size is usually small. But, over the course of time, as more apps are added and updated, the size of the Windows Installed folder increases.
Where exactly are Windows Installer files used? They come in handy when uninstalling an application or an update for it. Though experts recommend against deleting the files stored in the Windows Installer folder, if you run out of storage, try it.
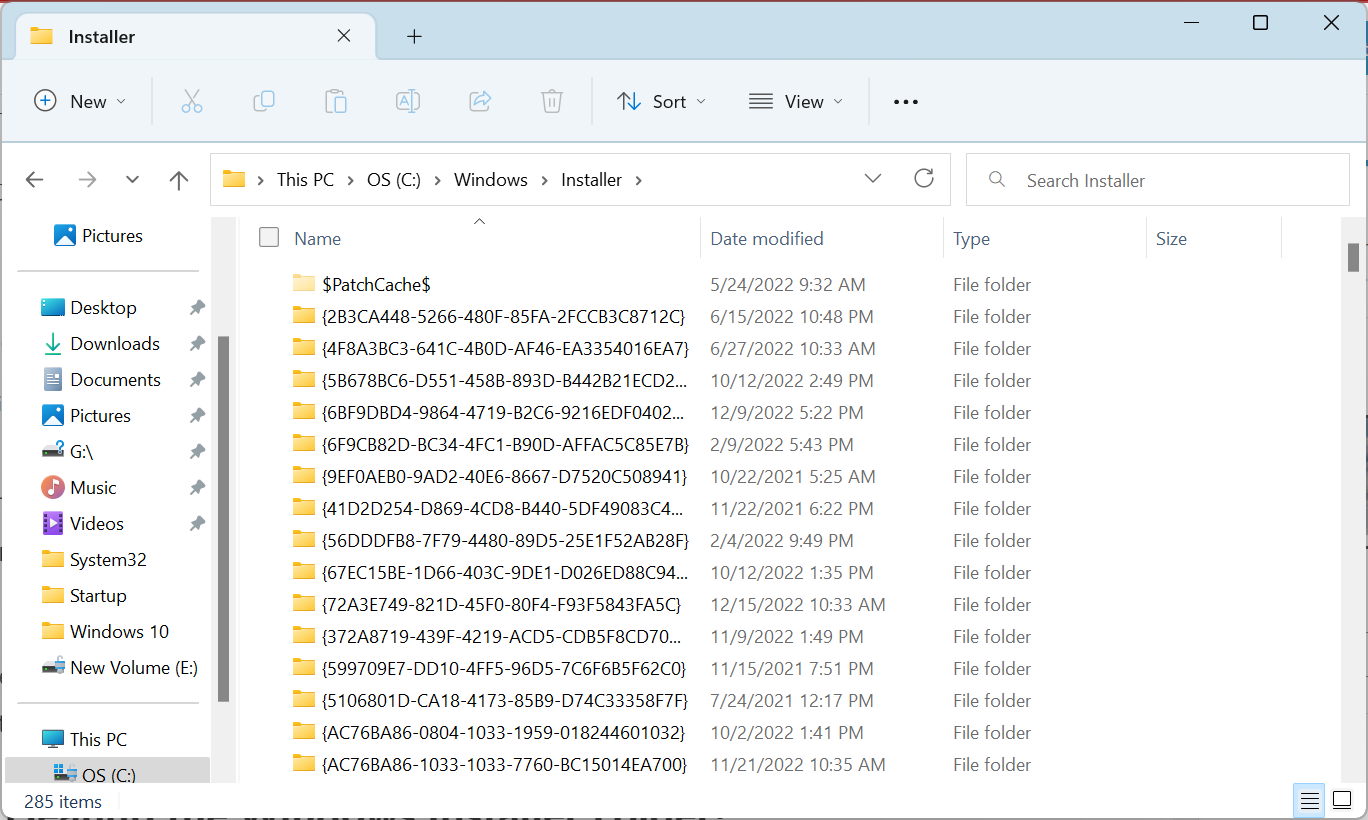
Keep in mind that it’s safe to delete only the baseline cache:C:\Windows\Installer\$PatchCache$
Don’t remove anything that’s located directly under:C:\Windows\Installer
This way, you can free up some space from your hard drive (especially if the space is already limited). Over time these patches might become quite numerous.
Remember, these are system files that are hidden by default, so you will have to directly paste the path in the address bar to access it. Another way is to enable hidden system files in Windows.
How can I cleanup the Windows Installer Folder?
1. Manually delete Windows Installer Patch files
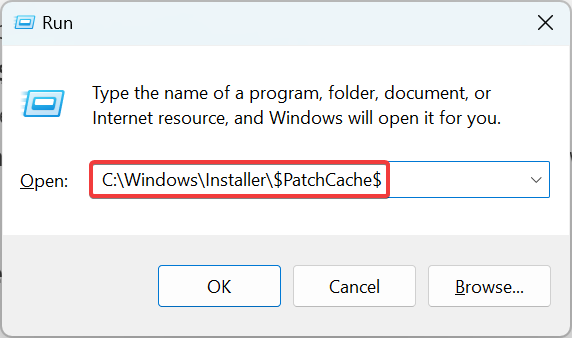
- Press Windows + R to open Run, paste the following path, and hit Enter:
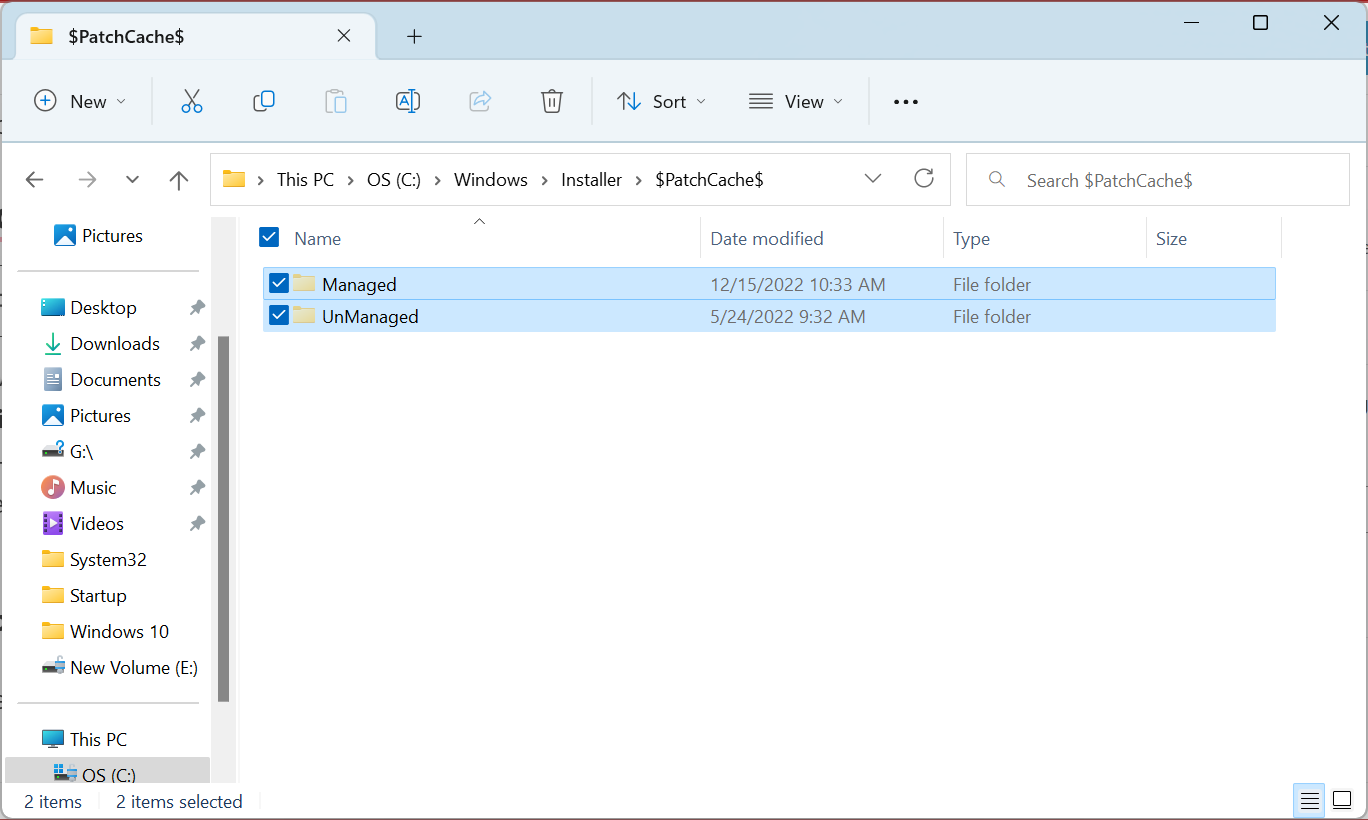
C:\Windows\Installer\$PatchCache$ - Press Ctrl + A to select all the files here and hit Del.
- Choose the appropriate response if a confirmation prompt appears.
- If required, empty the Recycle Bin as well, though we recommend waiting for a few days in case an issue pops up.
The manual way for Windows Installer Folder cleanup works well, but you will have to first make the hidden protected operating system files visible.
2. Use a dedicated tool
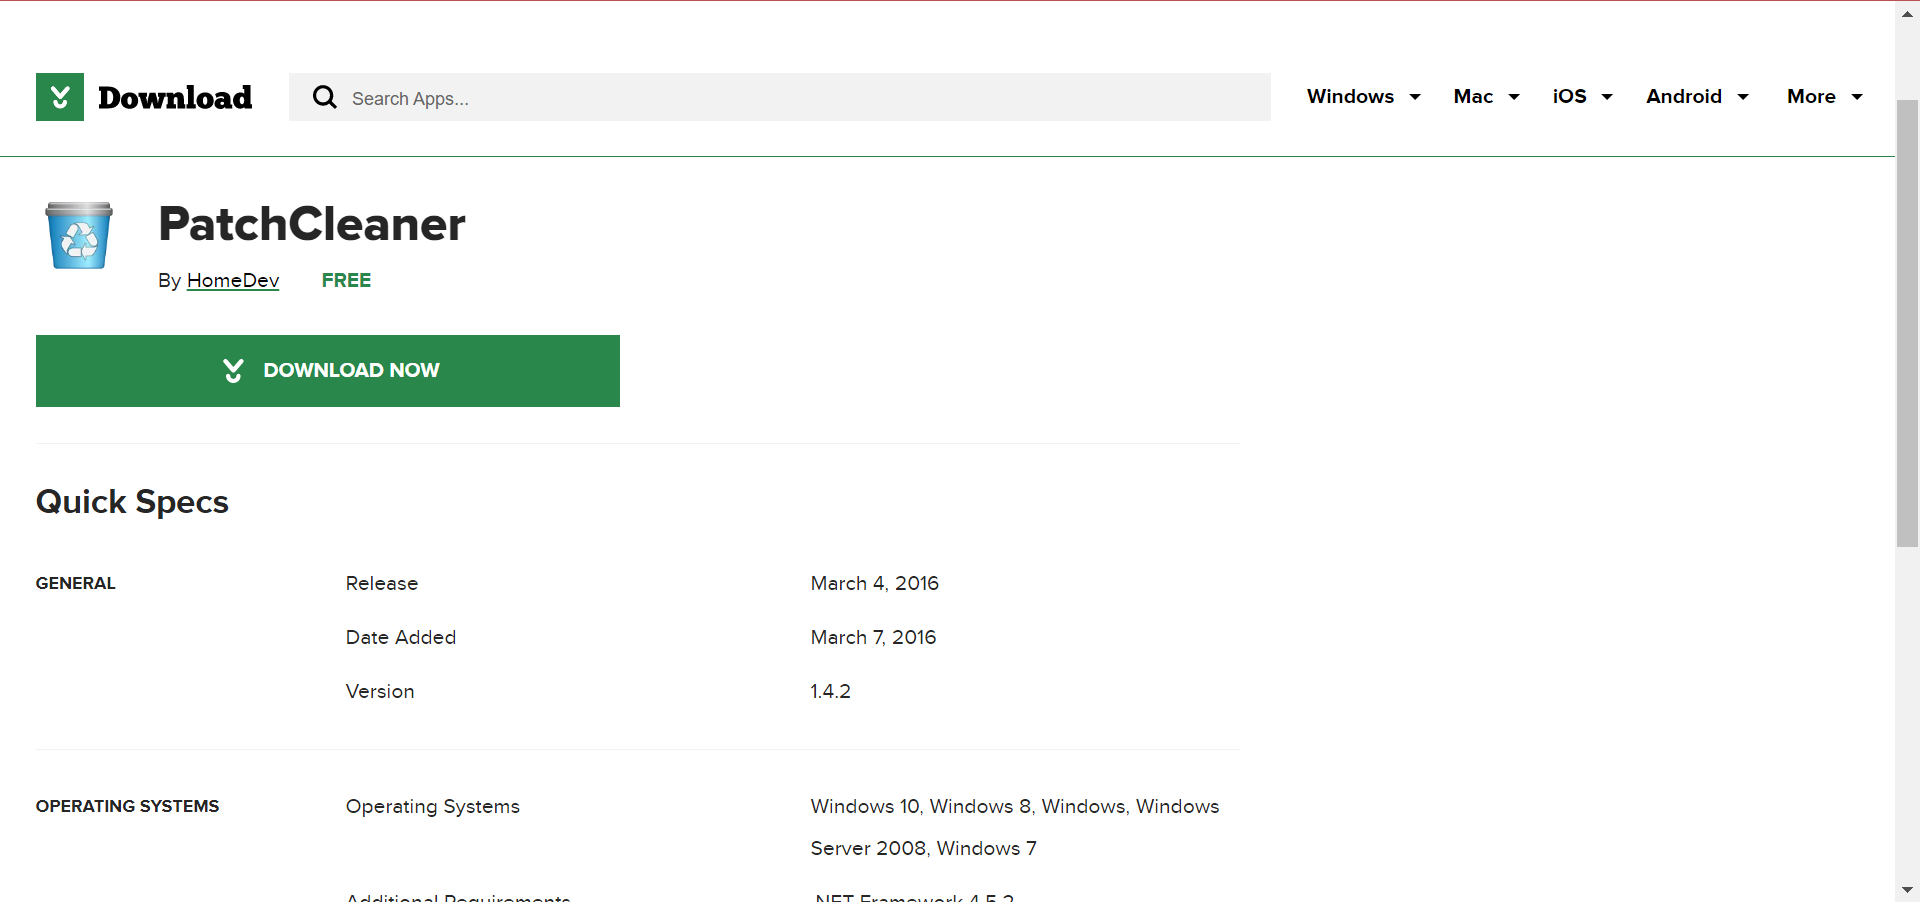
- Download PatchCleaner, and once done, run the tool.
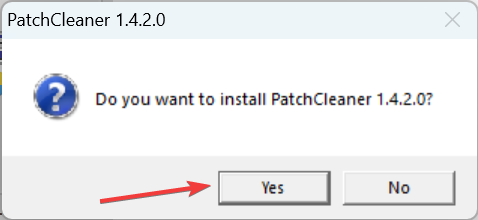
- Click Yes to install it.
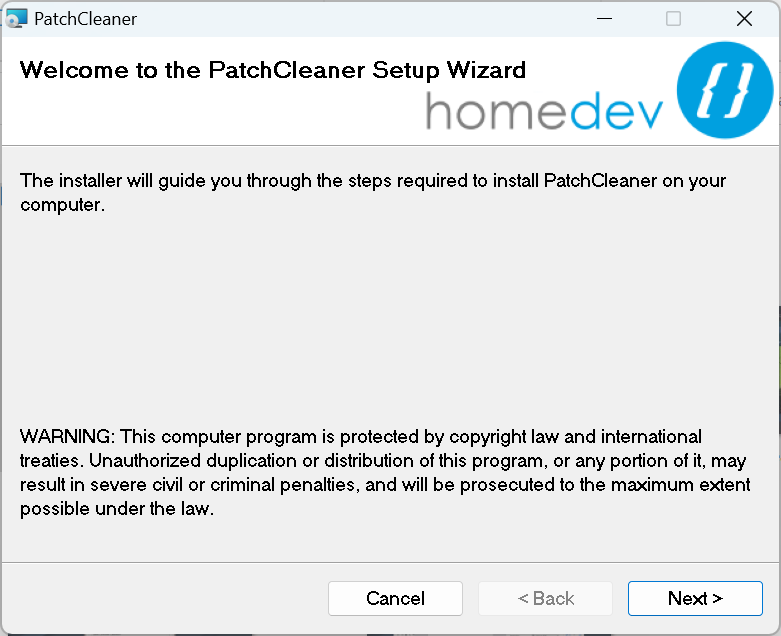
- Now, follow the on-screen instructions to complete the installation process.
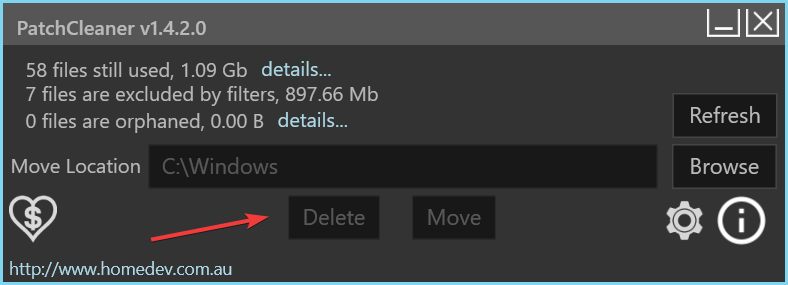
- Next, launch PatchCleaner, and it will identify the files (orphaned ones) to be removed.
- Click on Delete to proceed.
PatchCleaner is the preferred tool for many when it comes to Windows Installer Folder cleanup. The best part, it automatically identifies which files can be safely removed and clears disk storage without putting the PC at risk, though it may sometimes be inaccurate.
3. Use a PC Optimizer software
Some software helps where it counts the most, in the performance of any PC, with optimization utilities that prevent a lot of unwanted damage from a system failure.
Fortect is a software program that specializes in Windows repair. It examines and diagnoses your damaged PC before repairing it using technology that not only restores your Windows Operating System but also reverses the damage done with a complete database of replacement files.
Fortect protects your computer while you are surfing the Internet or streaming. It also detects all malware threats on your computer.
Finally, this tool is regarded as a complement to your antivirus, repairing the damage caused by malware after it has been isolated or eradicated by an antivirus.
While you are clearing up storage space, find out how to reduce the size of the WinSxS folder.
Tell us the size of the Windows Installer folder on your PC and how much you were able to clear in the comments section below.
