How to Reinstall DirectX on Windows 11
Re-download and install DirectX manually
- DirectX is a software tool that is designed to monitor real-time GPU usage and run graphic-related diagnostics.
- It can however malfunction at some point due to various reasons such as malware or hardware failures.
- Reinstalling DirectX from Microsoft's official website should fix the error.
DirectX is one of the most important software libraries for Windows 11. It boosts and ensures higher performance in graphics and sound while gaming or watching videos on your computer.
The software also allows users to monitor real-time GPU usage and run graphic-related diagnostics. Some of our readers have therefore requested to know how to reinstall DirectX on Windows 11 to fix problems with graphics-requiring apps or games.
When do you need to reinstall DirectX on Windows 11?
Typically, the DirectX tool is automatically installed and updated by Windows. But, seeking to reinstall DirectX on Windows 11 means there are some errors. Below are some of the possible reasons why you need to reinstall DirectX:
- DirectX installation is corrupted – If your DirectX installation becomes corrupted, probably as a result of malware or hardware failures, you may need to reinstall DirectX to fix the issue.
- Graphical issues in games – DirectX monitors real-time GPU usage to ensure higher performance in both audio and video while playing games. If you notice unusual graphic changes, the first option should be to reinstall DirectX on Windows 11.
- Upgrading or reinstalling Windows 11 – If you upgrade or reinstall Windows 11 on your computer, you may need to reinstall DirectX as well. This is because DirectX is tightly integrated with the operating system, and a fresh installation may overwrite or remove some of its components.
- Corrupted game files – There’s a possibility that your game files are damaged, or the essential files have been deleted. Trying to fix the game or uninstalling it to install a new version should fix the issue.
Hence, let’s proceed to the steps to reinstall DirectX on Windows 11.
How can I reinstall DirectX on Windows 11?
Before attempting any of the advanced solutions provided below, users should ensure they perform the following preliminary checks before reinstalling DirectX:
- Check for outdated drivers.
- Check for damaged game/system files.
Follow the steps provided below to reinstall DirectX on Windows 11 PC.
1. Download the DirectX standalone installer
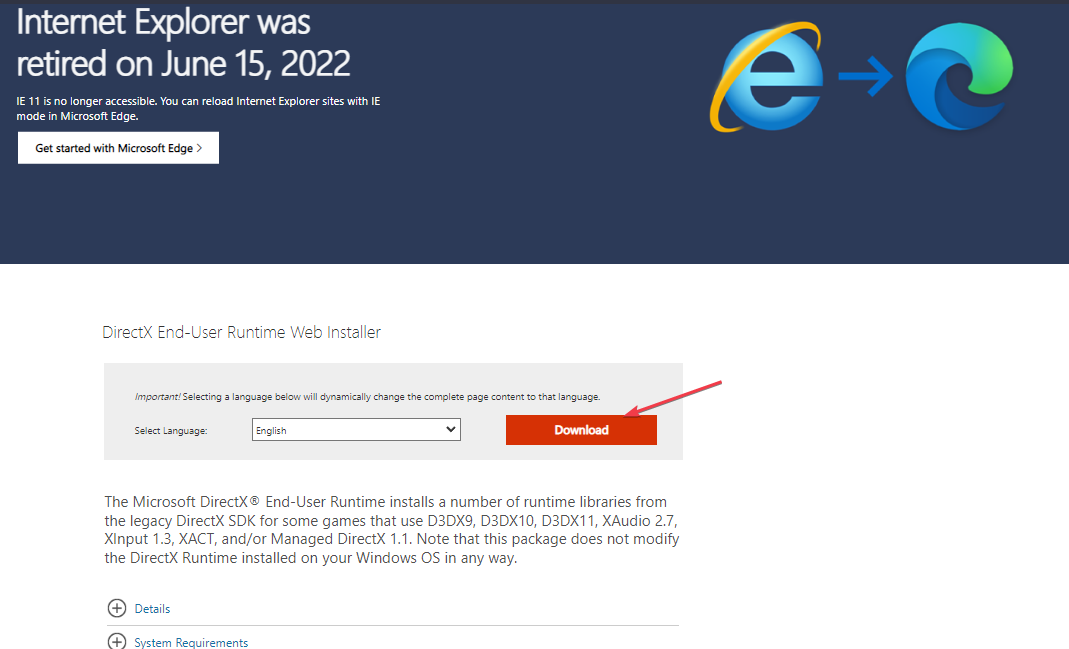
- Open your preferred web browser and visit Microsoft’s official website to download the DirectX End-User Runtime Web Installer.
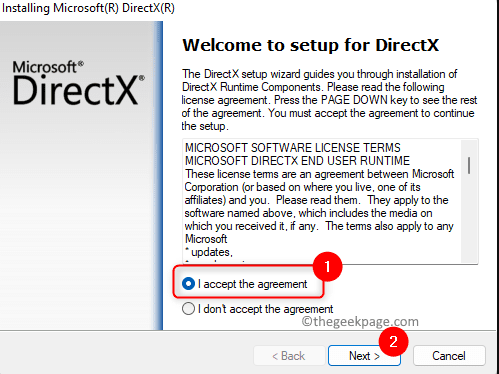
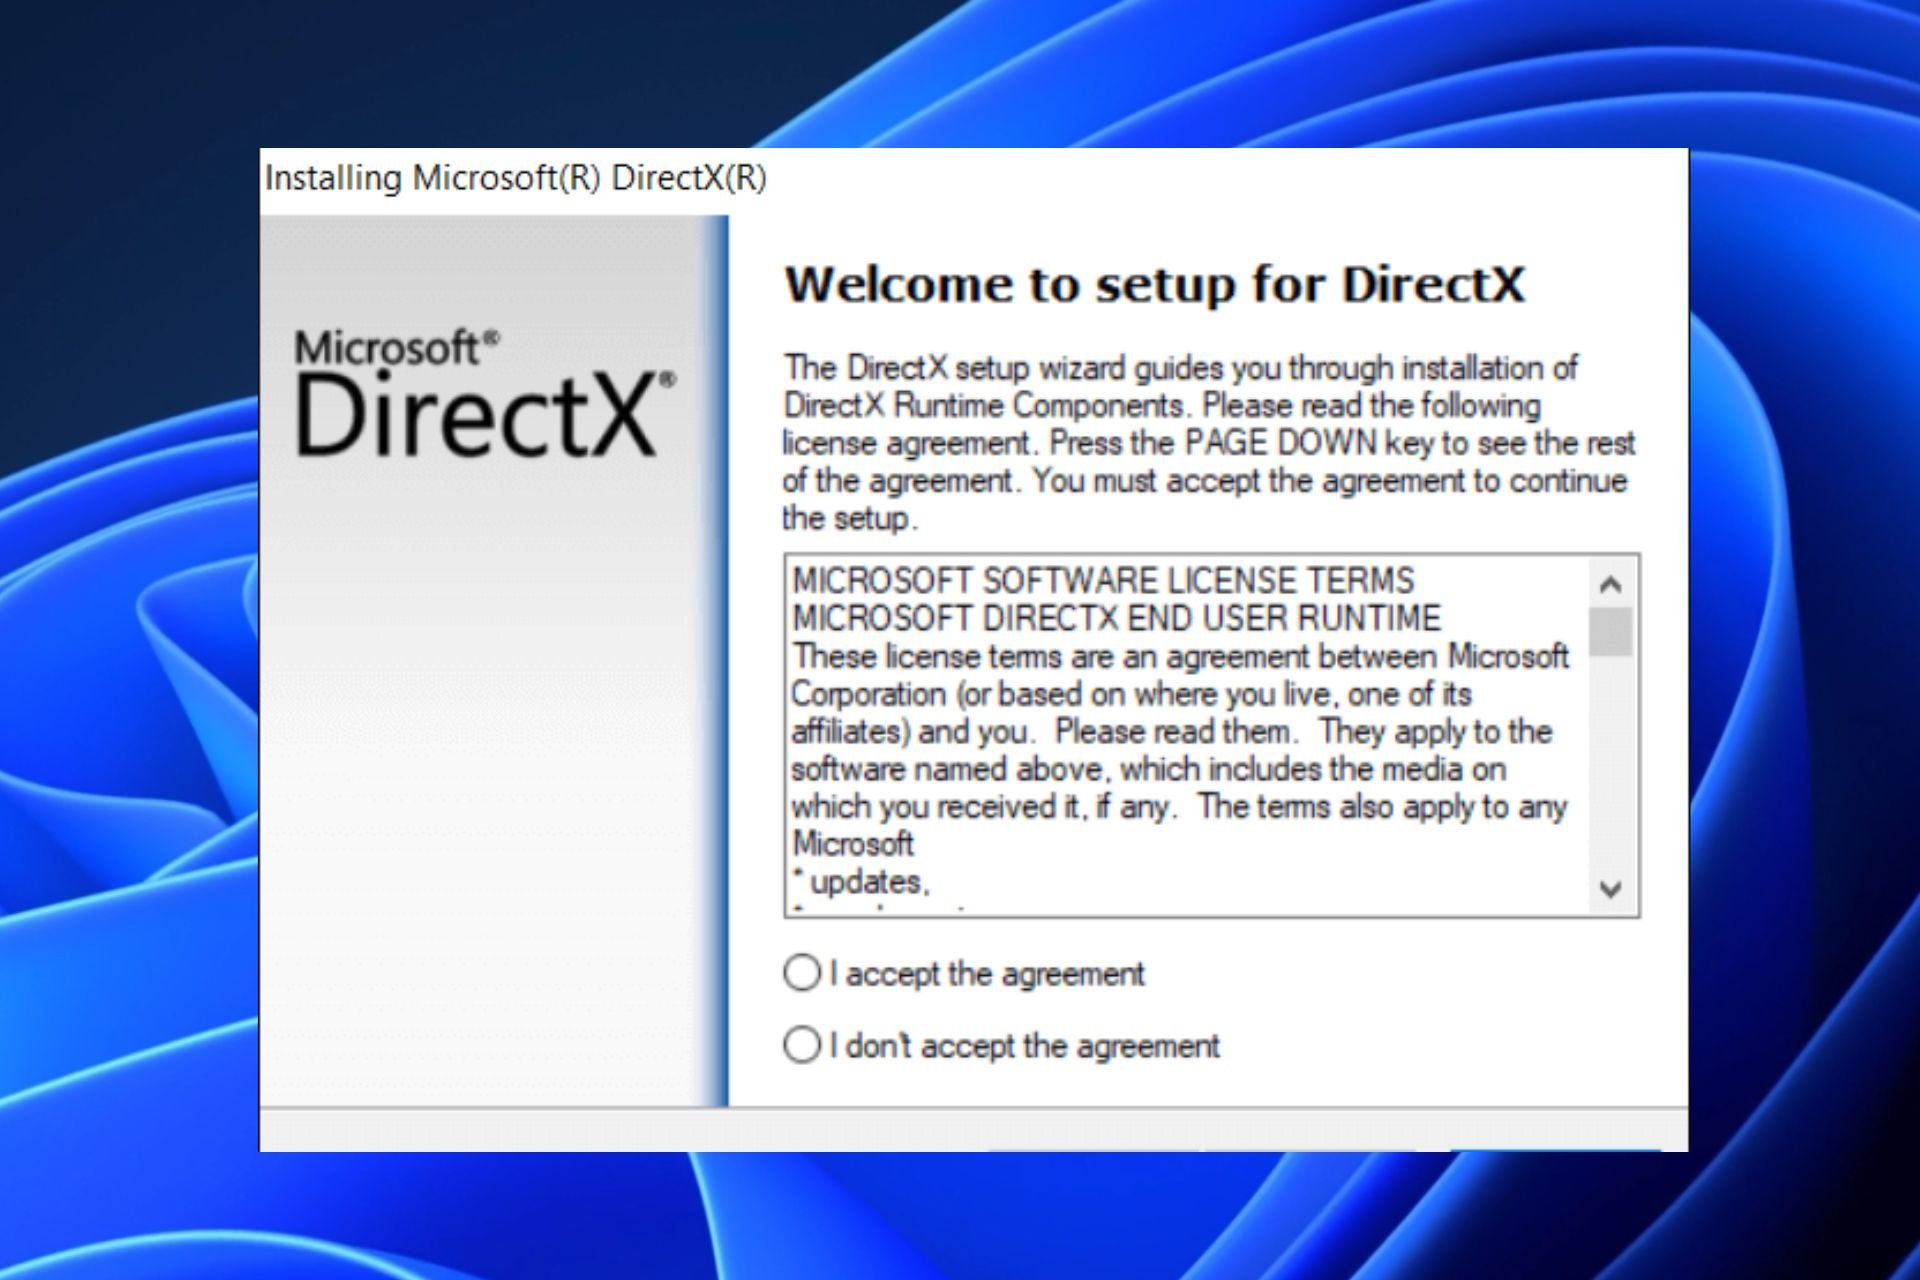
- Once downloaded, run the setup and accept the license agreement, then click on the Next button.
- Make sure you are still connected to the internet, as any modules that need to be installed will be retrieved now.
- The installation may take between a few seconds and an hour depending on the missing component.
- After installation, restart your computer.
By reinstalling DirectX via the official Windows installer, the Runtime Installer should have fixed any DirectX-related issues automatically.
2. Update the graphics driver
- Press the Windows + I keys to open the Settings app.
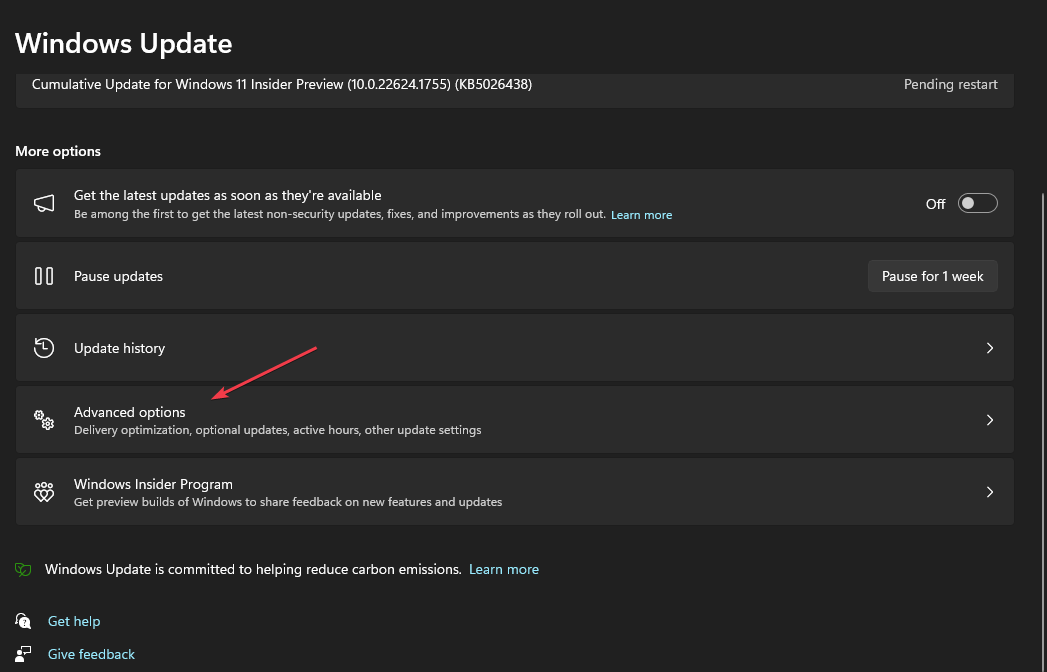
- Click on the Windows Update from the left pane and click on Advanced Options from the right sidebar to continue.
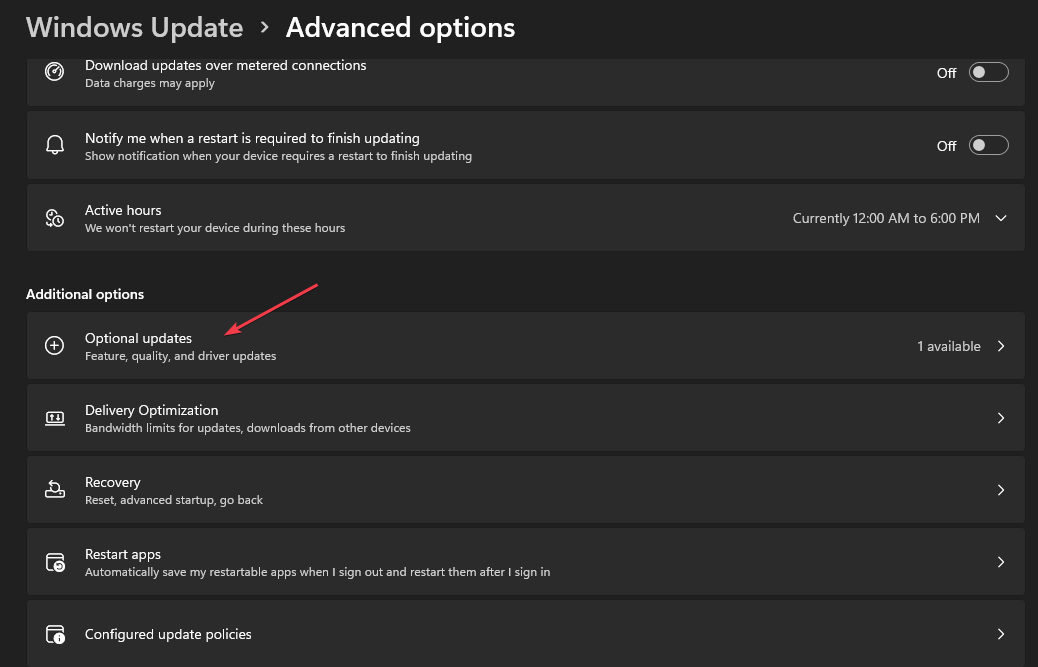
- Click on Optional Updates.
- Next, check the box next to graphics, then click on the Download & Install button.
- Follow the on-screen instructions to complete the installation process.
- Now, restart your PC.
An outdated graphics card can cause issues such as improper information display because the graphics-related process uses DirectX. Hence the need to update your graphics drivers.
And that’s it on how to reinstall DirectX on Windows 11 PC. You can also explore our detailed guide on Windows 11 DirectX errors and possible solutions to apply for additional information.
If you can’t install DirectX in Windows 10, there are seven different ways provided in one of our posts to fix the issue seamlessly.
If you have any questions or suggestions, or probably an alternative solution, do not hesitate to use the comments section below.
Still experiencing troubles? Fix them with this tool:
SPONSORED
Some driver-related issues can be solved faster by using a tailored driver solution. If you're still having problems with your drivers, simply install OutByte Driver Updater and get it up and running immediately. Thus, let it update all drivers and fix other PC issues in no time!
