The Selected Task no Longer Exists: 2 Ways to Fix This Error
Re-enabling Disk Defrag Schedule is a fast solution
- The Windows Task Scheduler is a powerful tool that can automate tasks on your computer.
- A non-existent selected task may imply corruption and you may need to delete the bad files from the computer.
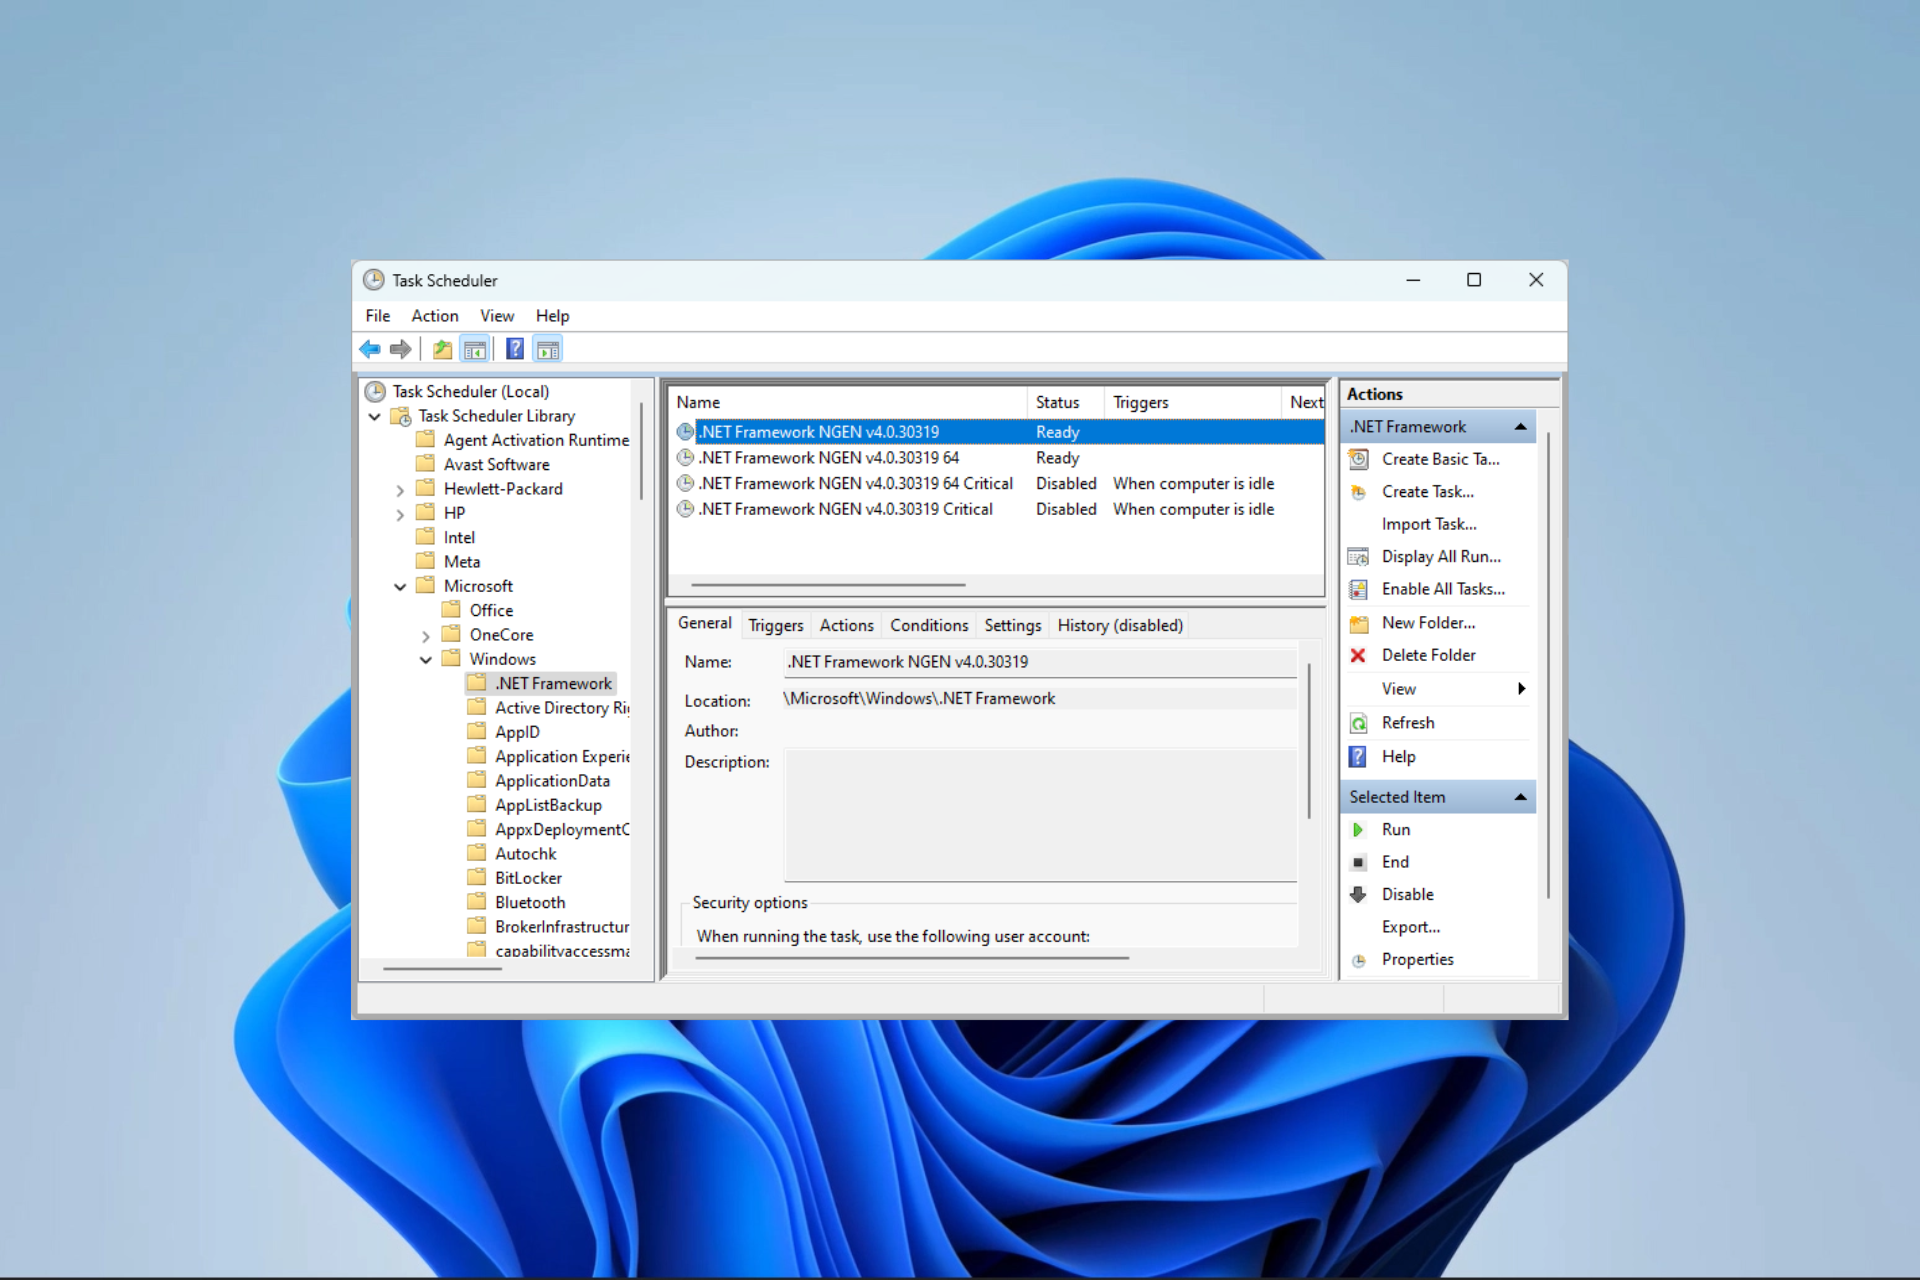
Using the Windows Task Scheduler utility, you may plan tasks to execute on your computer at a certain time or interval. It allows you to execute scripts and applications and even send yourself emails. However, you may get an error message: the selected task no longer exists.
In this guide, we will help you troubleshoot this problem. In our other related guide, you may learn more about the Task Scheduler on Windows 11.
Why do I get the error the selected task does not exist?
You may get this error for any of the following reasons:
- You may have accidentally deleted the task or got it deleted by a virus.
- The tasks you need to run are corrupted.
- You have conflicting tasks on your computer.
- The task faces compatibility issues with the current version of Windows.
You may also consider using alternative task scheduler software for Windows computers.
What do I do if the selected task does not exist?
Before any solutions, try this workaround:
- Run a virus scan.
If, after the scan, the error continues, proceed to the fixes below.
1. Re-enable Disk Defrag Schedule
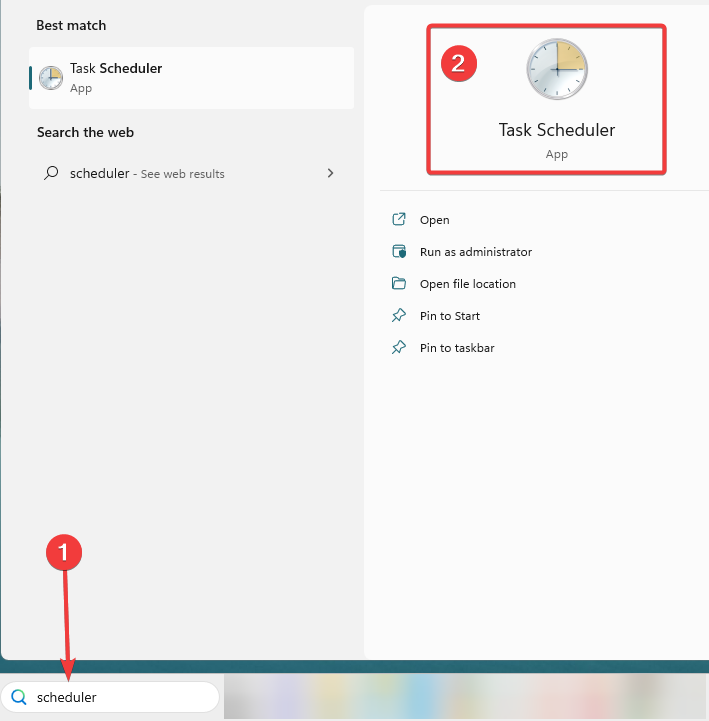
- Press the Start menu, type Scheduler, and select the Task Scheduler utility.
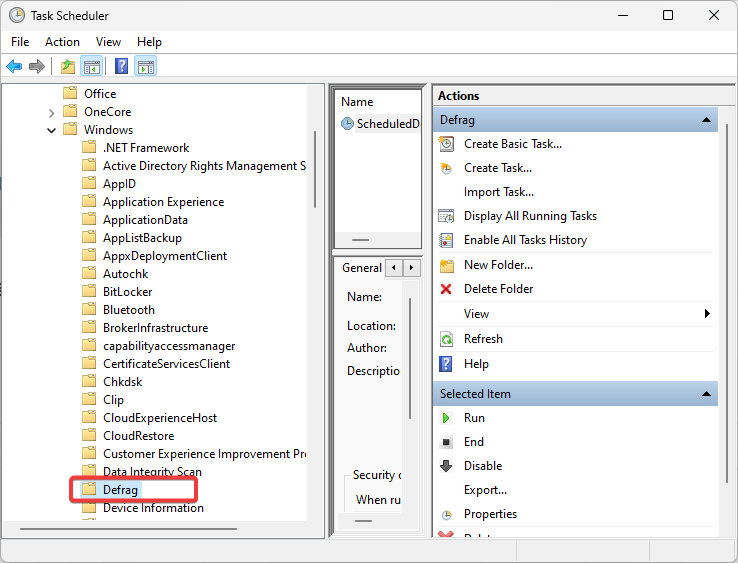
- Navigate to the path below:
Task Scheduler Library/Microsoft/Windows/Defag - In the middle pane, right-click ScheduledDefrag and select Disable.
- Close the Task Scheduler and relaunch it.
- Navigate to the same path as in step 2, then re-enable ScheduledDefrag.
- Restart the computer and see if the error of the scheduled tasks no longer exists persists.
2. Delete the corrupted task’s folder
- Press the Start menu, type Scheduler, and select the Task Scheduler utility. Click OK when prompted with the error.
- Note the number of times you are prompted with the error (This number indicates how many files you have that are not synced with the registry).
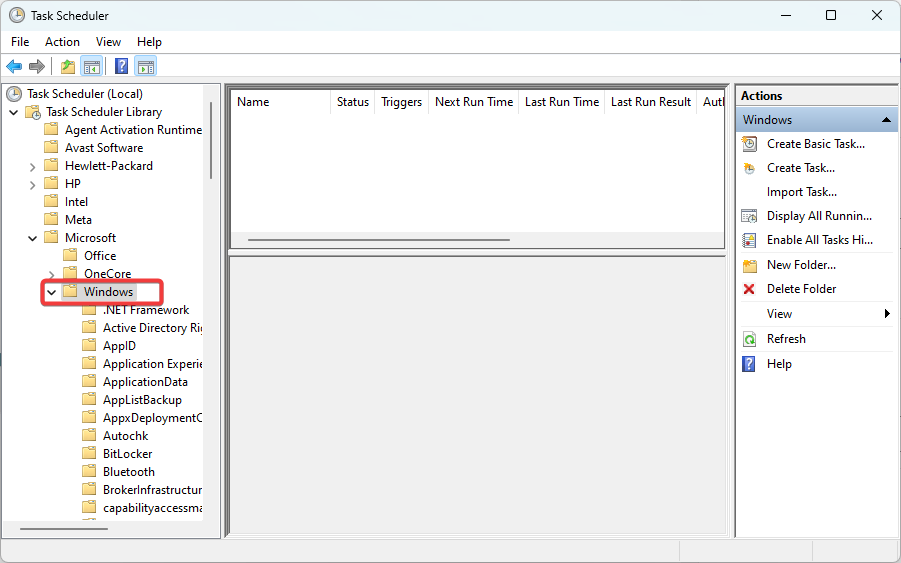
- Navigate to and expand the folder below:
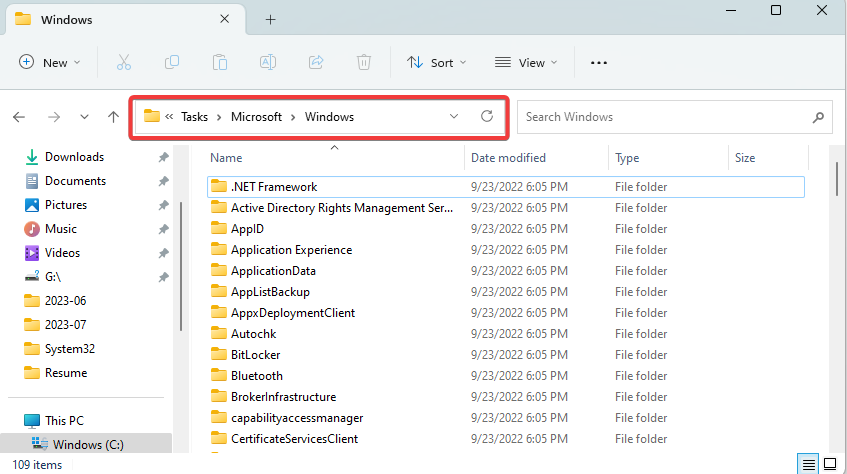
Task Scheduler Library/Microsoft/Windows - Open your File Explorer by pressing Windows + E and navigate to the path below:
%SystemFolder%\Tasks\Microsoft\Windows - Return to the Task Scheduler and open the first folder in the Windows directory. If you get the error notification the selected task no longer exists, return to File Explorer and delete the corresponding files.
- Repeat till you have deleted all files with no synced schedules. The number of iterations should tally with the times you had to click OK when you initially opened the Task Scheduler.
Sometimes, you may consider creating a new user profile, but this is a long shot. However, if you have followed the solutions above, you should no longer get the selected task no longer exists error on your Task Scheduler.
Please let us know what worked for you, and also tell us if you discovered other new solutions. We love to hear from you in the comment section below.
Still experiencing issues?
SPONSORED
If the above suggestions have not solved your problem, your computer may experience more severe Windows troubles. We suggest choosing an all-in-one solution like Fortect to fix problems efficiently. After installation, just click the View&Fix button and then press Start Repair.
