Windows Update Medic Service: Everything you Need to Know
All the vital information about this important Windows service
- The Windows Update Medic Service is responsible for fixing update-related issues.
- You can always disable this service, which might make your PC prone to update errors.
- One way to disable the Windows Update Medic Service is to use the Registry Editor.
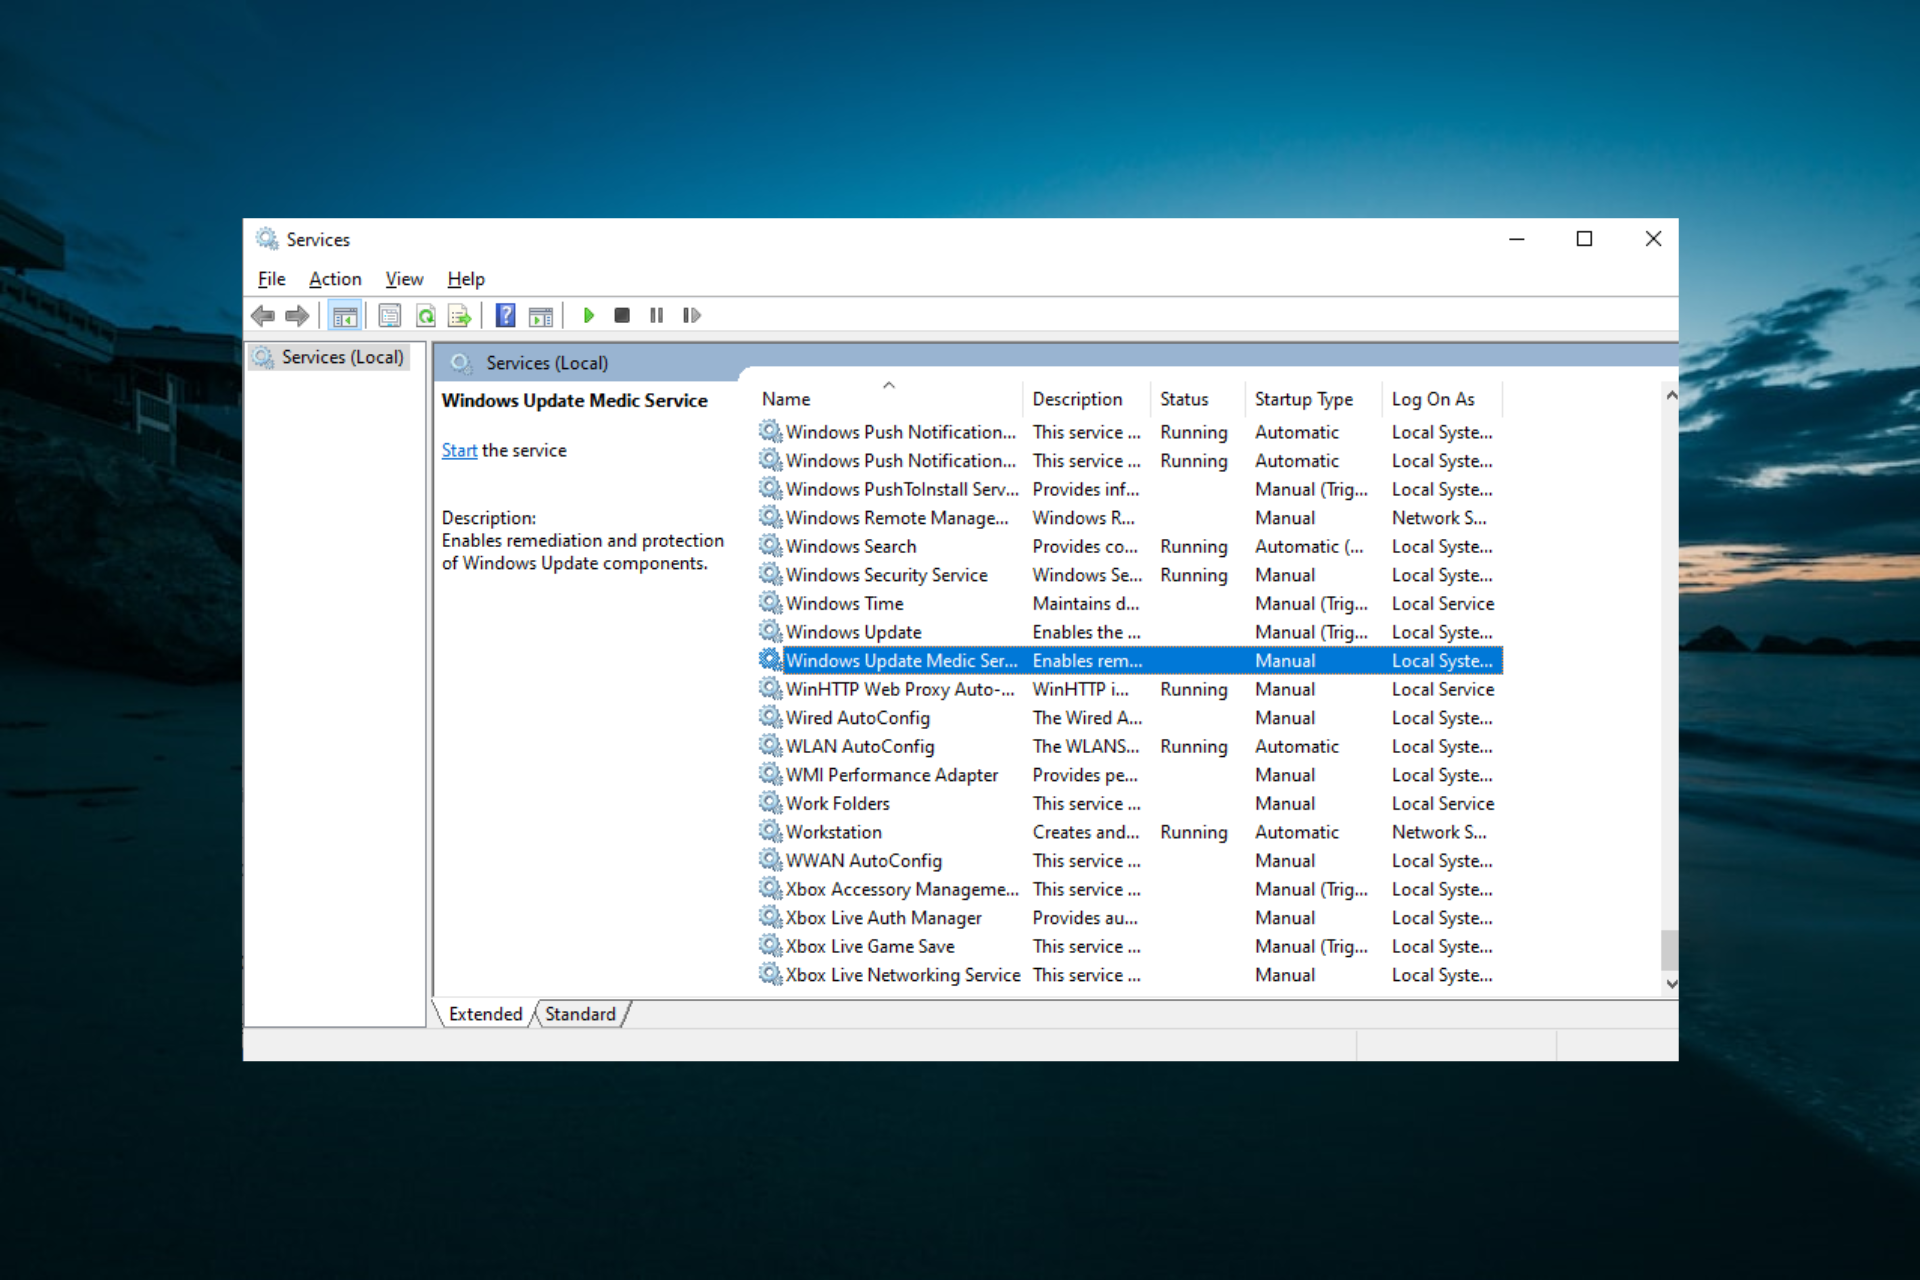
The Windows Update Medic Service is one of the numerous additions to Windows 10 to improve user experience. However, this new feature makes many users curious about what it does and its importance.
If you also need firsthand information about this service, this guide contains everything you need to know.
What is Windows Update Medic Service?
The Windows Update Medic Service is a new background service introduced with Windows 10 and how this OS handles updating.
Its only purpose is to repair the Windows Update service so your PC can continue receiving updates unhindered.
It also handles the remediation and protection of all Windows Update components. As such, even if you disable all Windows Update-related services, WaasMedic will restart them at some point.
Do I need Windows Update Medic Service?
While this is an important Windows service, you can always disable the service. However, making your PC more vulnerable to update issues is not recommended.
Hence, you should disable the service if there is no tangible reason.
How do I stop the Windows Update Medic service?
1. Use the Registry Editor
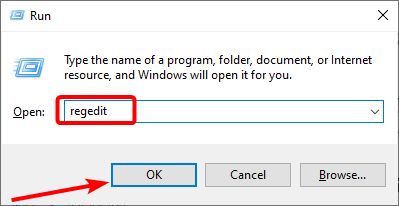
- Press the Windows key + R, type regedit, and click OK.
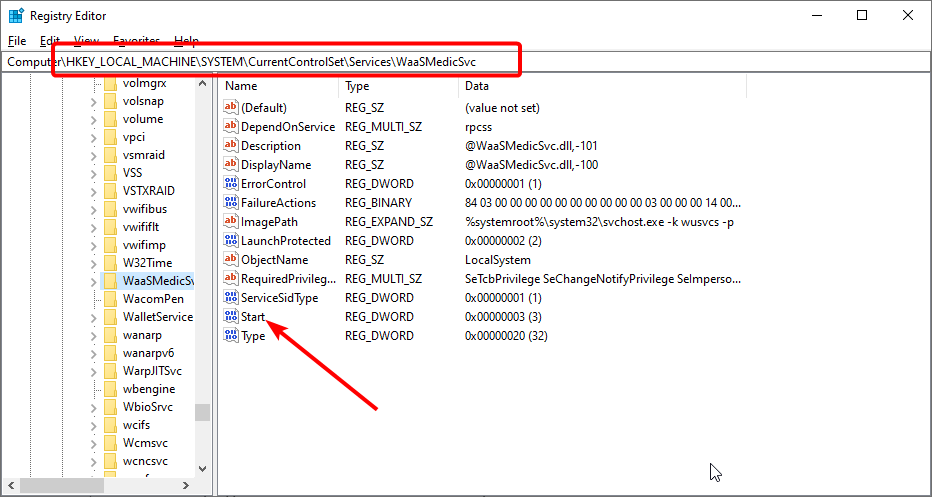
- Follow the path below in the left pane:
HKEY_LOCAL_MACHINE\SYSTEM\CurrentControlSet\Services\WaaSMedicSvc - Now, double-click the Start option in the right pane.
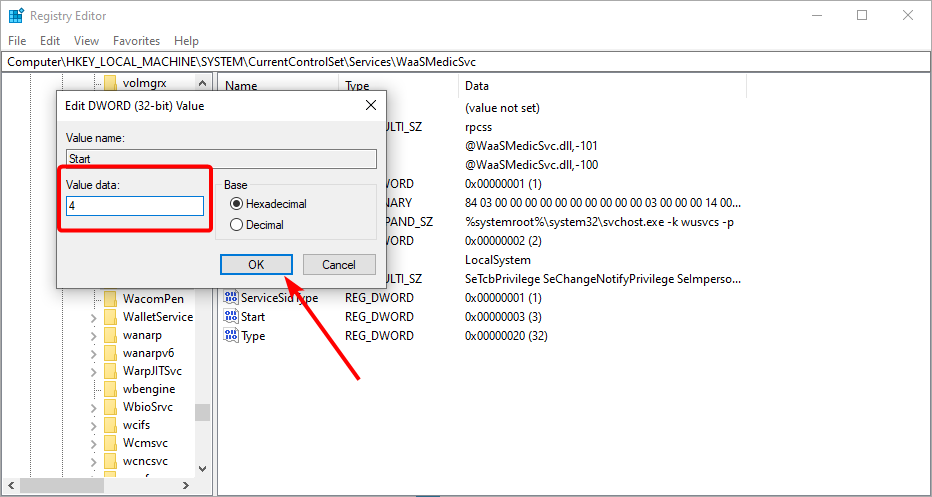
- Finally, set the Value data to 3 or 4 and click OK.
With this, you should be able to disable the Windows Update Medic Service without getting an access denied prompt.
2. Use the Service Manager
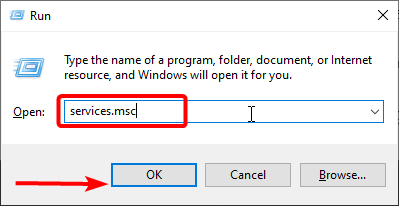
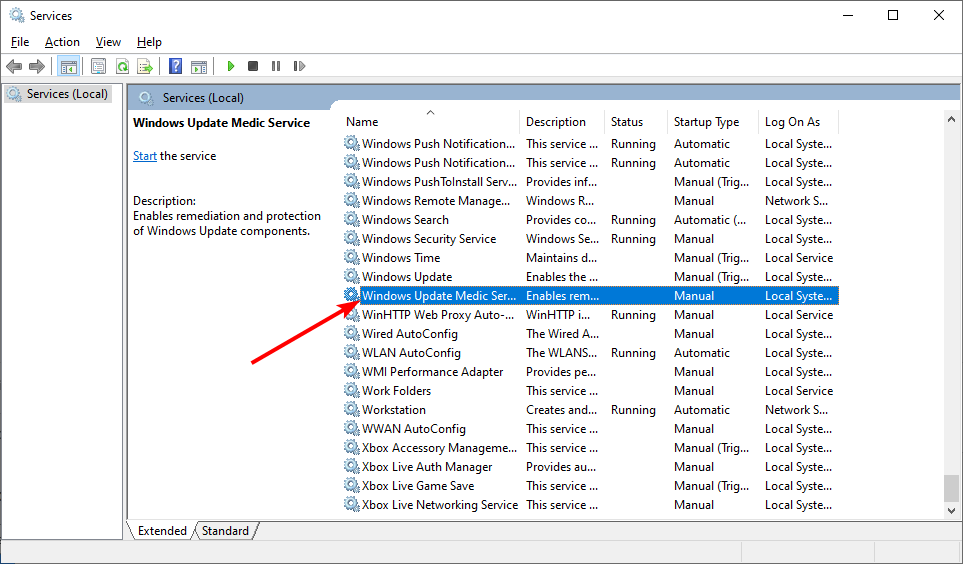
- Press the Windows key + R, type services.msc, and click OK.
- Double-click the Windows Update Medic Service to open its properties.
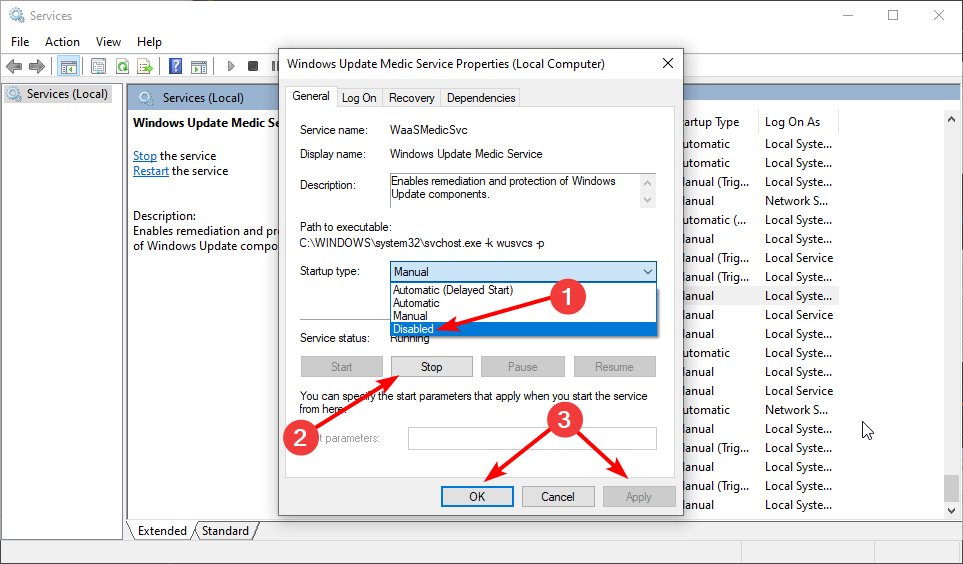
- Now, set the Startup type to Disabled and click the Stop button.
- Finally, click the Apply button and OK to confirm the changes.
Most users get an access denied prompt while trying to disable the service using the Service Manager. However, this issue has been fixed in the recent updates, and you should be able to use it.
3. Use the Windows Update Blocker
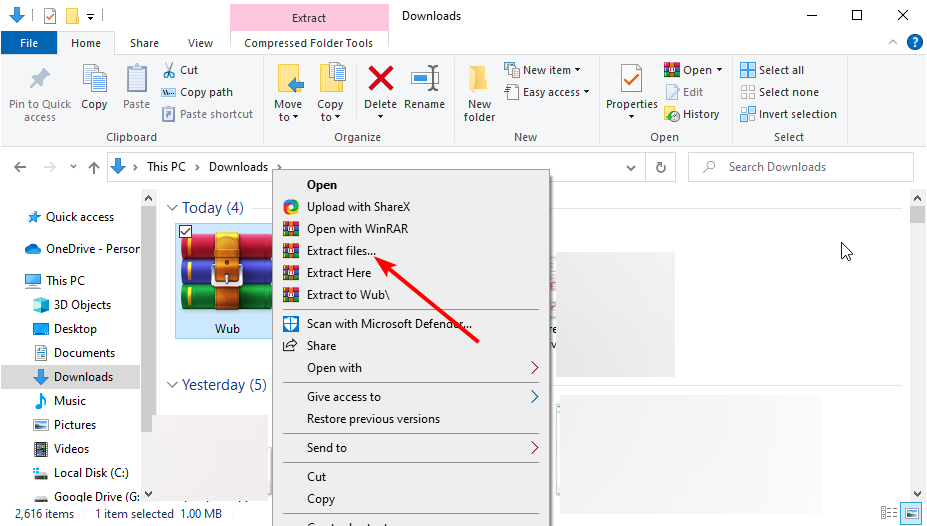
- Download Windows Update Blocker and right-click the Wub zip in your Downloads folder.
- Select the Extract files option.
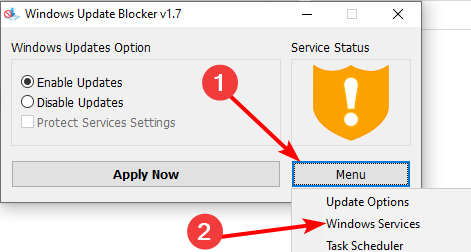
- Launch the Windows Update Blocker and select Menu > Windows Services from the list.
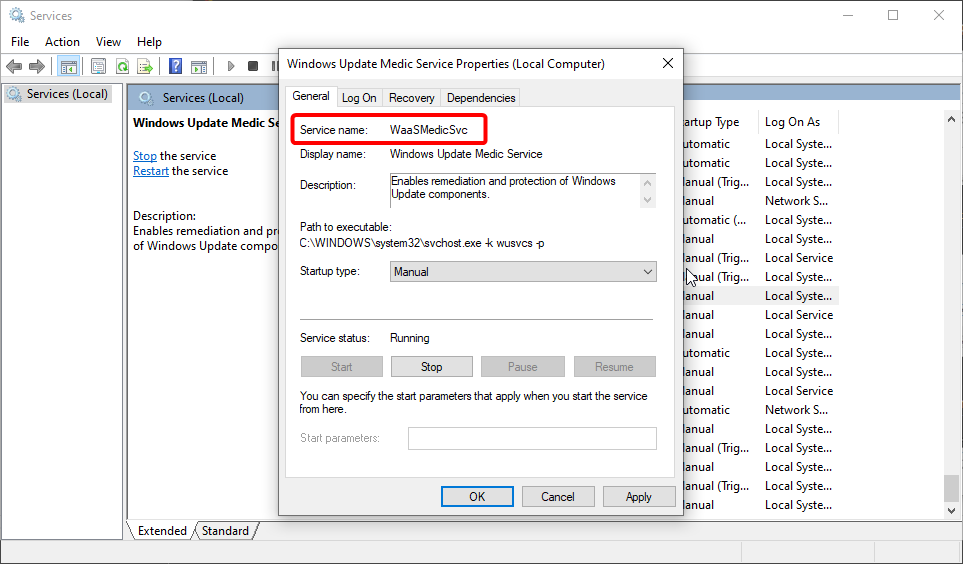
- Look for Windows Update Medic Service and double-click it to open its properties.
- Next, copy the Service name.
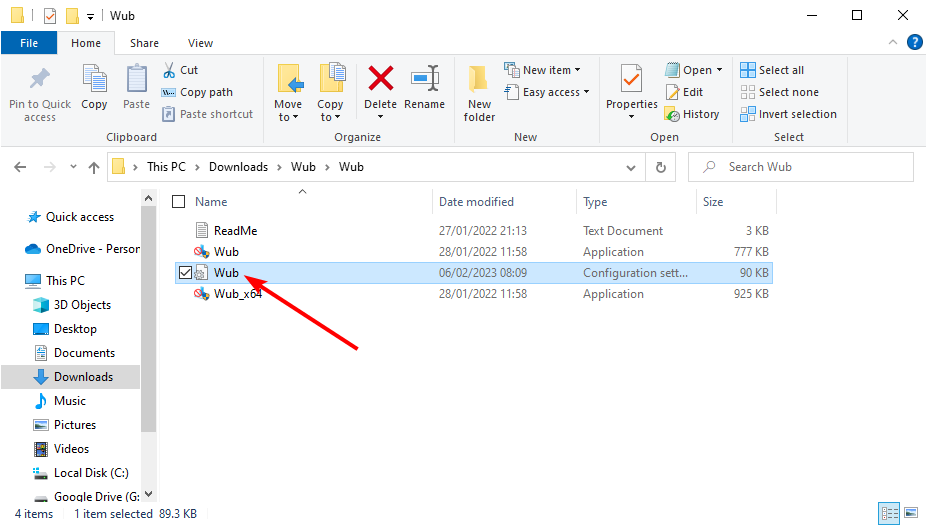
- Return to the folder where you extracted Windows Update Blocker and open the ini file with Notepad.
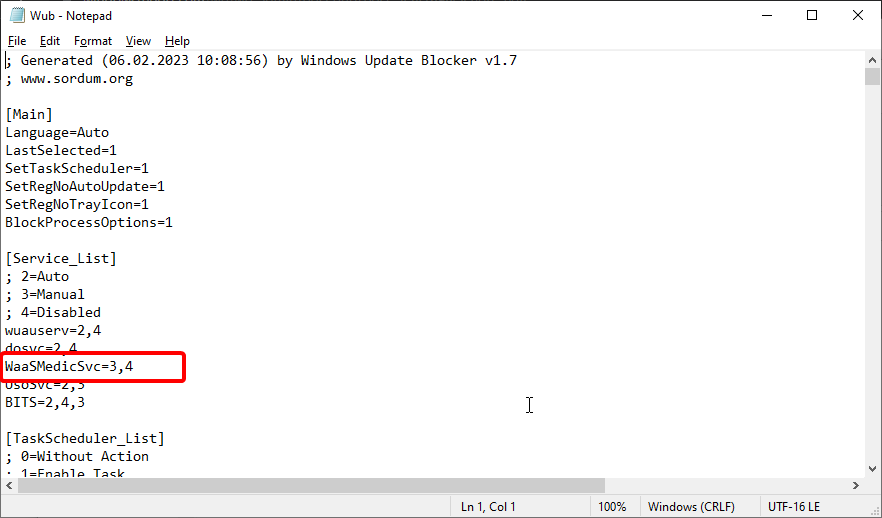
- Now, paste the service name right under dosvc=2,4 and =3,4 in front of it.
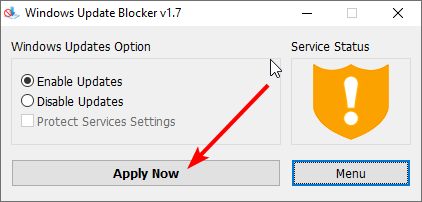
- Finally, return to the Windows Update Blocker window and click Apply now.
Another option is to block the service through a third-party blocker. One perfect option is Windows Update Blocker.
Thanks to this handy tool, you can disable any Windows service without error messages.
What happens if you disable Windows Update Medic Service?
If your PC does not run into update issues, you wouldn’t feel the impact of disabling the Windows Update Medic Service.
However, if there are update issues, some components might get damaged with this vital service disabled. Finally, disabling the service might make your PC unstable.
This is pretty much everything there is to know about this vital service, from how to disable it to the impact of removing it.
If you want to know the Windows services you can disable, check our detailed guide.
Feel to share your experience with this service in the comments below.
